
3DMigoto GIMI Effect and Shader Tutorial
Writen by: SilentNightSound
This tutorial will go over the process of changing Genshin’s effects such as skill effects, lighting effects, and any in-game objects that are not controlled through textures or buffers. Learning how shaders work will significantly increase the range of what you are able to mod.
This effect modding tutorial is more difficult than my previous ones on basic mesh editing/importing and texture editing, but reading those ones is not a pre-requisite for understanding this tutorial.
I have arranged this tutorial roughly in order of increasing difficulty, so even reading the first section will hopefully be enough to make simple edits. Later sections will require basic programming knowledge.
I will go through three examples of increasing complexity:
- Changing a character’s attack/skill color (see https://gamebanana.com/mods/409181 for an example of recoloring Ganyu’s ice attacks)
- Creating an effect which toggles between multiple colors over time (see https://gamebanana.com/mods/418434 for an example of a Christmas tree that changes what color the lights are)
- Demonstrating how to create basic effect animations (see https://gamebanana.com/mods/420434 for an example of animated lines on Cyber Bodysuit Raiden)
Prerequisites
Have the 3dmigoto GIMI Dev version installed (green text needs to be visible).
Important Note
By default, I have disabled the ability for GIMI to dump shaders since they can mess with mods. You can re-enable them by ensuring that the line marking_actions in d3dx.ini contains hlsl and asm in the list.

Also, if you have issues with mods after trying out things in this tutorial try emptying the ShaderFixes folder – sometimes a dumped shader can cause certain mods to malfunction.
Let’s begin!
Changing Character Attack Colors (Diluc’s Flames)
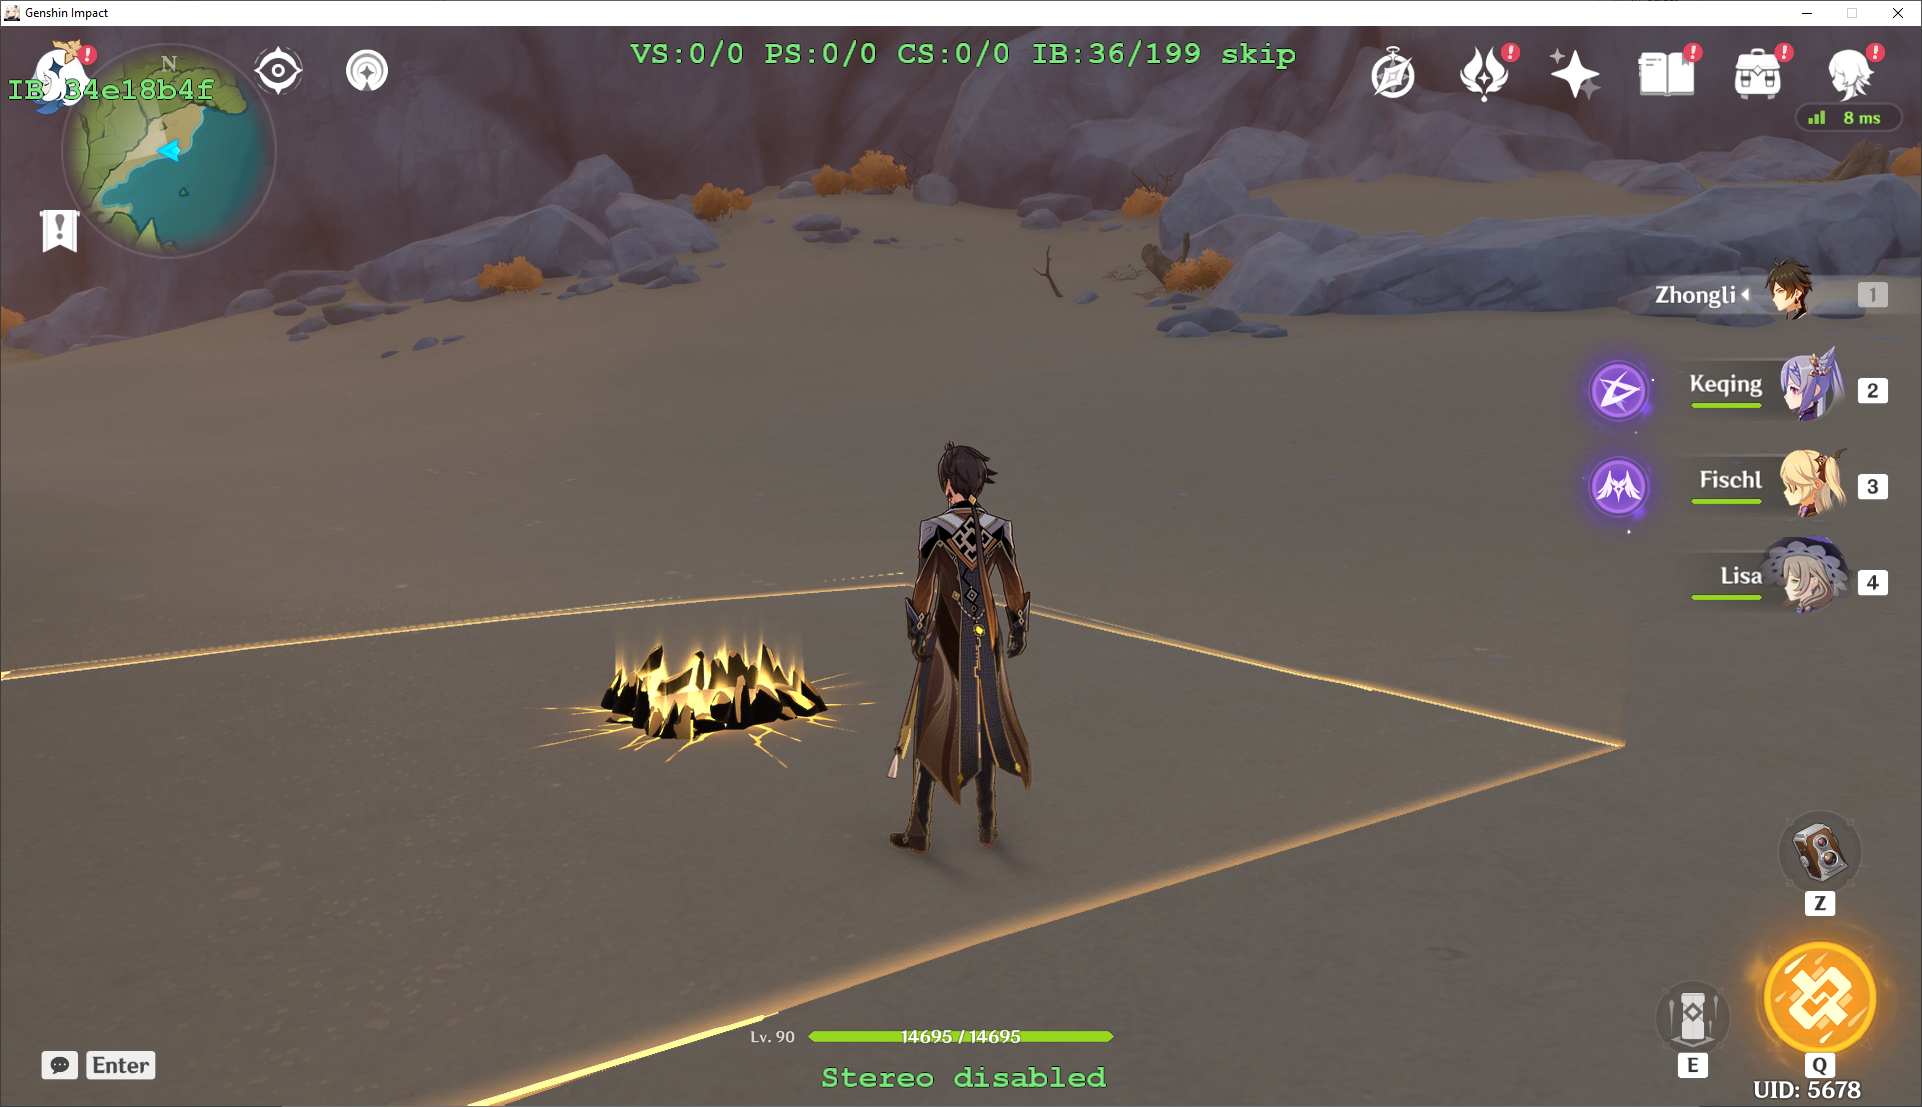
For the first section, I will demonstrate how to recolor Diluc’s flames. This section is basic/intermediate difficulty, and does not require any prior coding/shader knowledge.
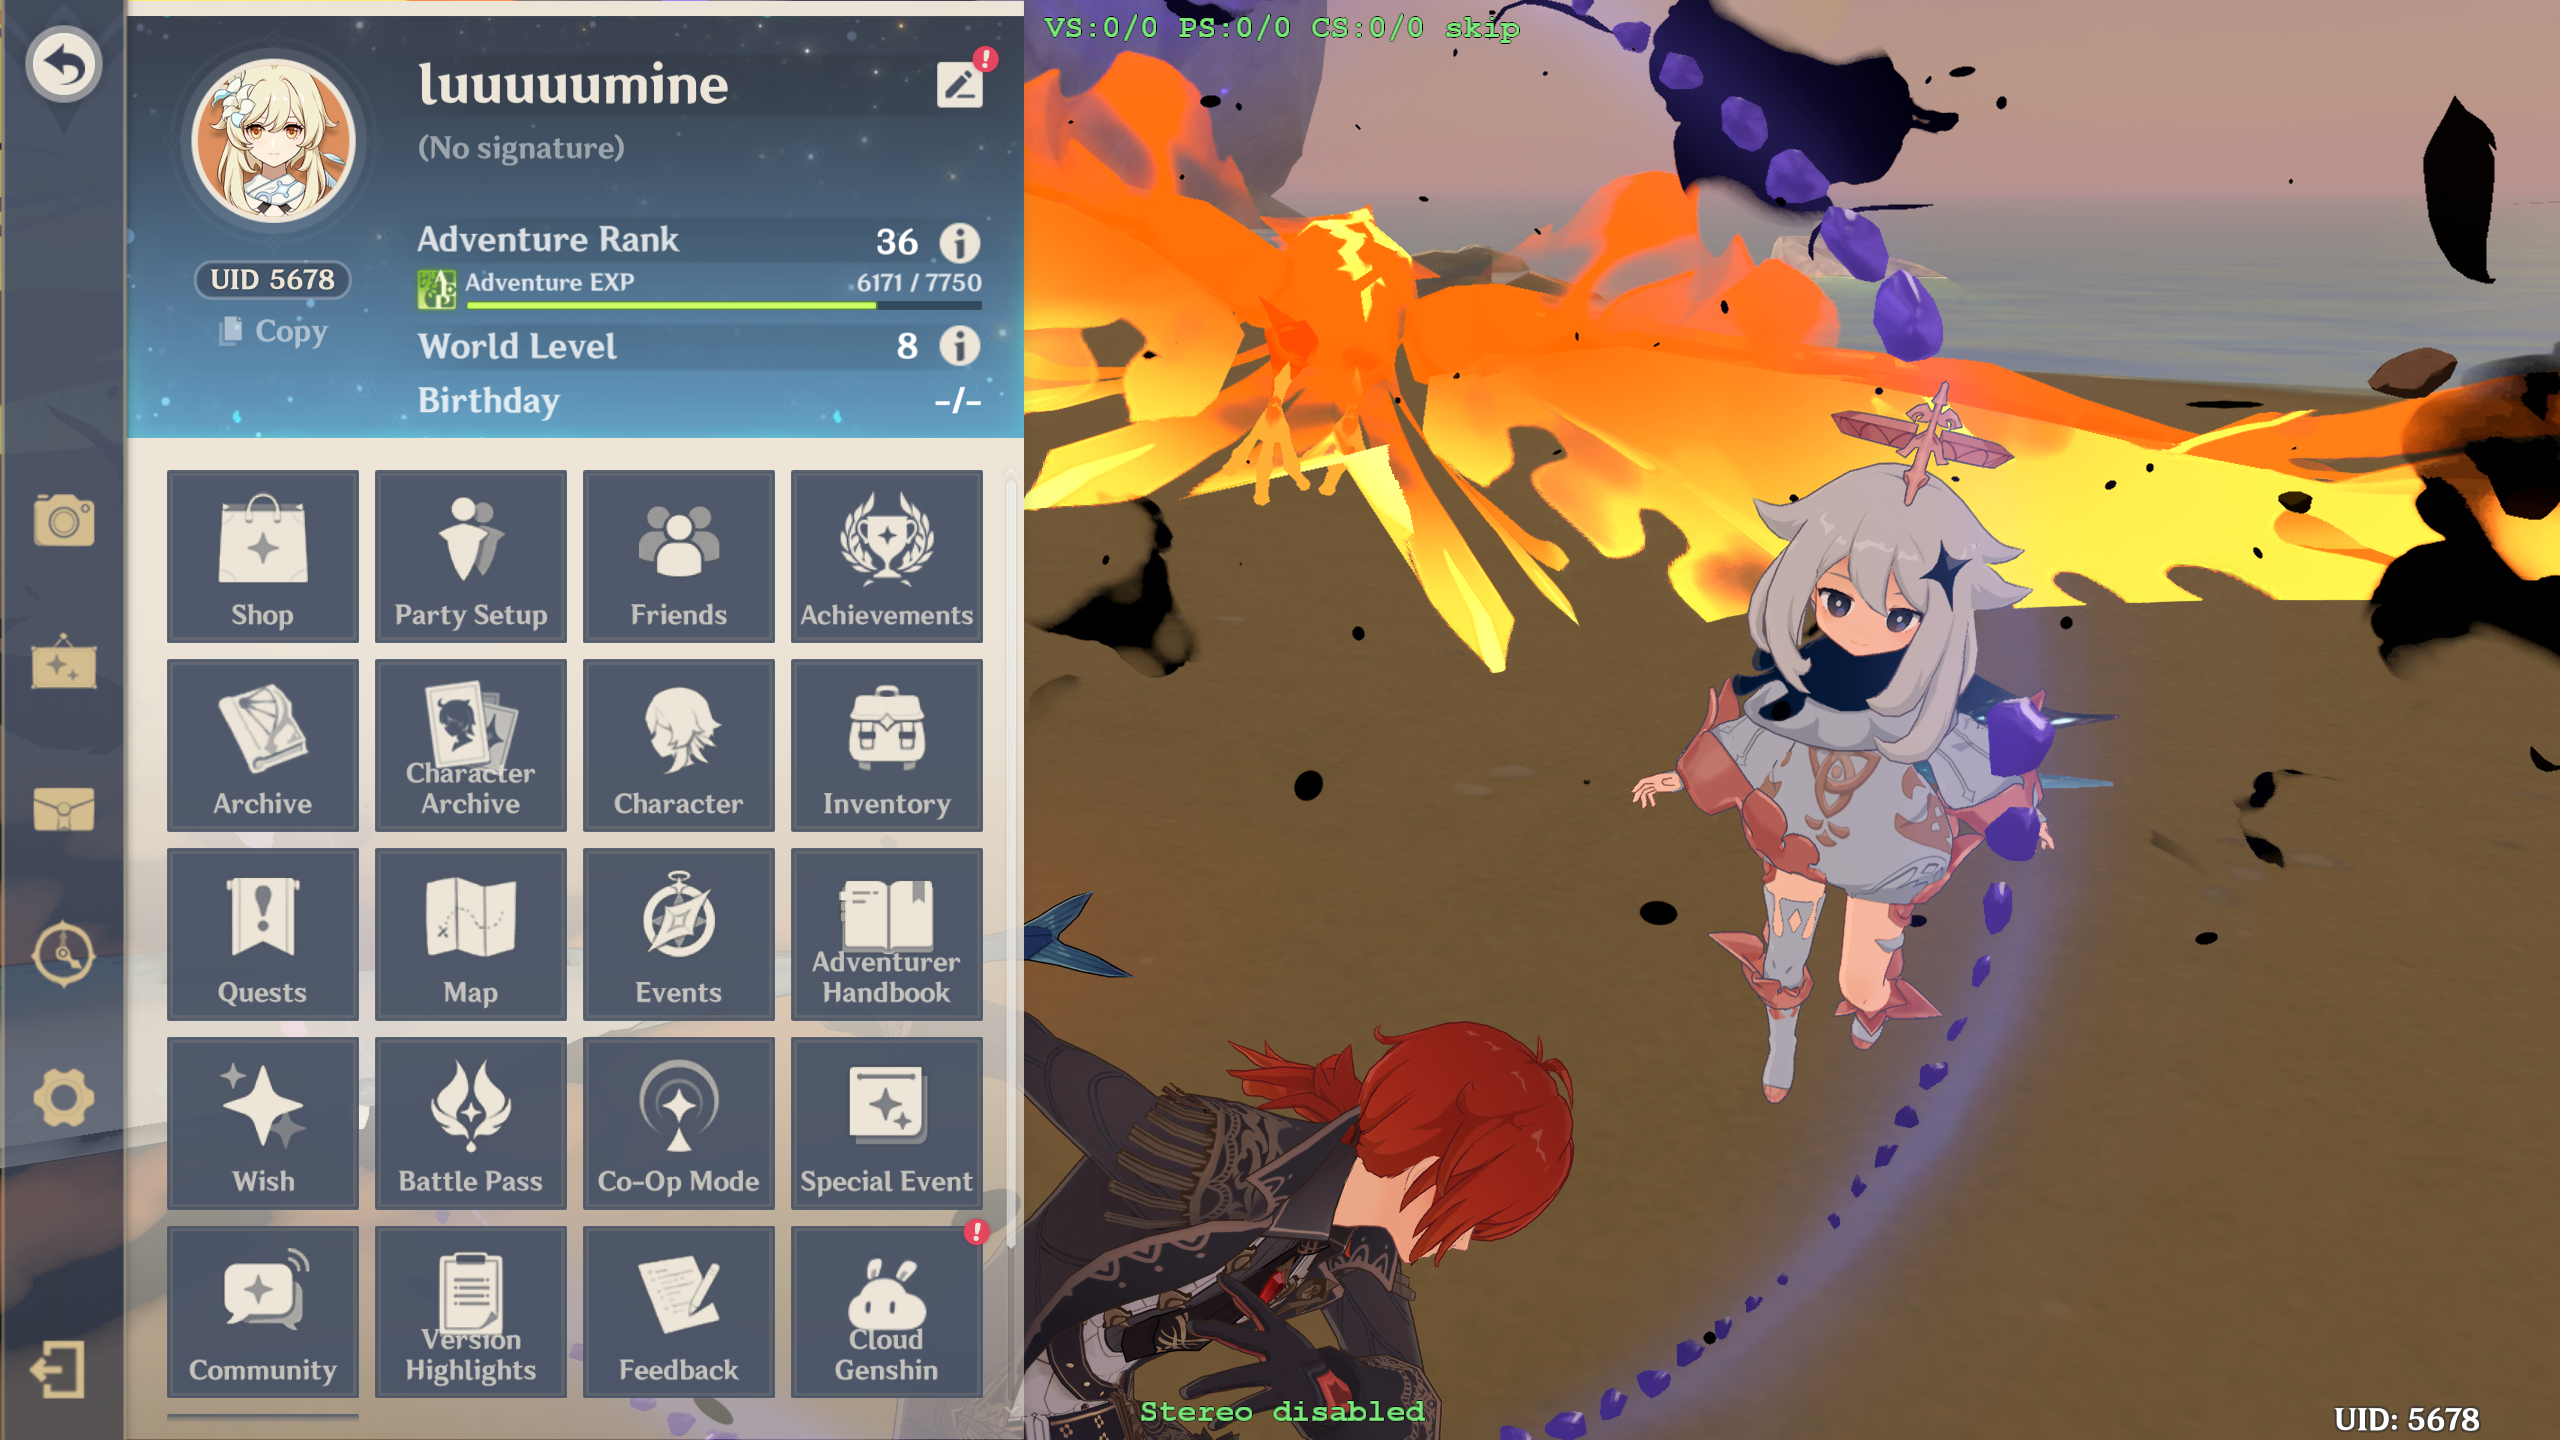
First, I recommend traveling somewhere where there are as few objects on screen as possible but the effect you are looking for will still show up. You will see why shortly, but the more objects on screen the longer it will take to hunt for the shaders we are looking for. The starting beach area is always a good choice

Once you have a good location, trigger the effect you are looking for and enter the pause menu. In this case, we are interested in the flame effect from Diluc’s skill, so we press e then pause (note: for effects that show up only when the game isn’t paused, it is still possible to get them just a little more difficult – I will explain how later)
Now, we are going to press
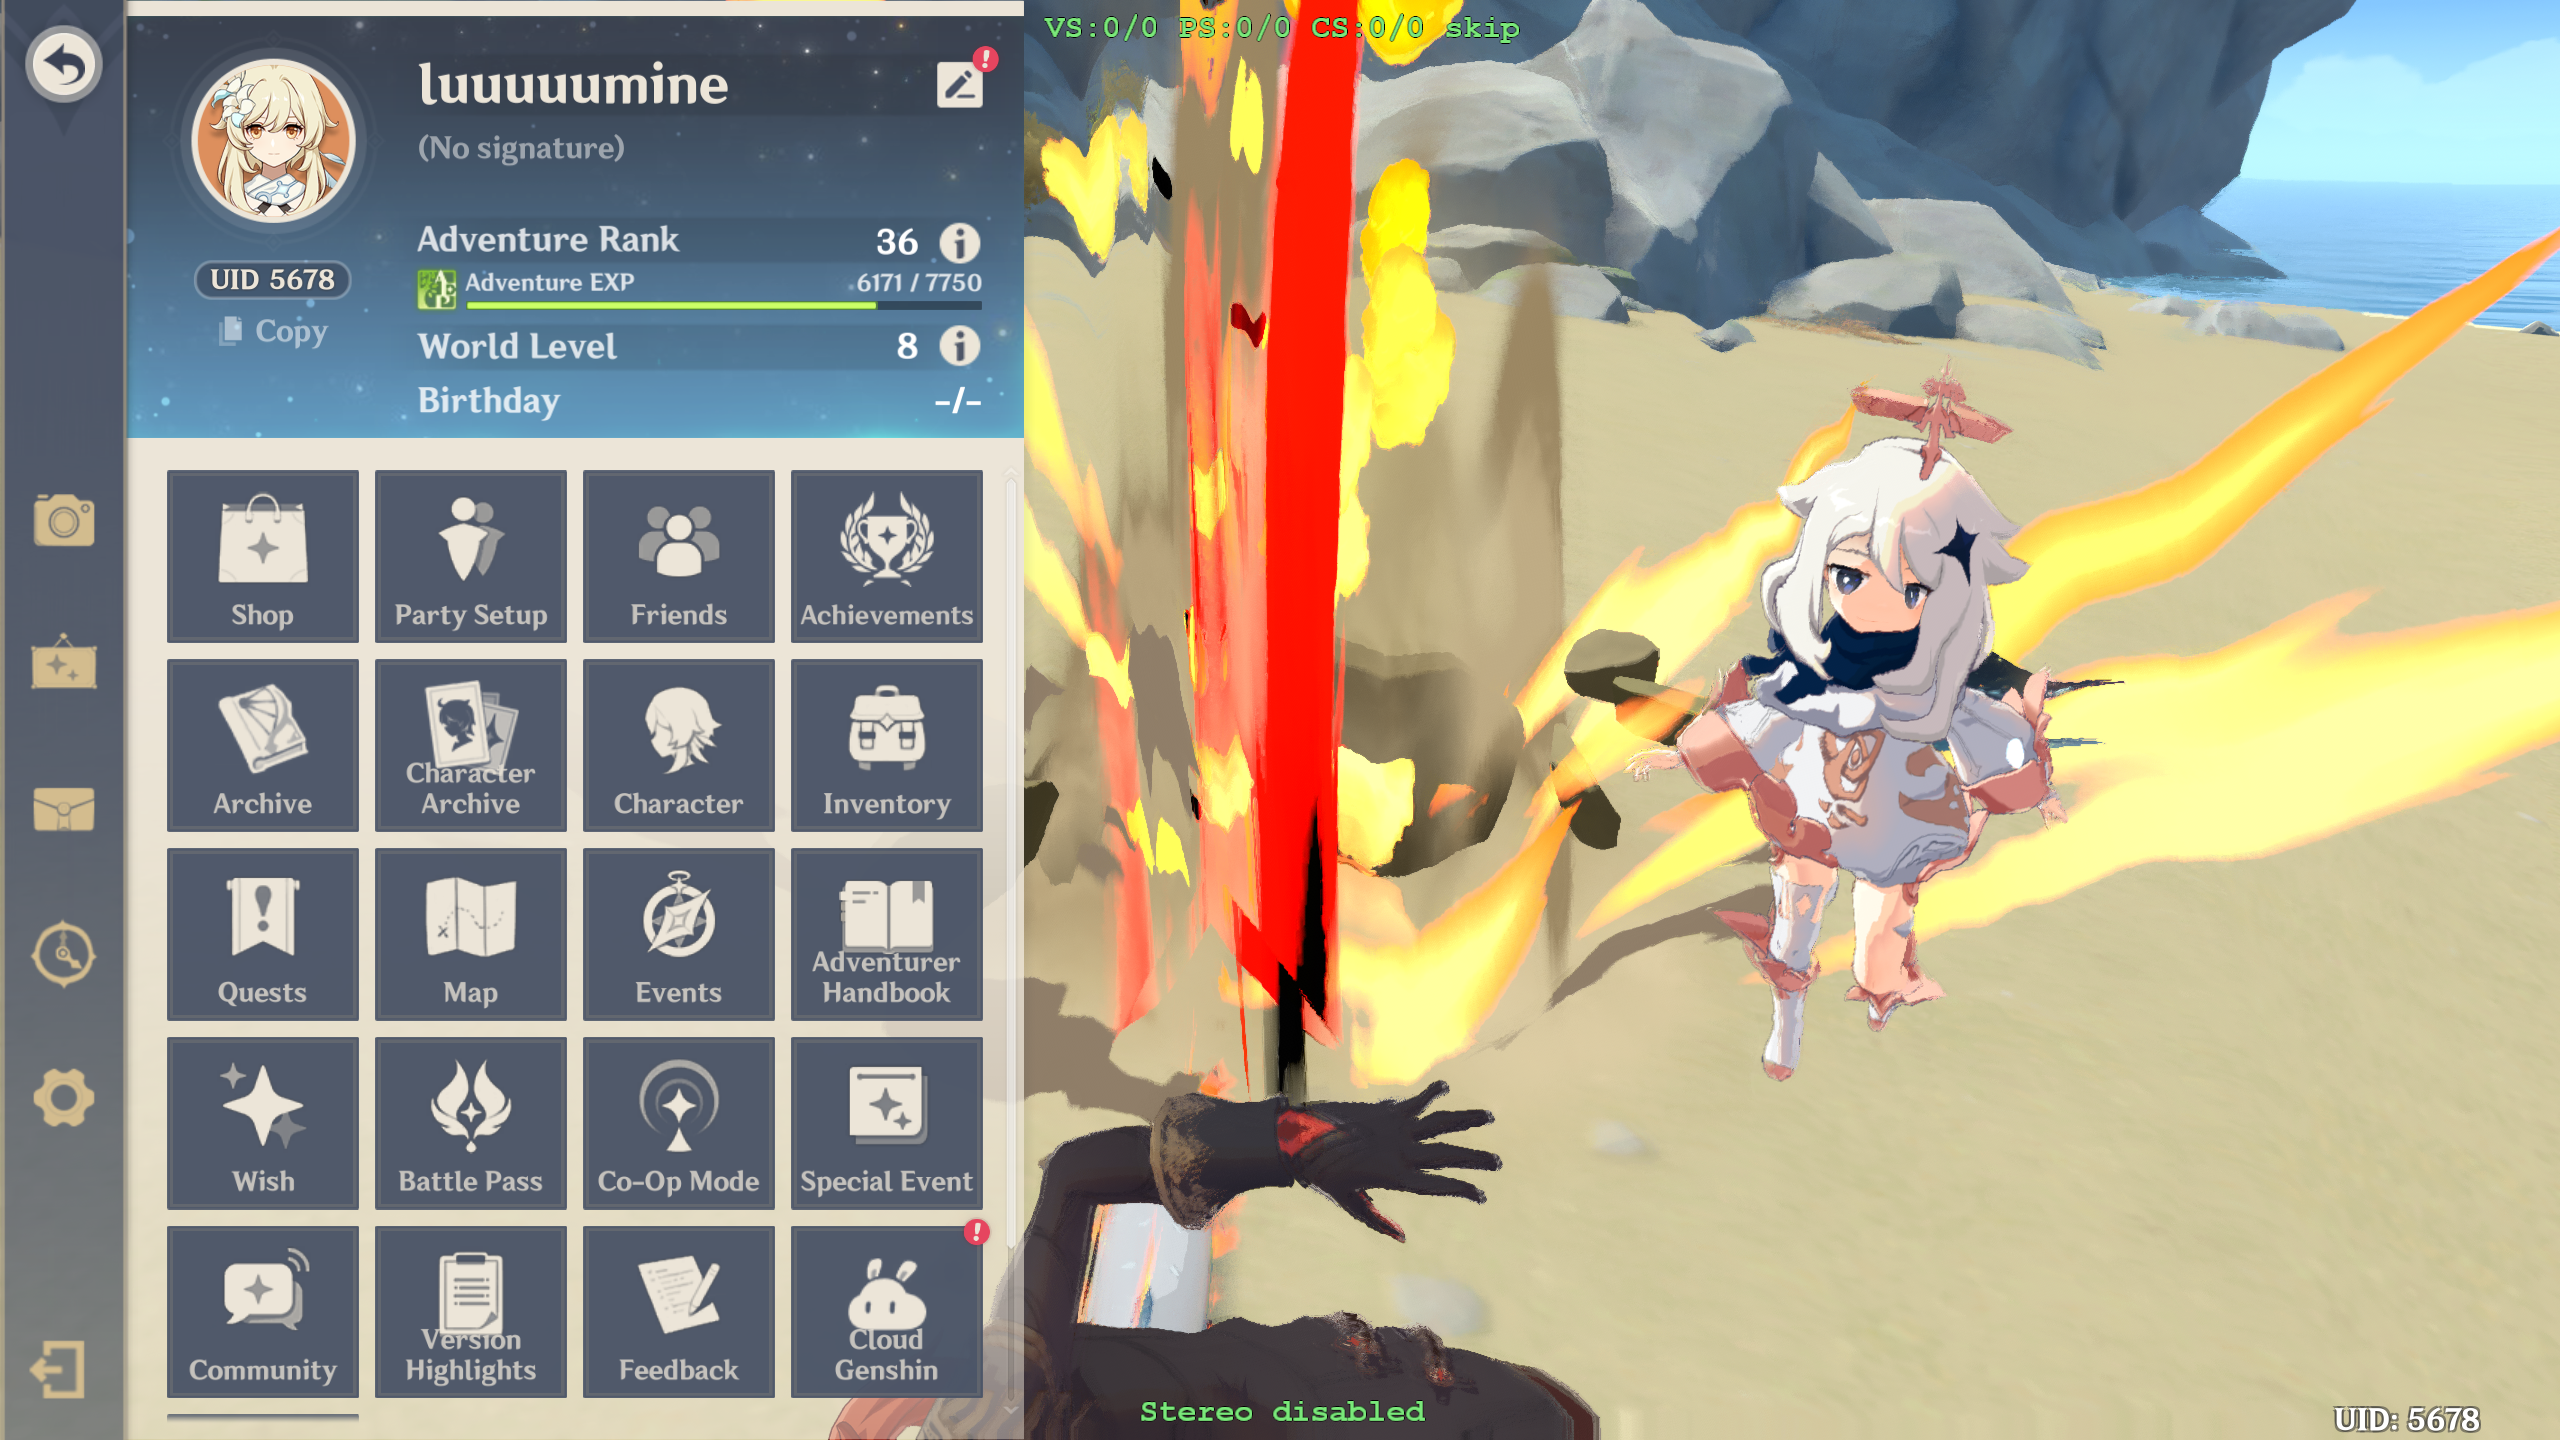
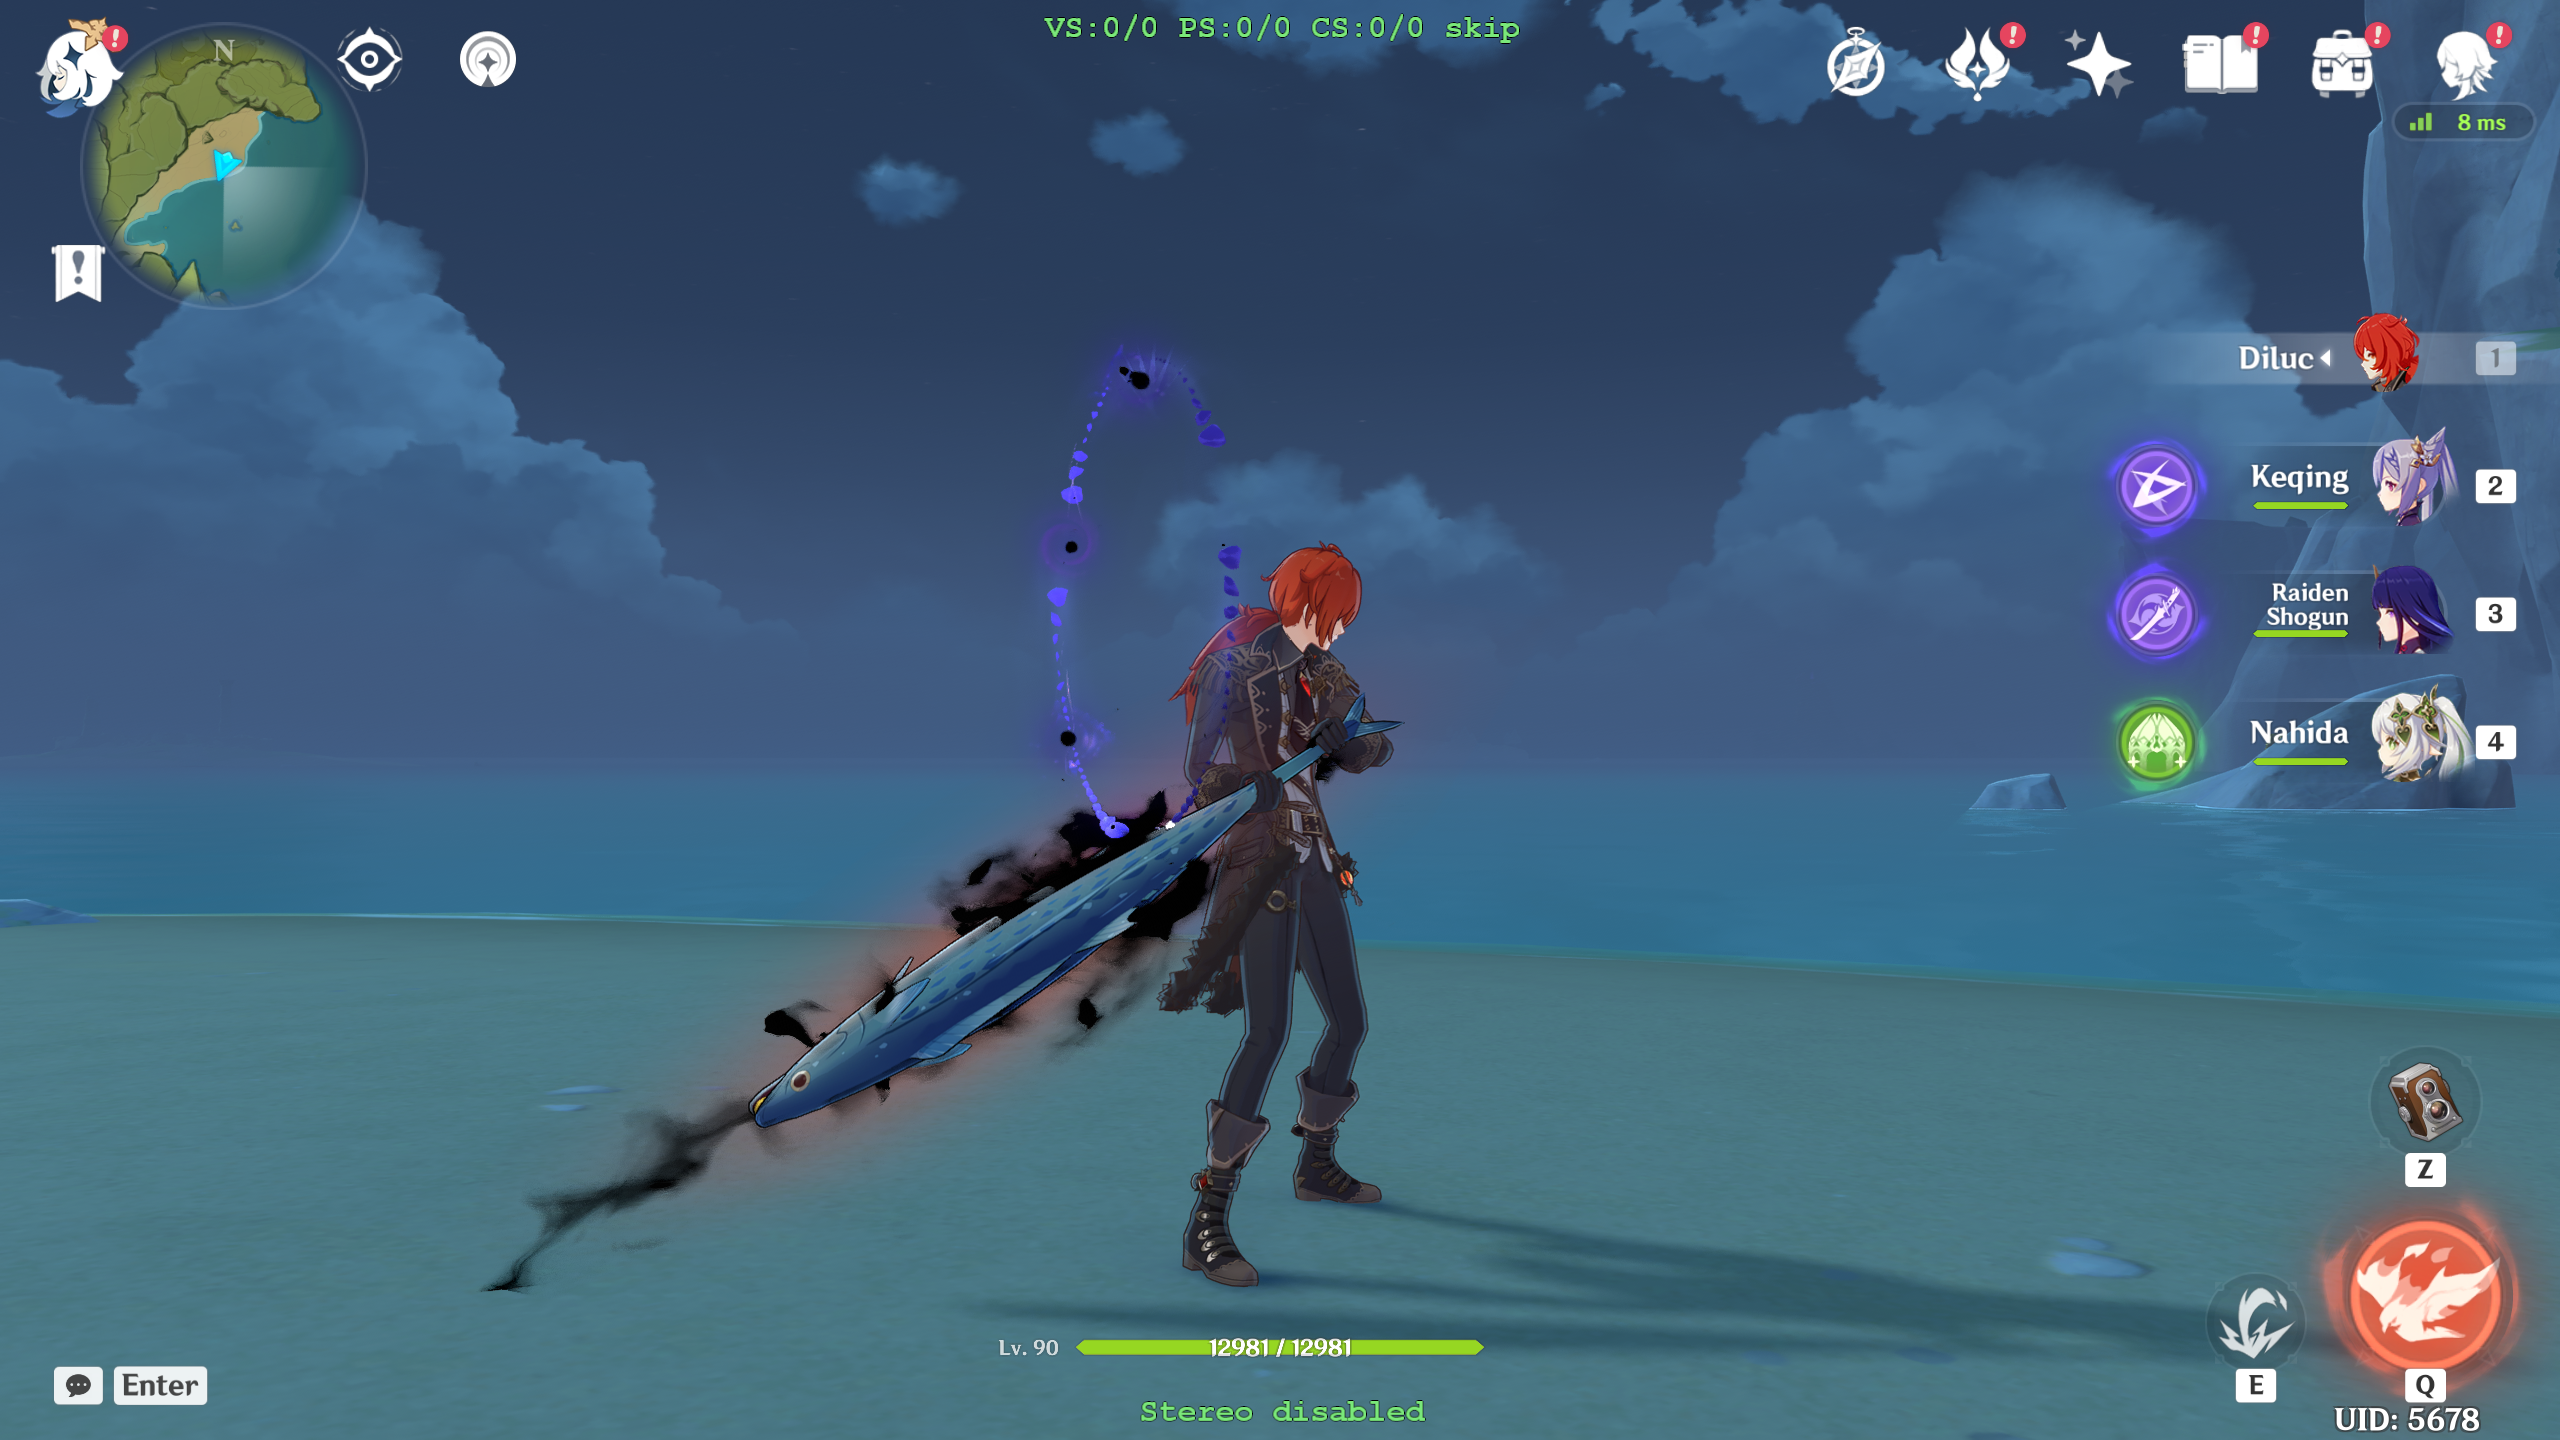
1and2on the numpad to cycle through the Pixel Shaders (PS). There are two types of shaders – Vertex Shaders (VS) which control where things are drawn on-screen, and Pixel Shaders (PS) which decide how they look and draw textures/colors. Since we are interested in the color, we want the PSWhen you find the right
PS, the effect will vanish in-game. For example, here is the shader that controls the center flame of the swing:
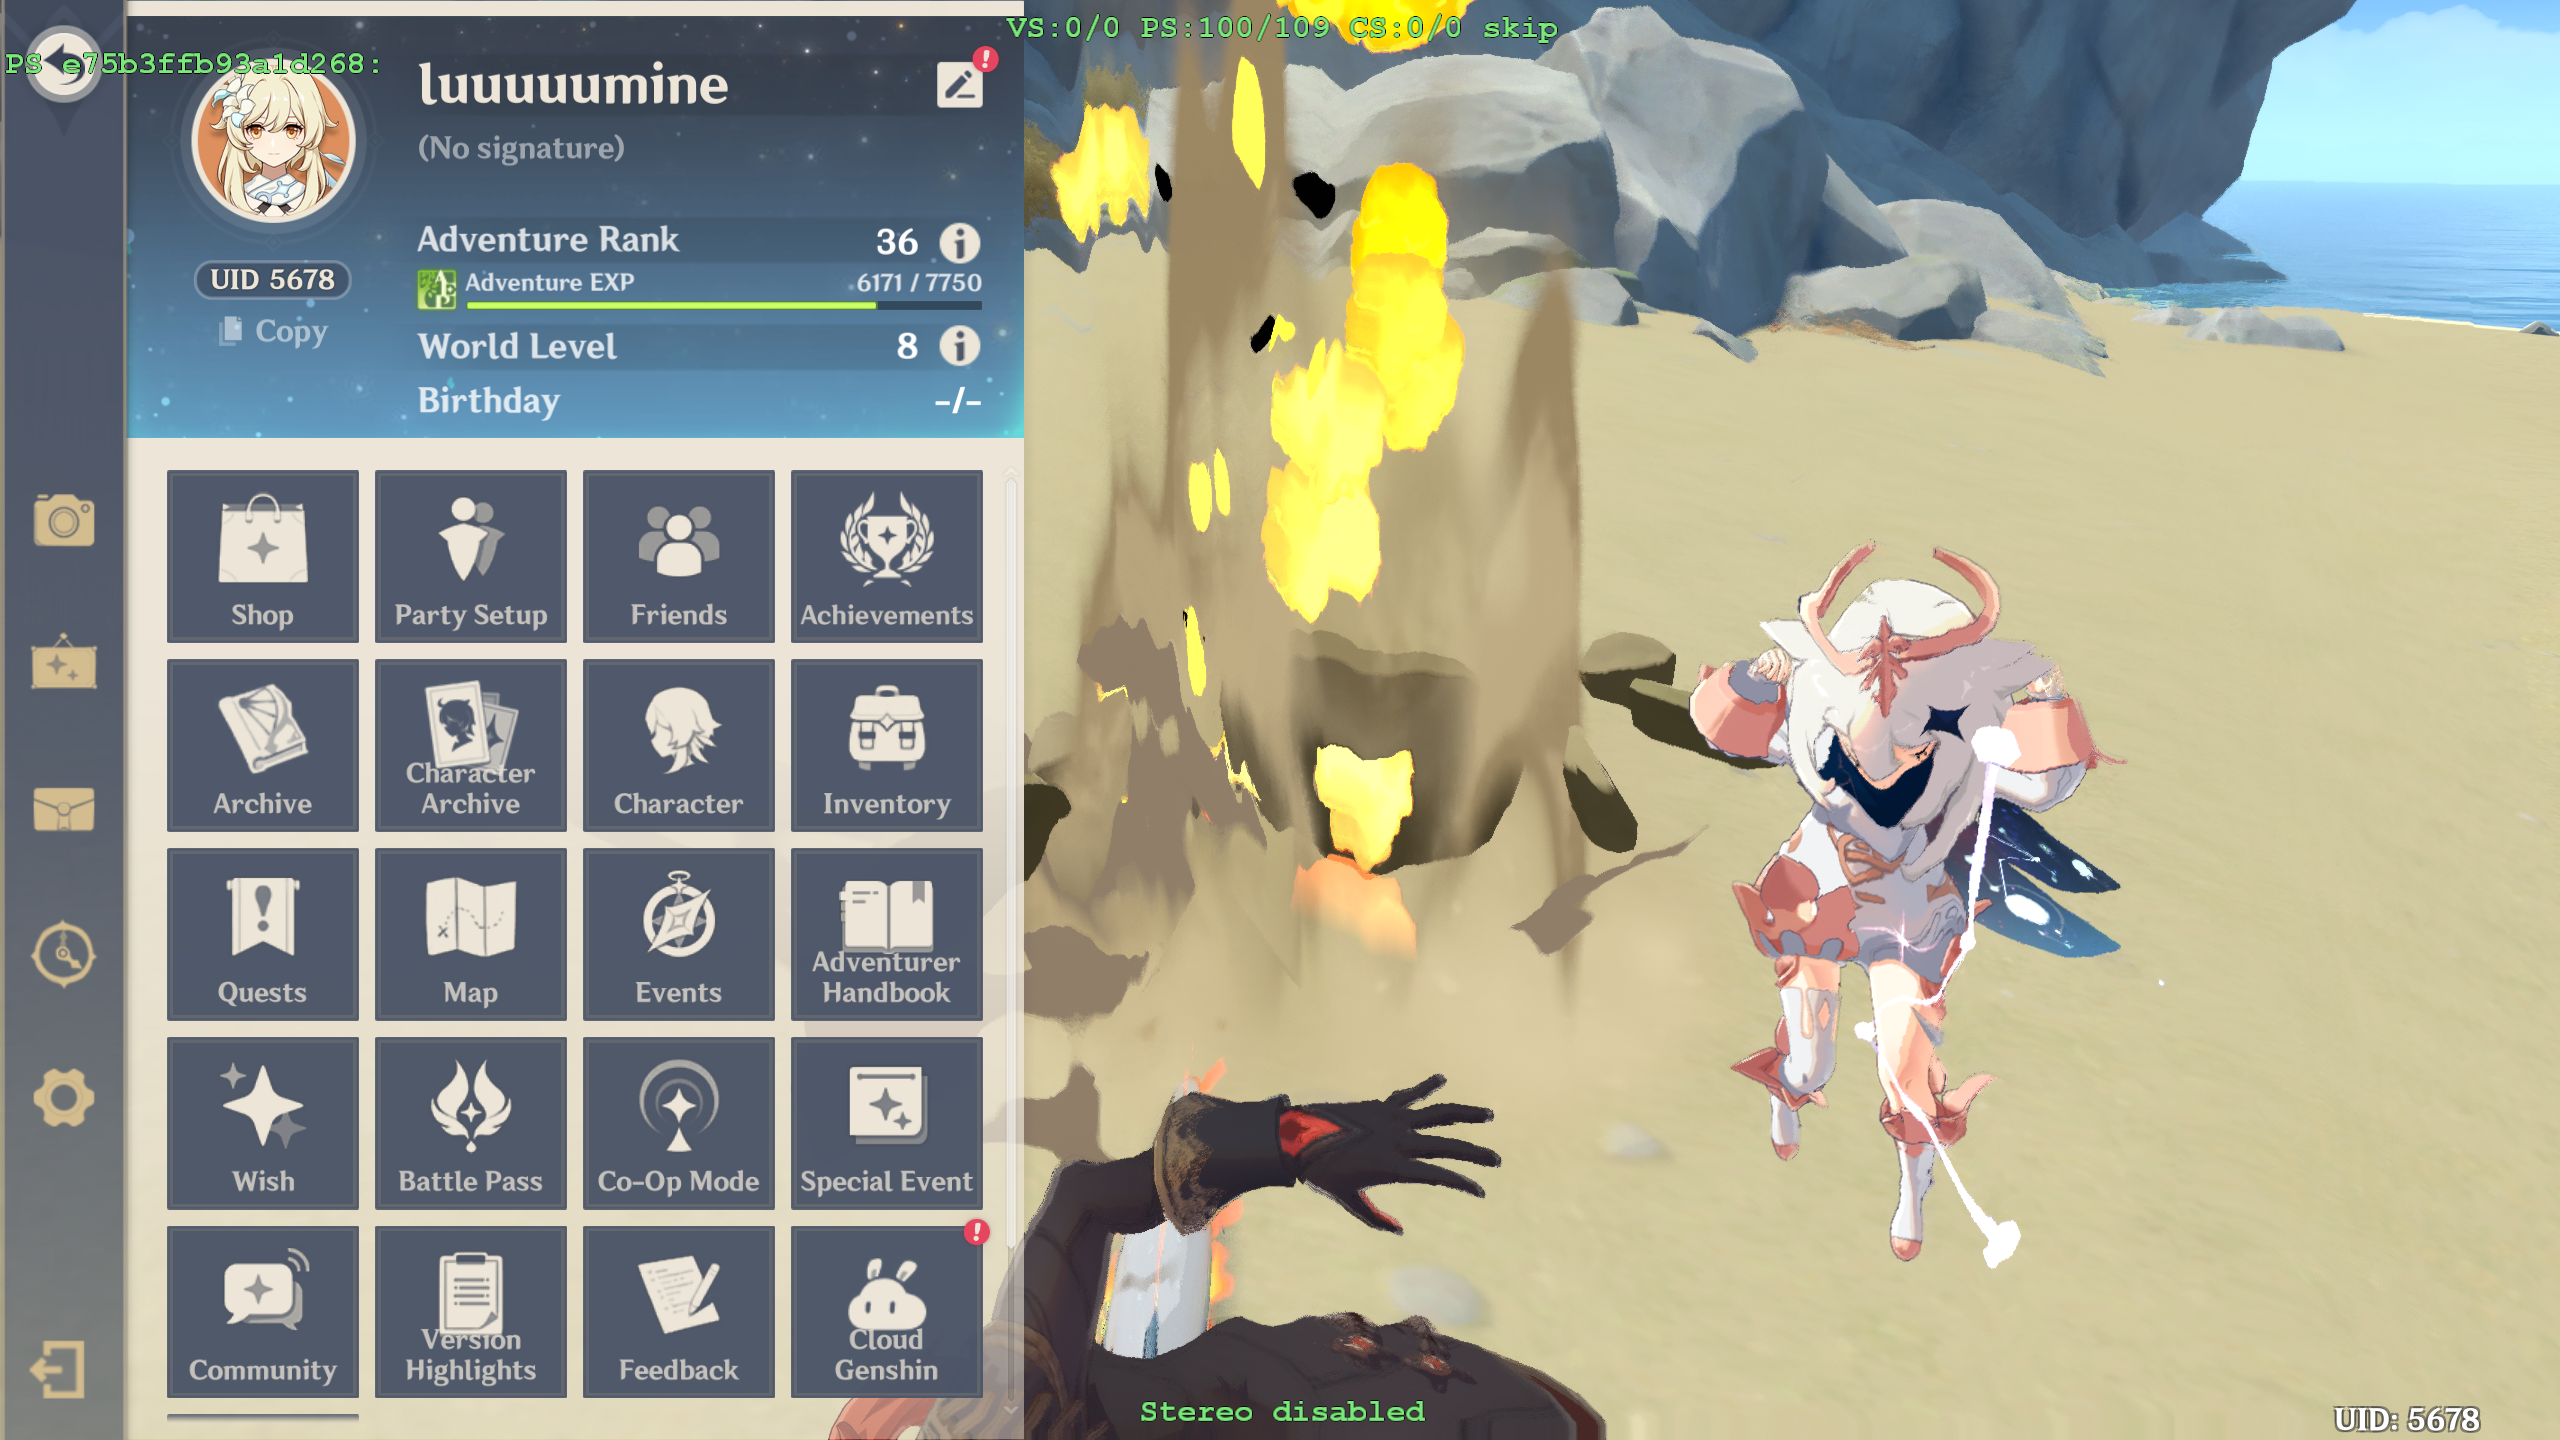
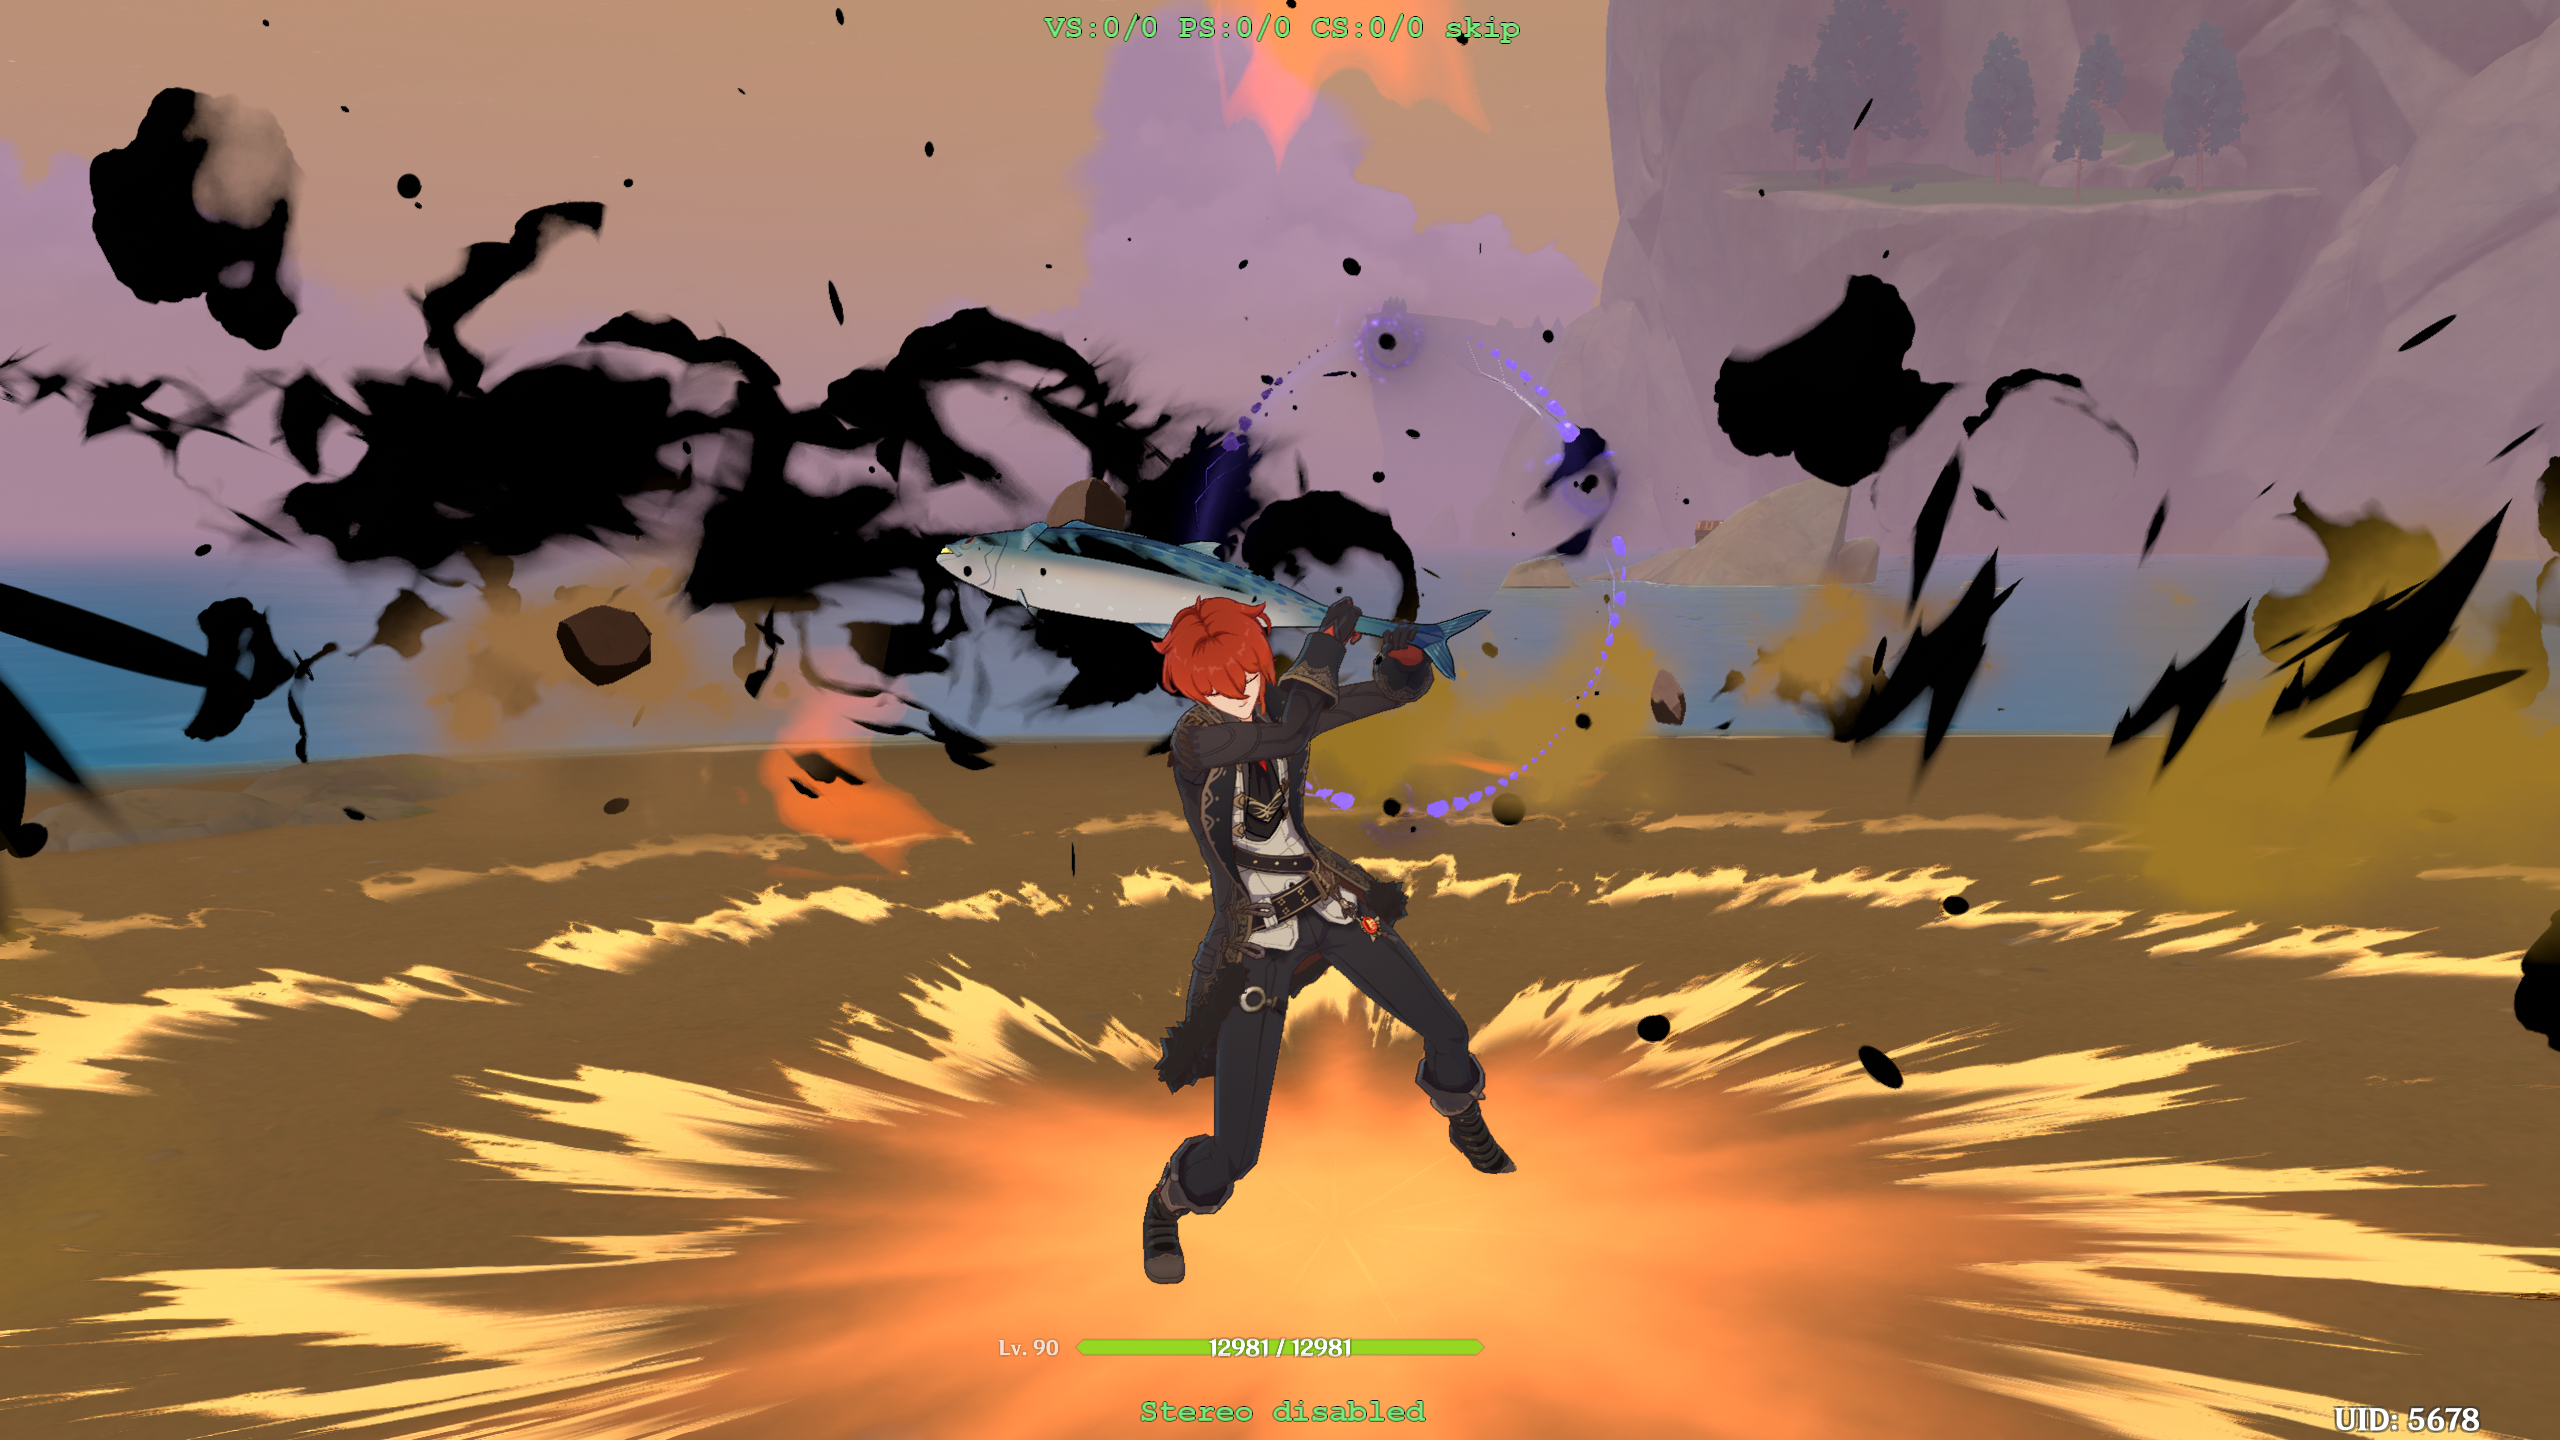
While this one controls the surrounding flame clouds:
We will start with these two.
Pressing
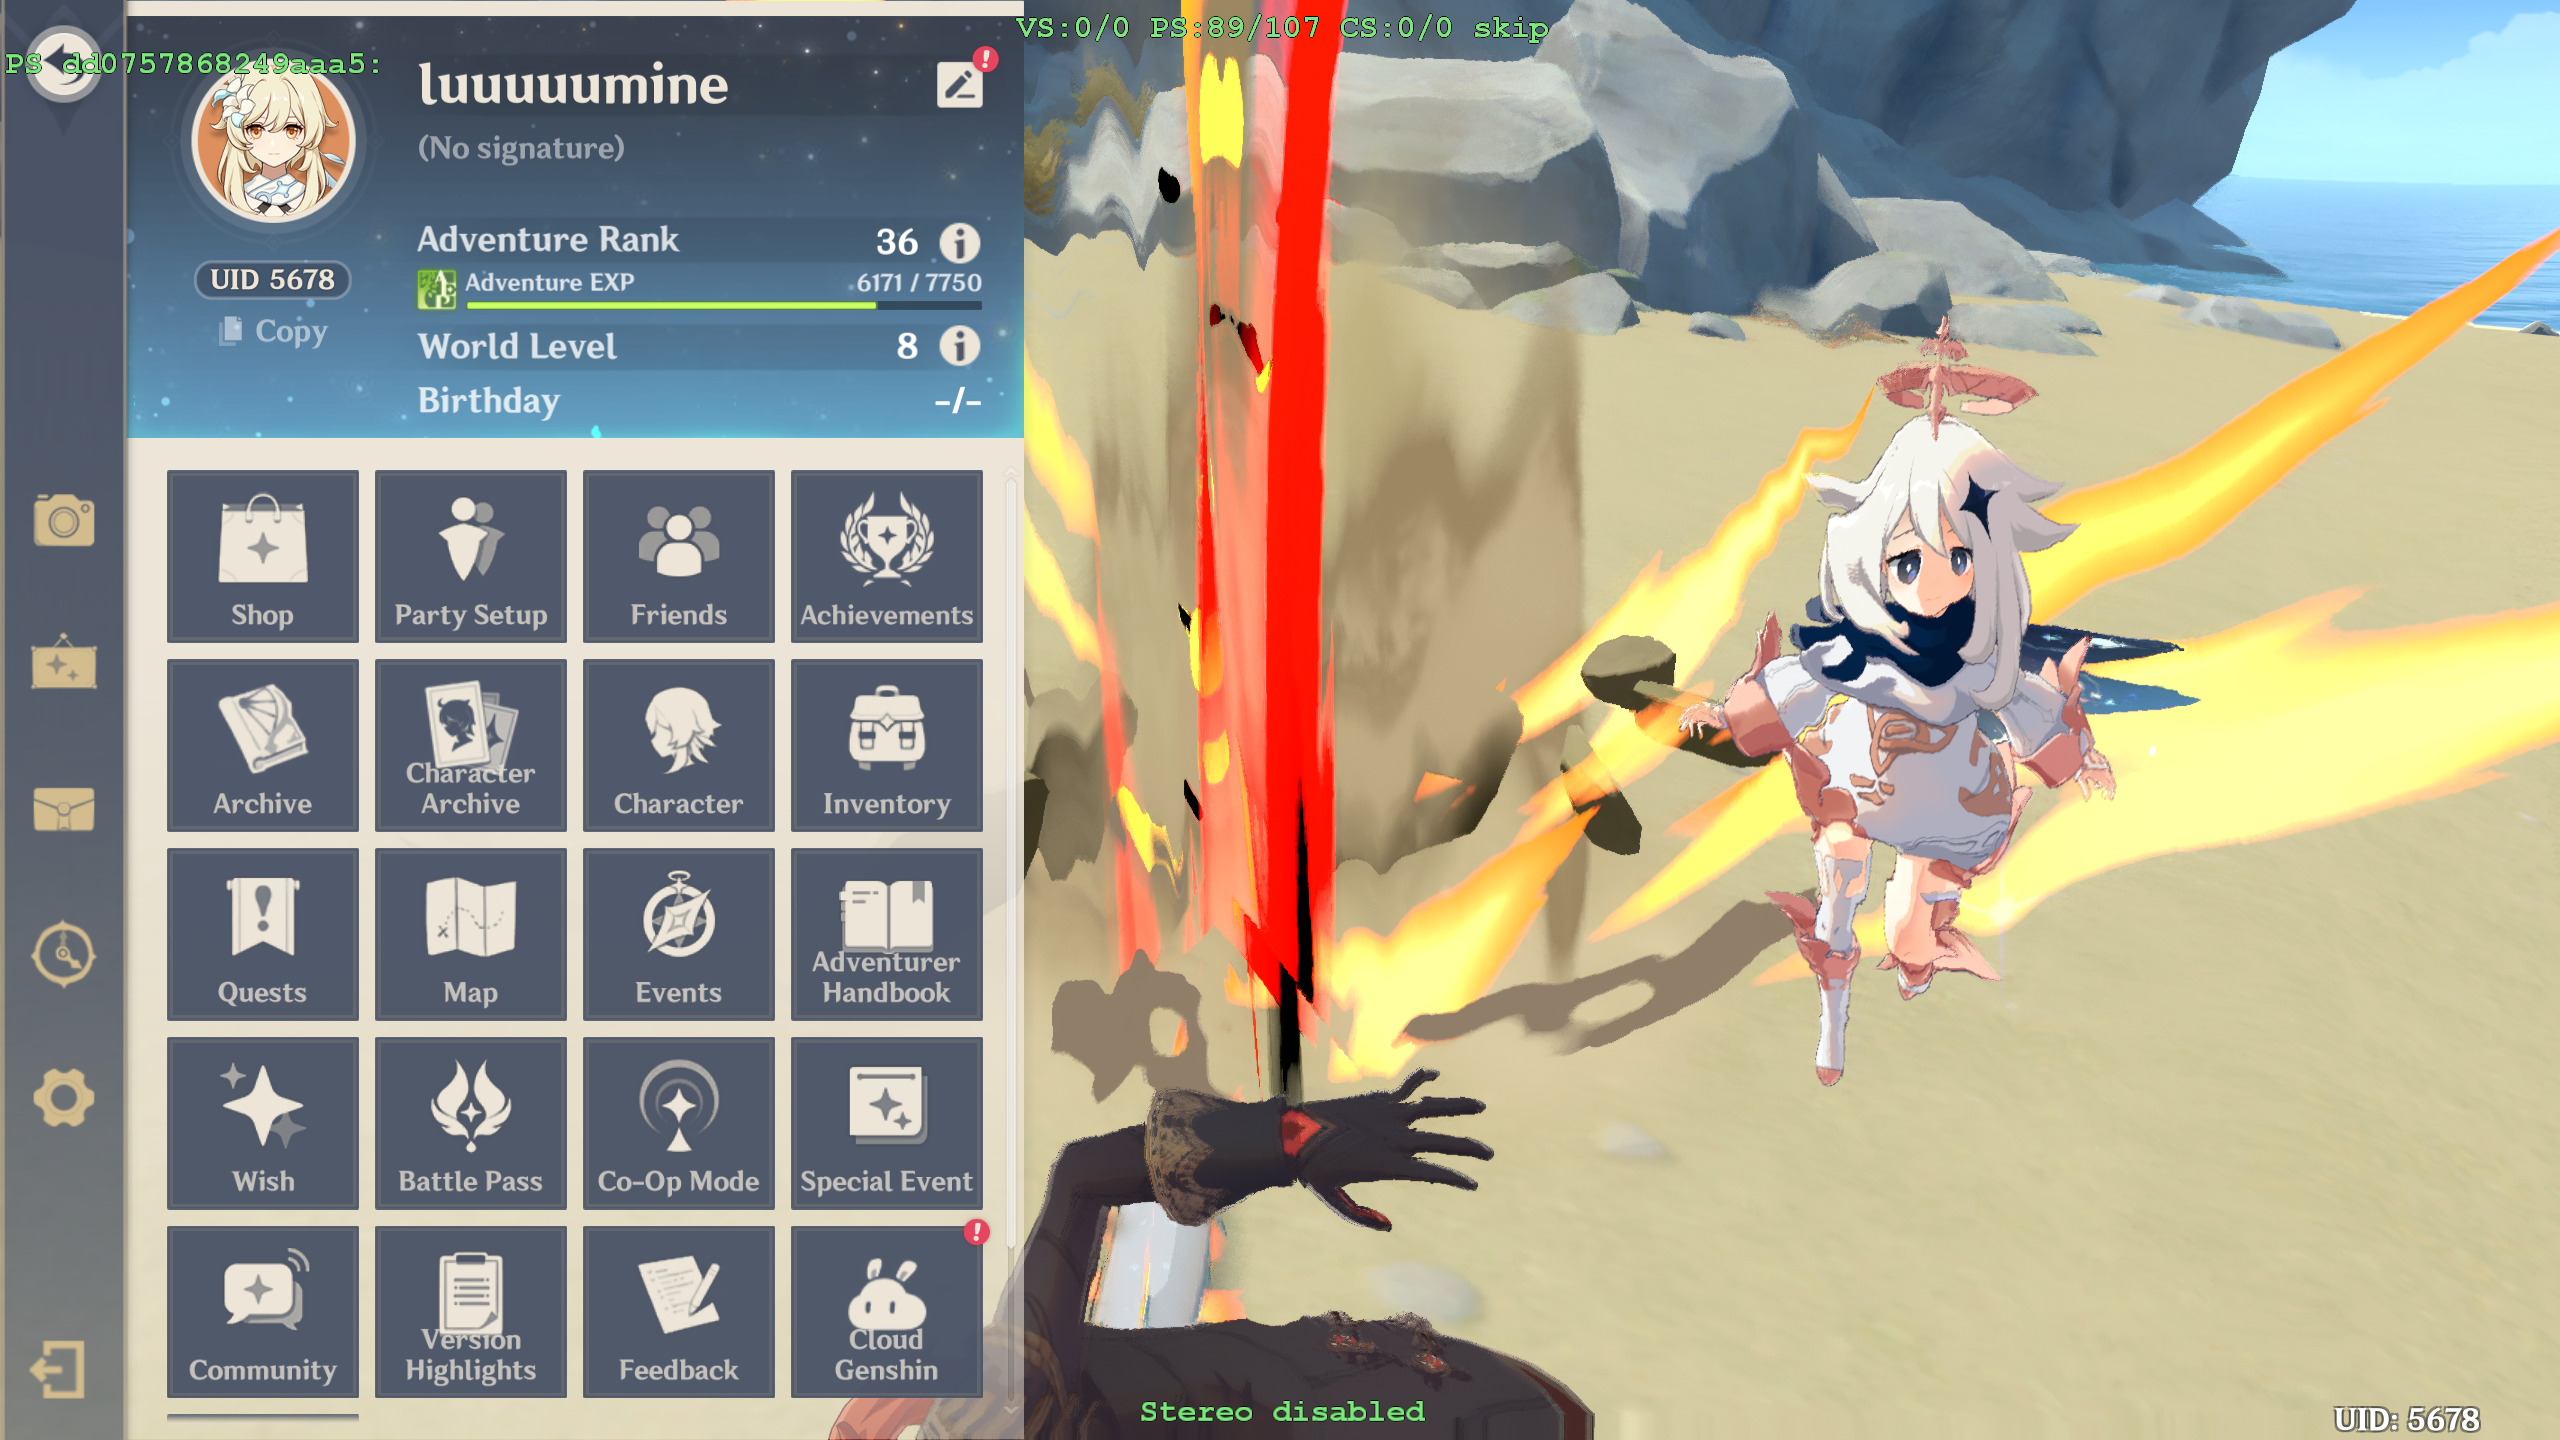
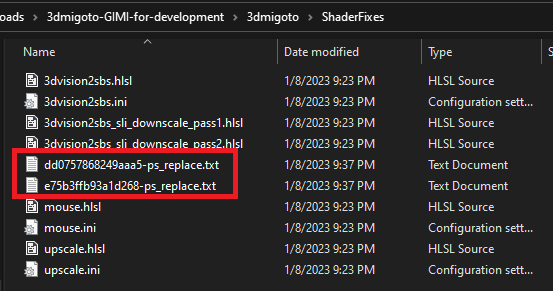
3on the numpad will copy the PS hash to your clipboard, and save the shader into the ShaderFixes folder. The hashes of the above two shaders aree75b3ffb93a1d268anddd0757868249aaa5(Note: you can press numpad+to reset buffers to 0 if you need to quickly go back to the starting point). Note that shader hashes can change between versions, so your hashes may not be the same values.The shaders should now show up in ShaderFixes with a name like
hash-ps_replace.txt.
If they don’t show up after pressing 3 on the numpad, make sure you put hlsl and asm in the marking_actions as mentioned in the Important Note at the top and have refreshed with F10
Also note that a small number of shaders will not decompile properly into hlsl (high level shader language), and will instead revert back to asm (assembly). These shaders will still work, but they will be more unwieldy to edit. I won’t cover asm in this tutorial, but the concepts are the same – the syntax of the shaders is just harder to read.
- Open them up with your text editor of choice (Notepad/Notepad++/Sublime Text/whatever). The file will look daunting at first, but don’t worry – you don’t need to understand the details in order to make basic changes (I will go more into details of how this file works in the later sections).
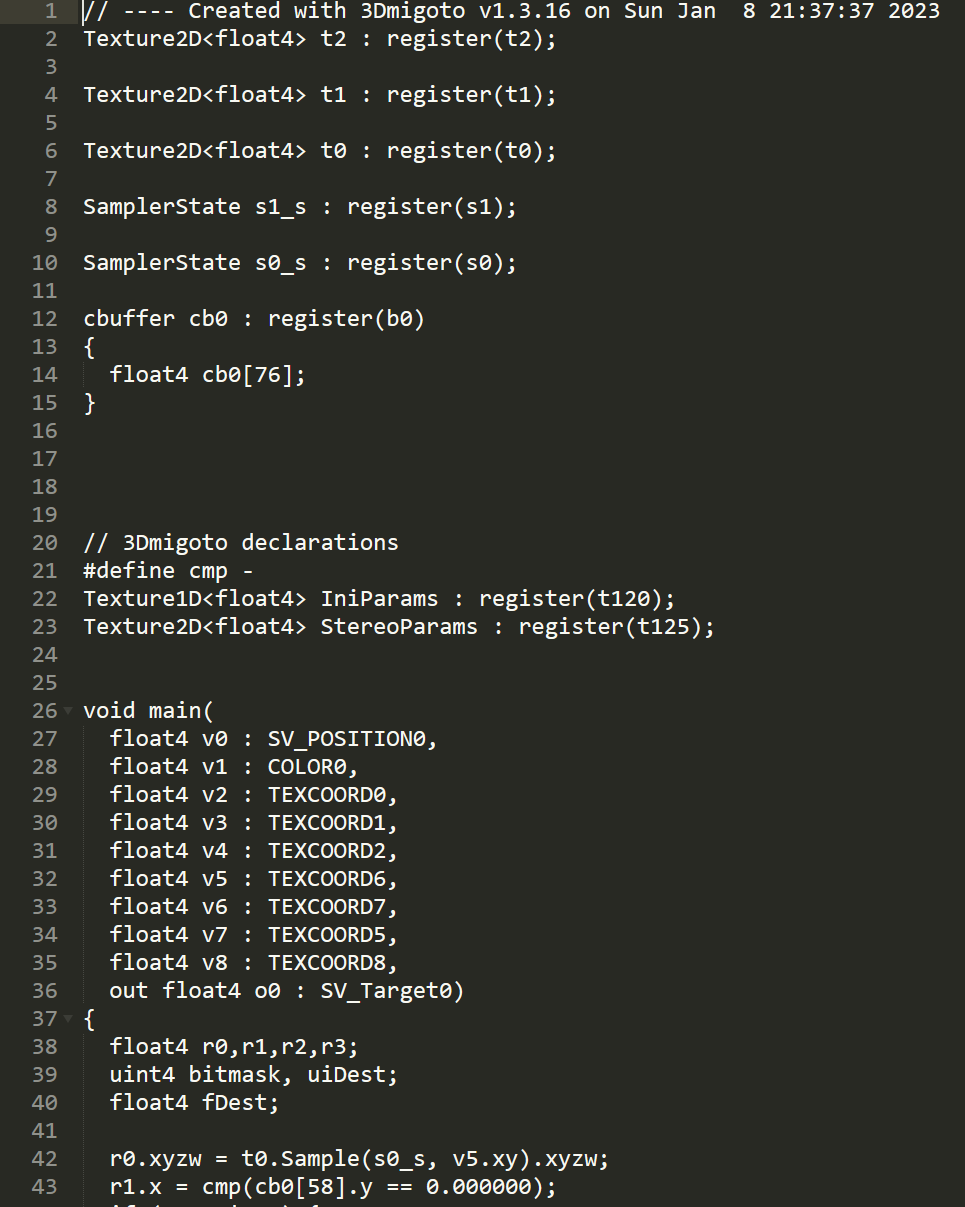
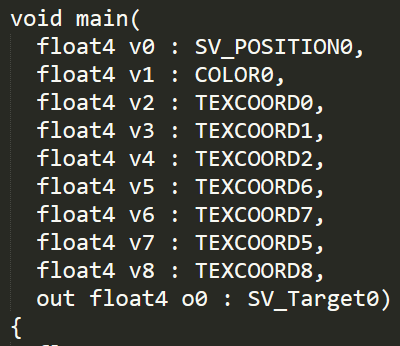
- For now, we are most interested in messing around with the inputs and outputs. These are listed right under main – this file takes 9 inputs (numbered
v0,v1,v2,…v8) and has one output (o0).
- Usually it is simplest to start with the output. It has a type of
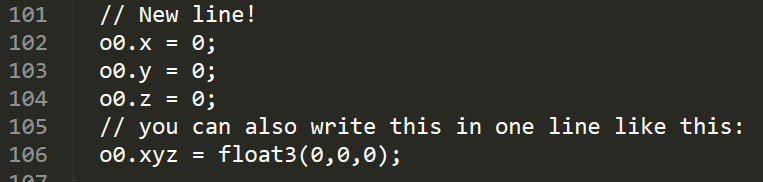
float4which means it has anx,y,zandwcomponent and takes a floating point (i.e. decimal) number as input. We can experiment to see what it does by putting a line at the end of the code to forcibly set the value to a constant:
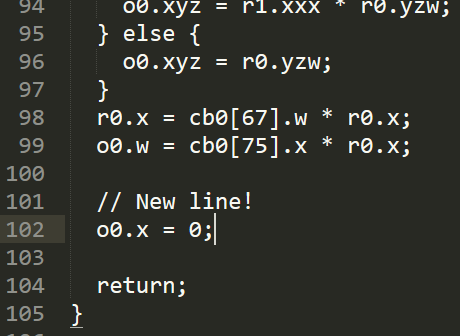
(// and /* */ indicate comments in the code and are ignored by the program. 3dmigoto also exports the asm code below the hlsl code – when I say the “end”, I mean right before the return not after. Everything after that point is commented out, and will not run by default. If you see things like div, mul and mov you have gone too far)
Basically what we are doing is overwriting what the game is calculating for the value and substituting in our own.
- Save the file, then press
F10in game to reload (make sure to also press+to reset buffers!). 3dmigoto will automatically load the shader from the ShaderFixes folder. This is what happens:
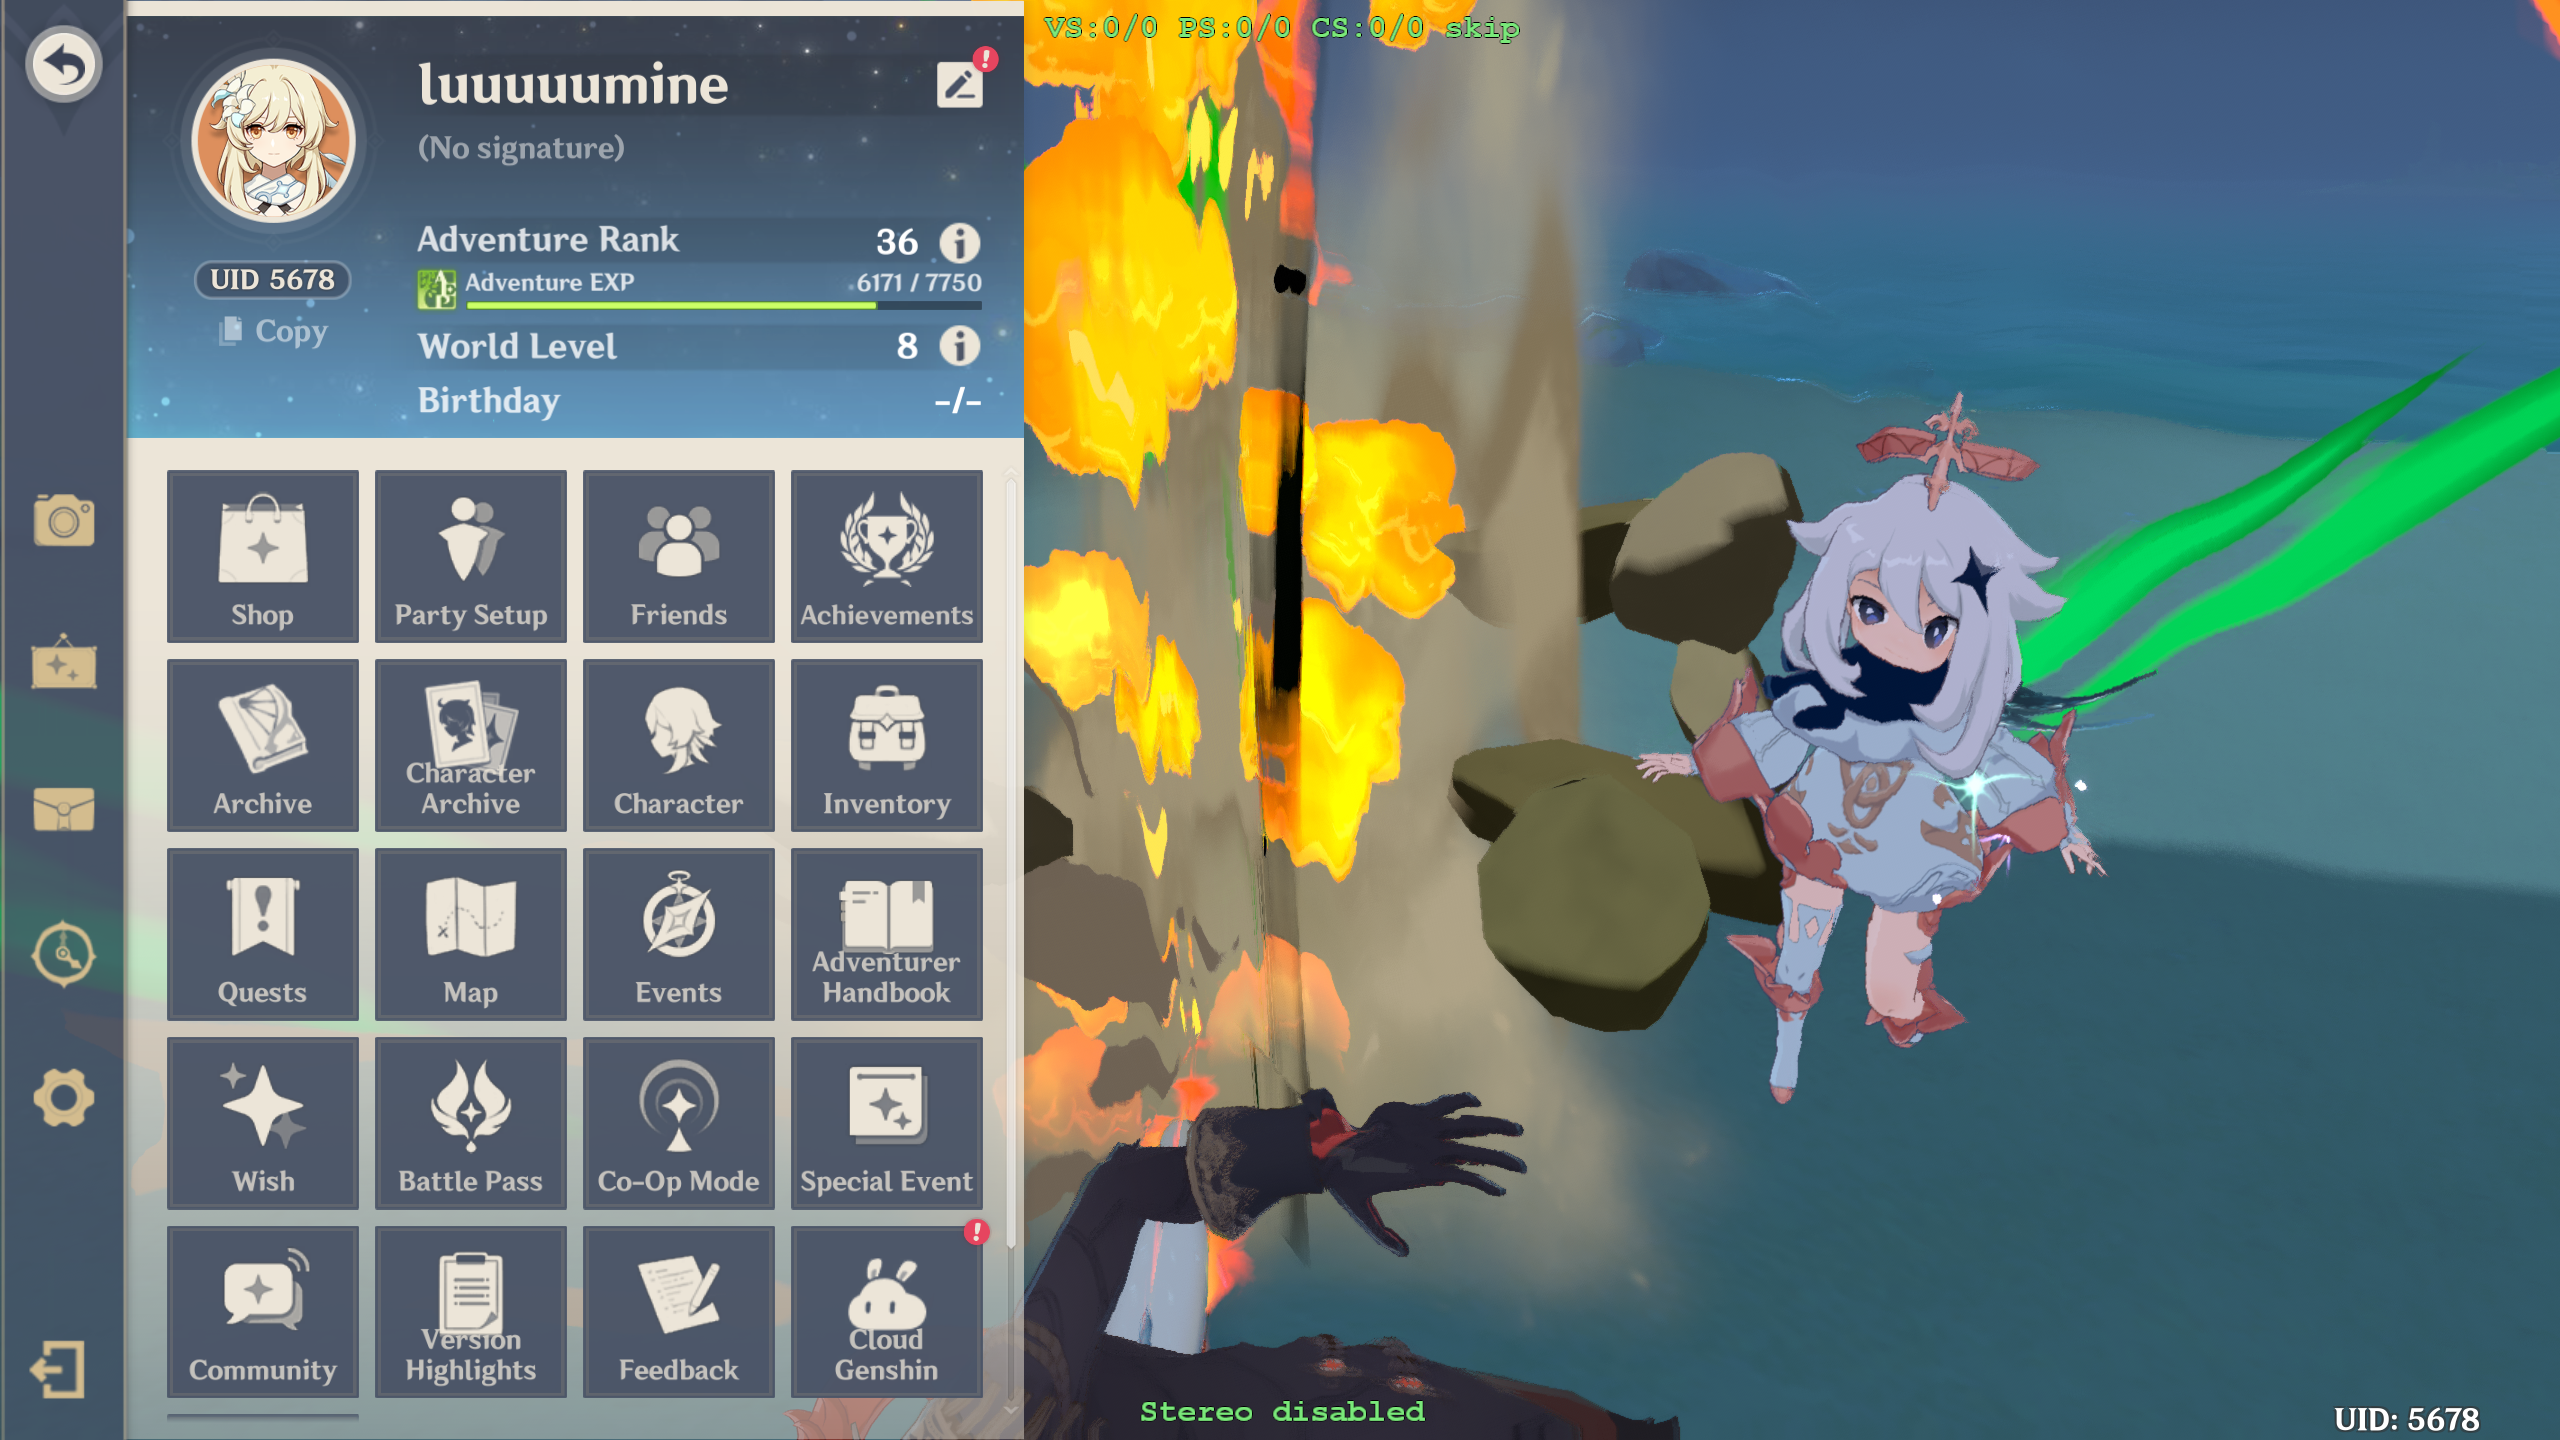
The central line has turned black, while the sparks have turned green. If you familiar with how colors are stored you might have a guess what o0.x represents, but we can continue checking to be sure:
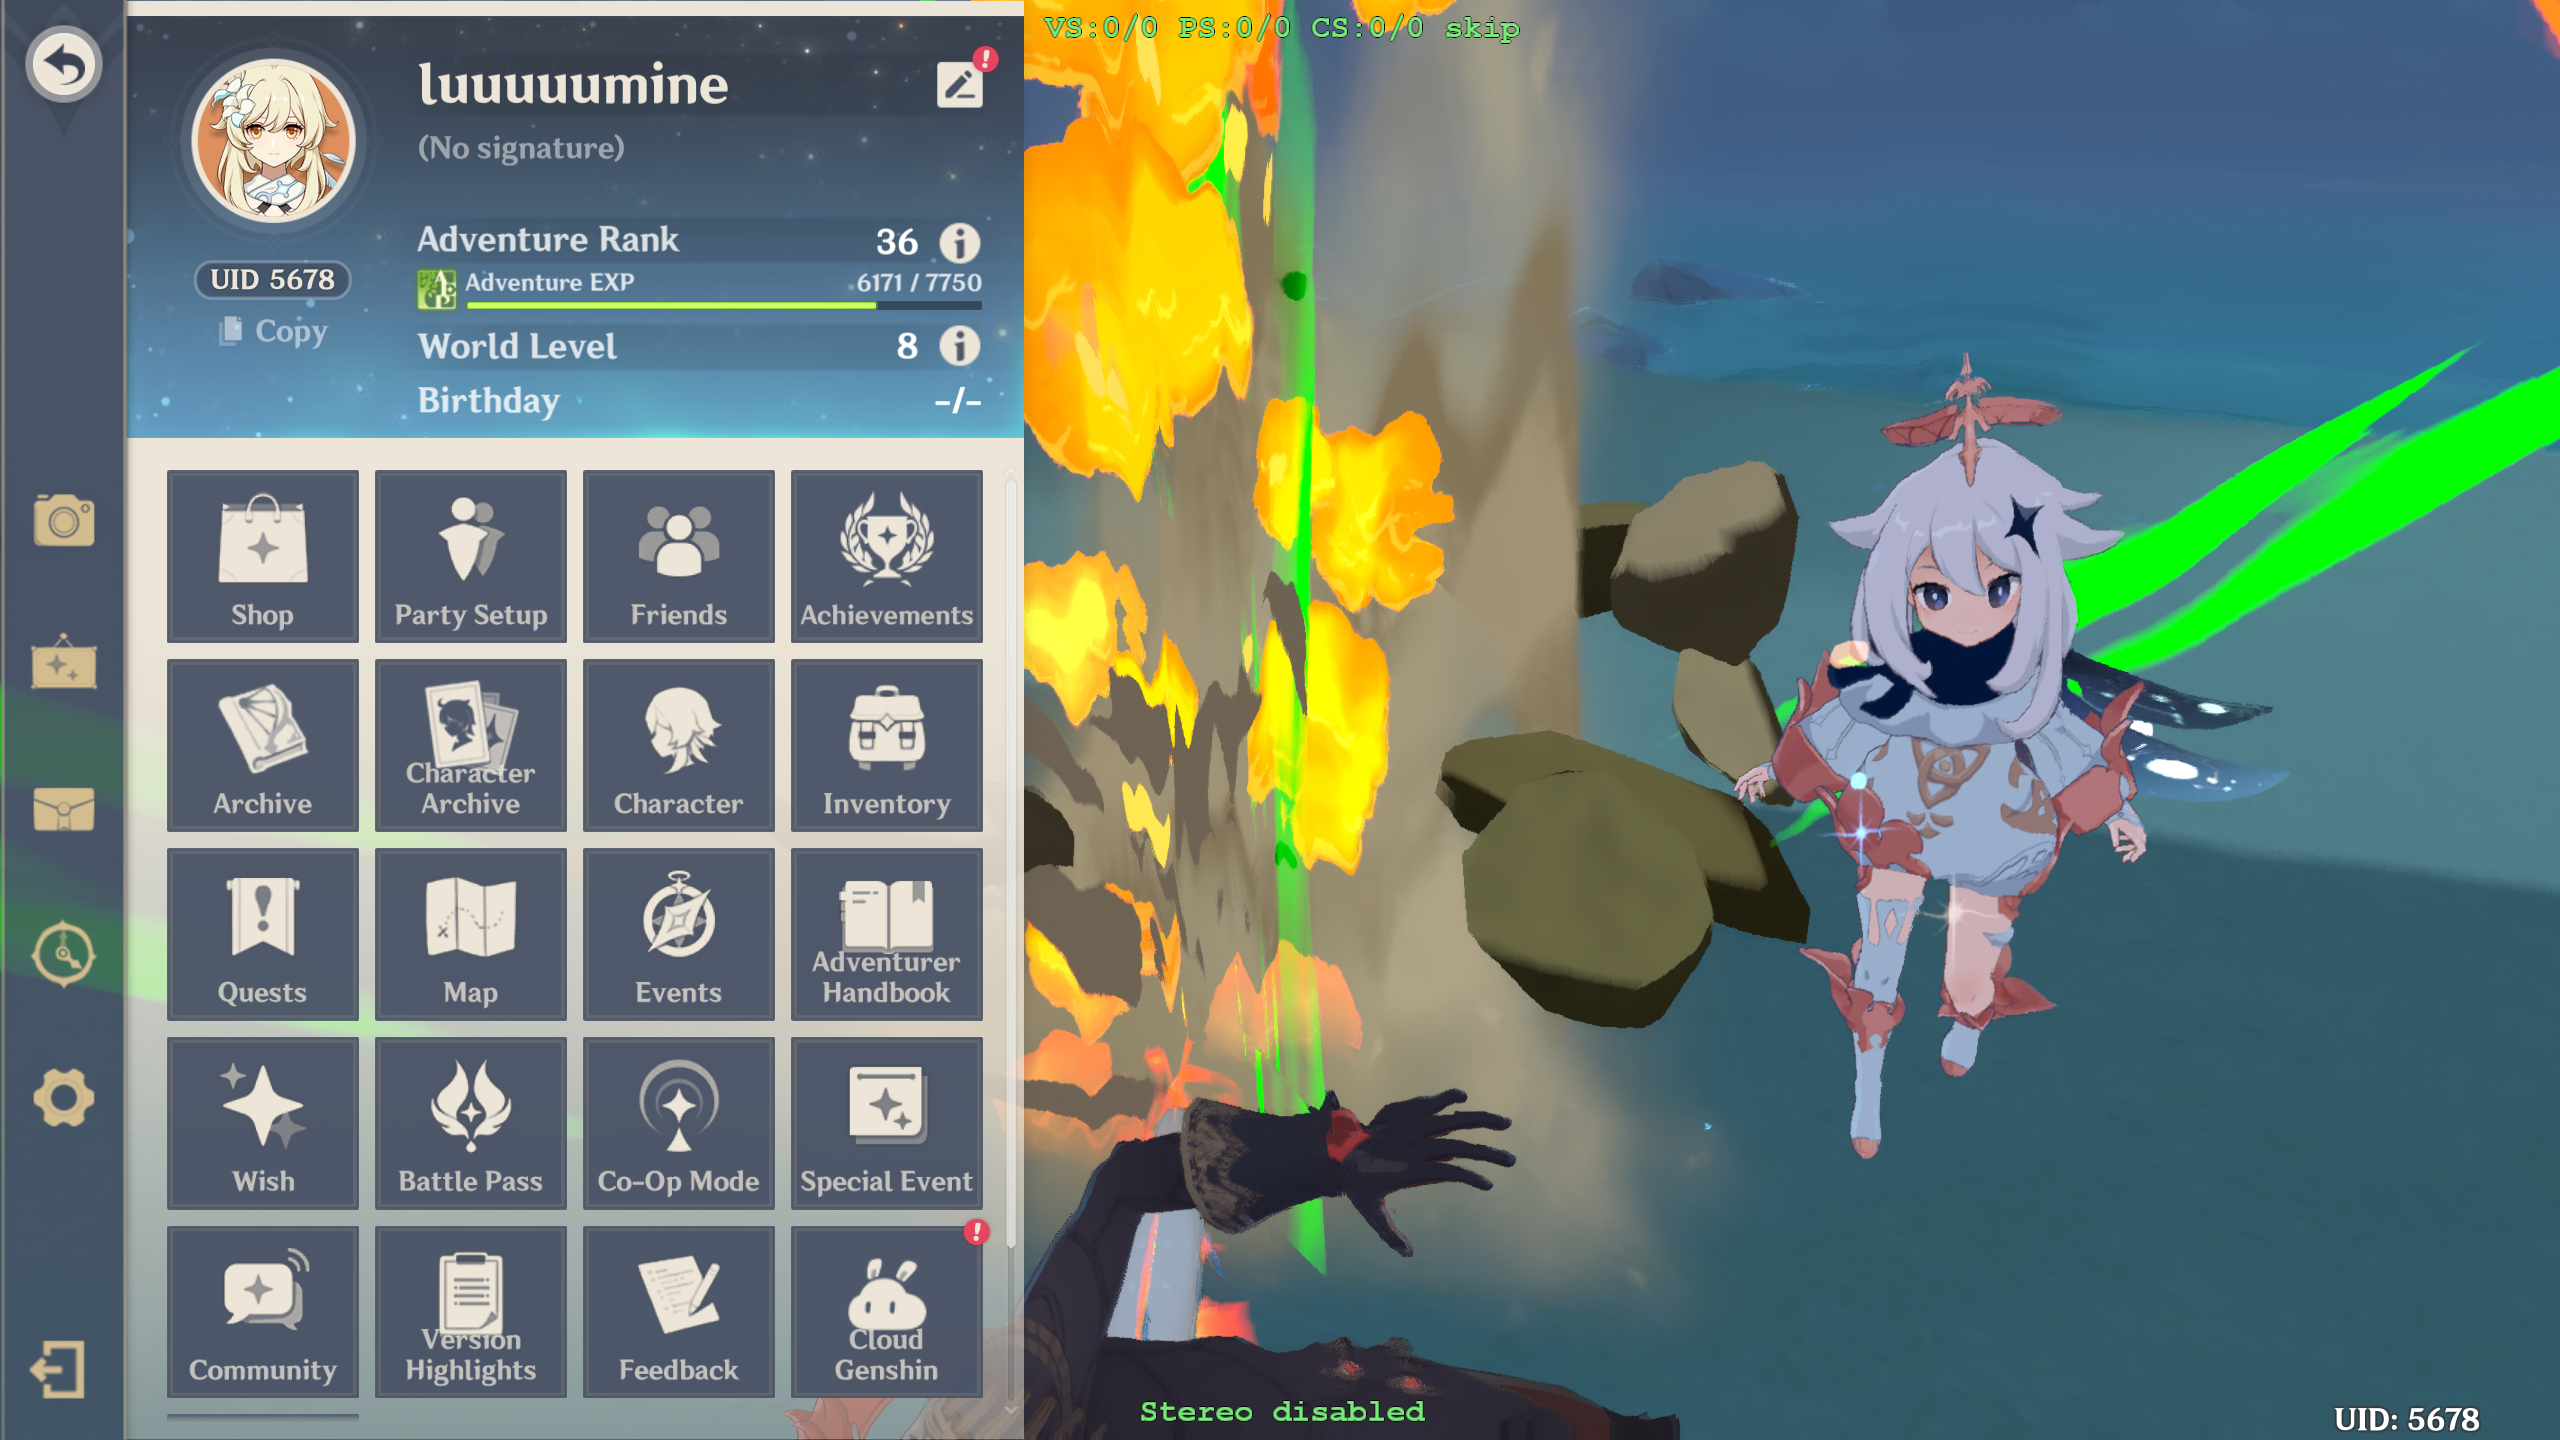
Setting the x and z components to 0, and y to 1:
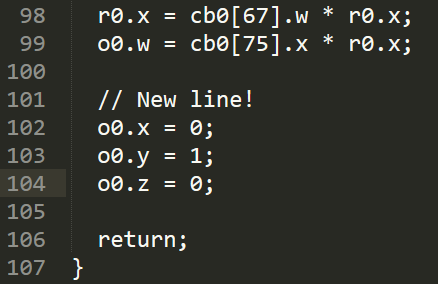
Sets everything to green:
While setting x and y to 0 and z to 1
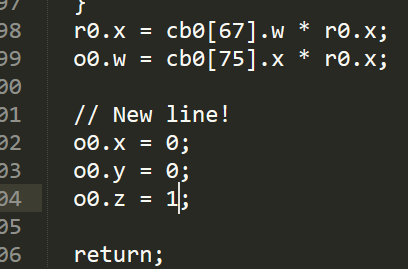
Sets the color to blue:
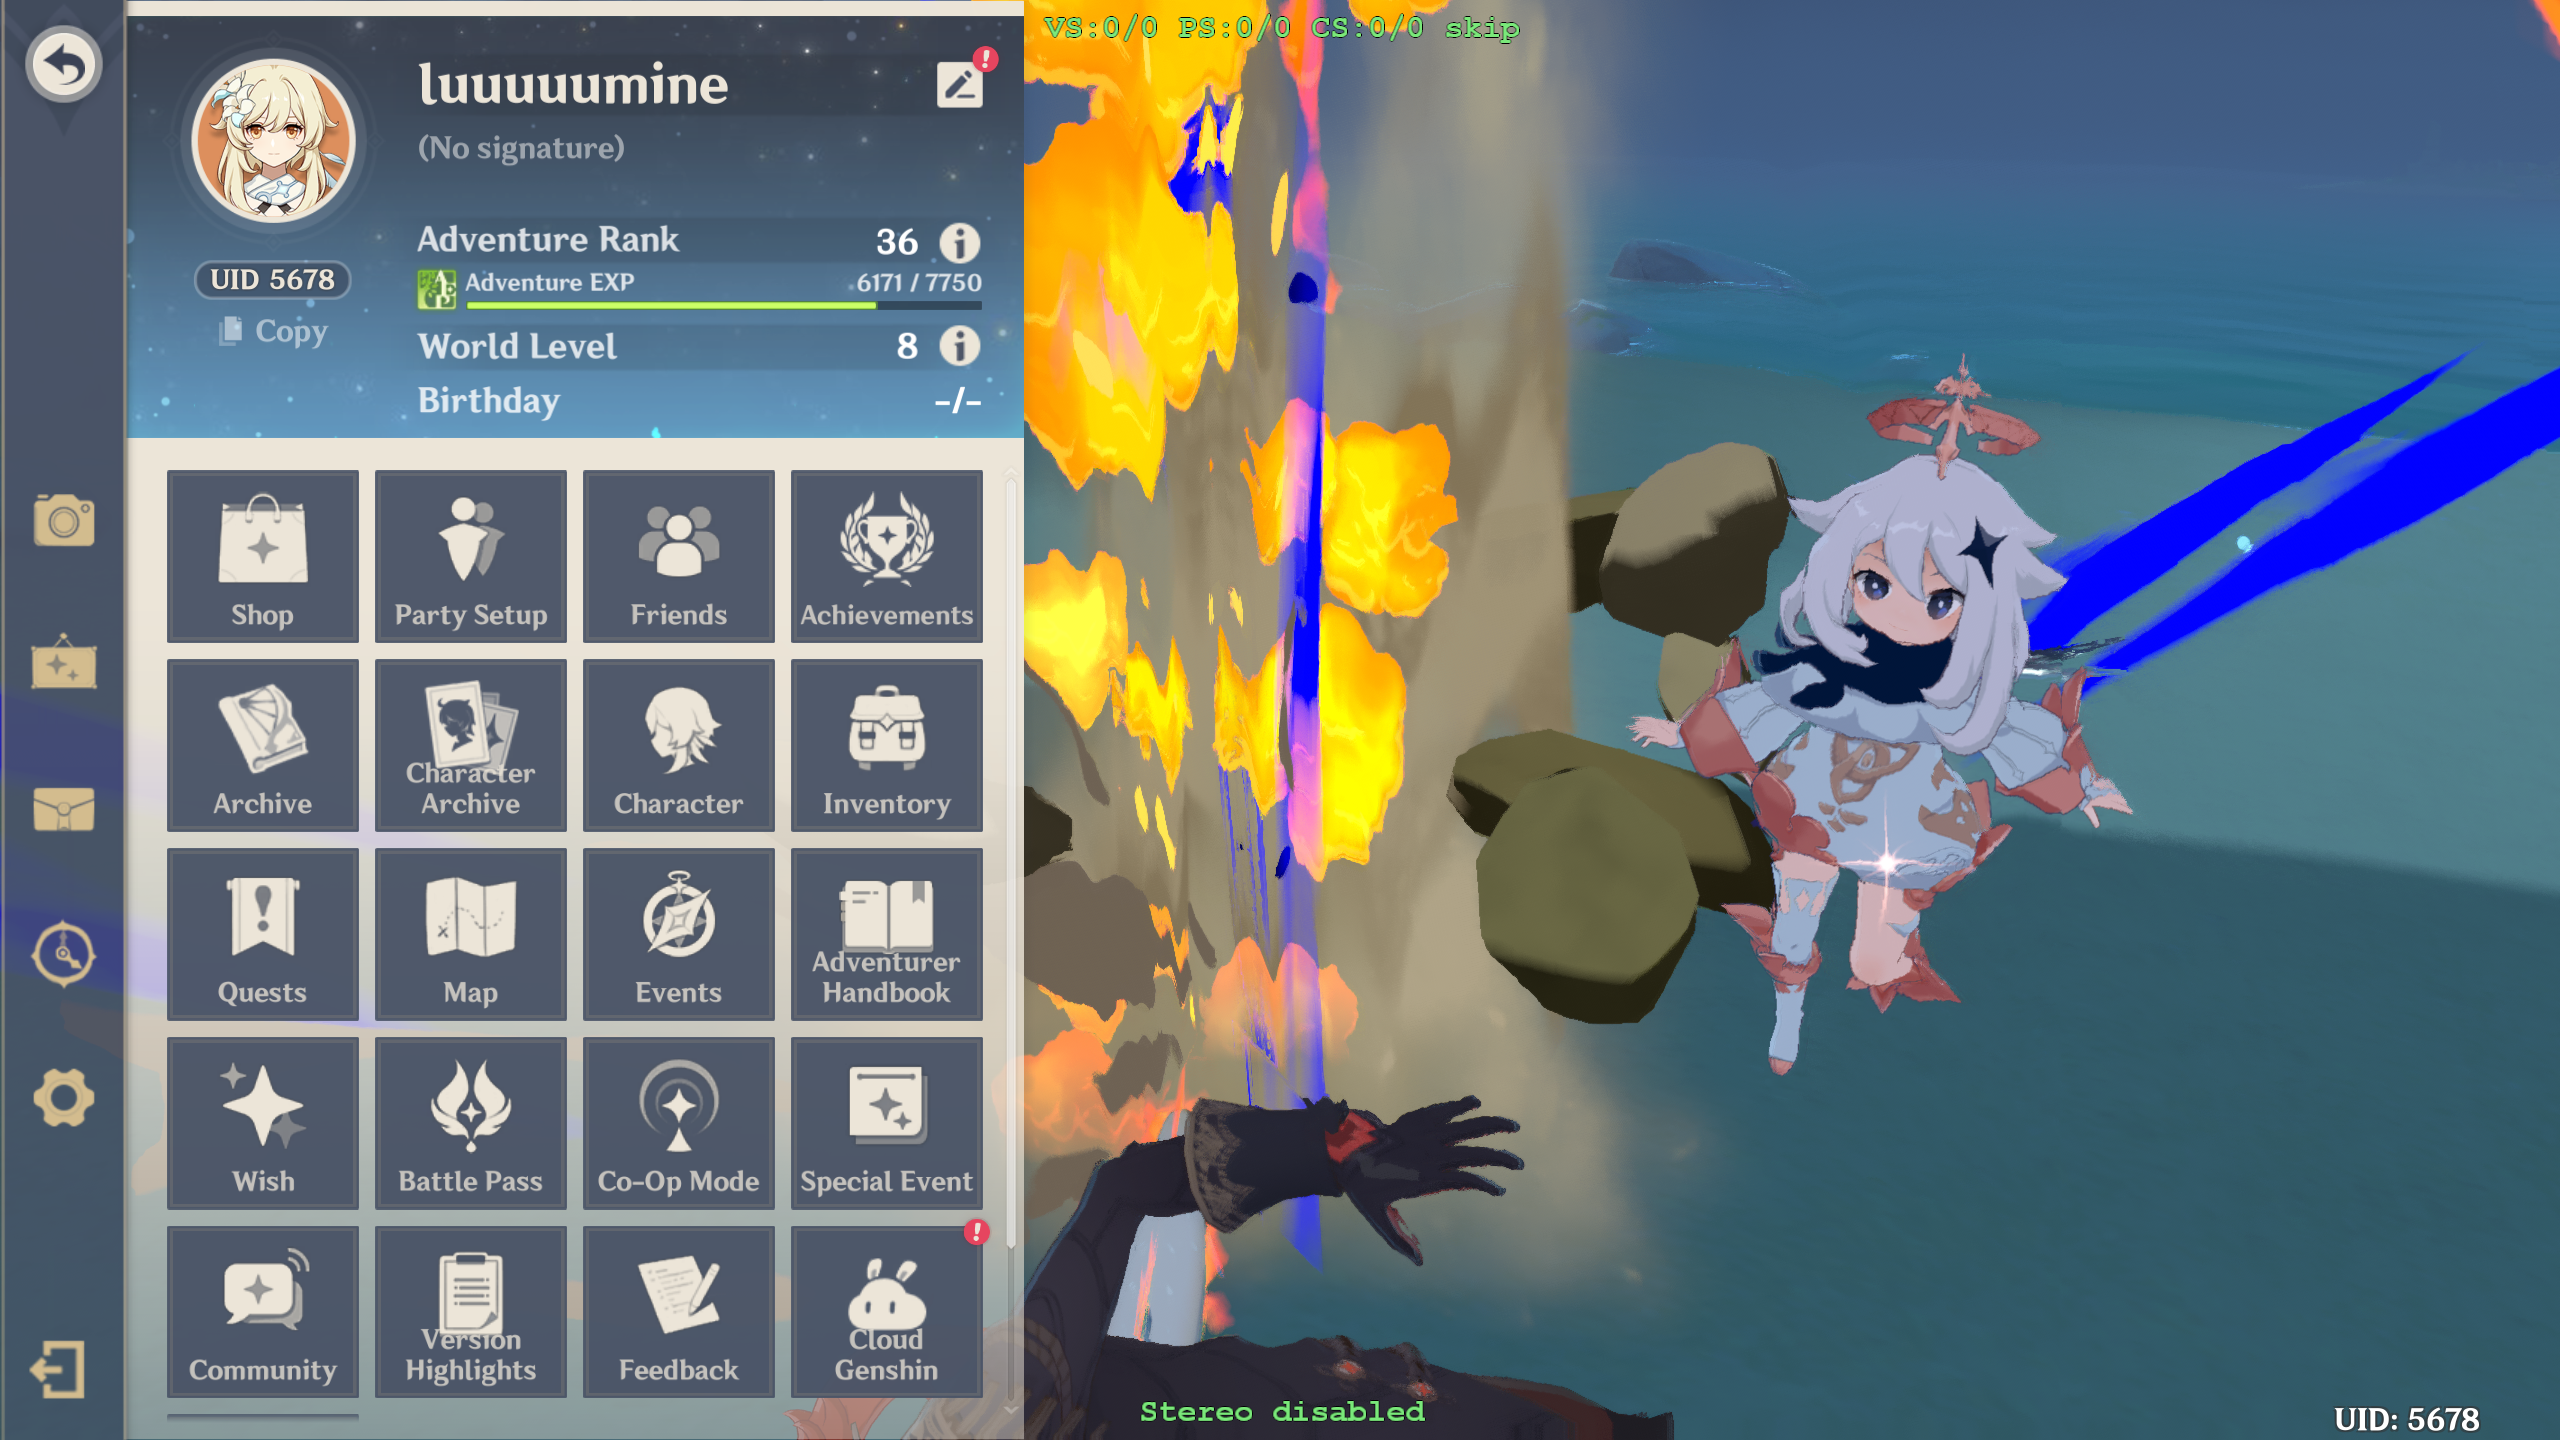
Or in other words o0.xyz correspond to the RGB colors of the effect. It isn’t always the case that o0 is the color – some shaders have multiple outputs, so the color might be on o1 or o2 etc; thankfully, this shader is fairly simple and only has one output o0.
(If you are wondering what w represents, it seems to be related to the wideness/emission of the effect:)
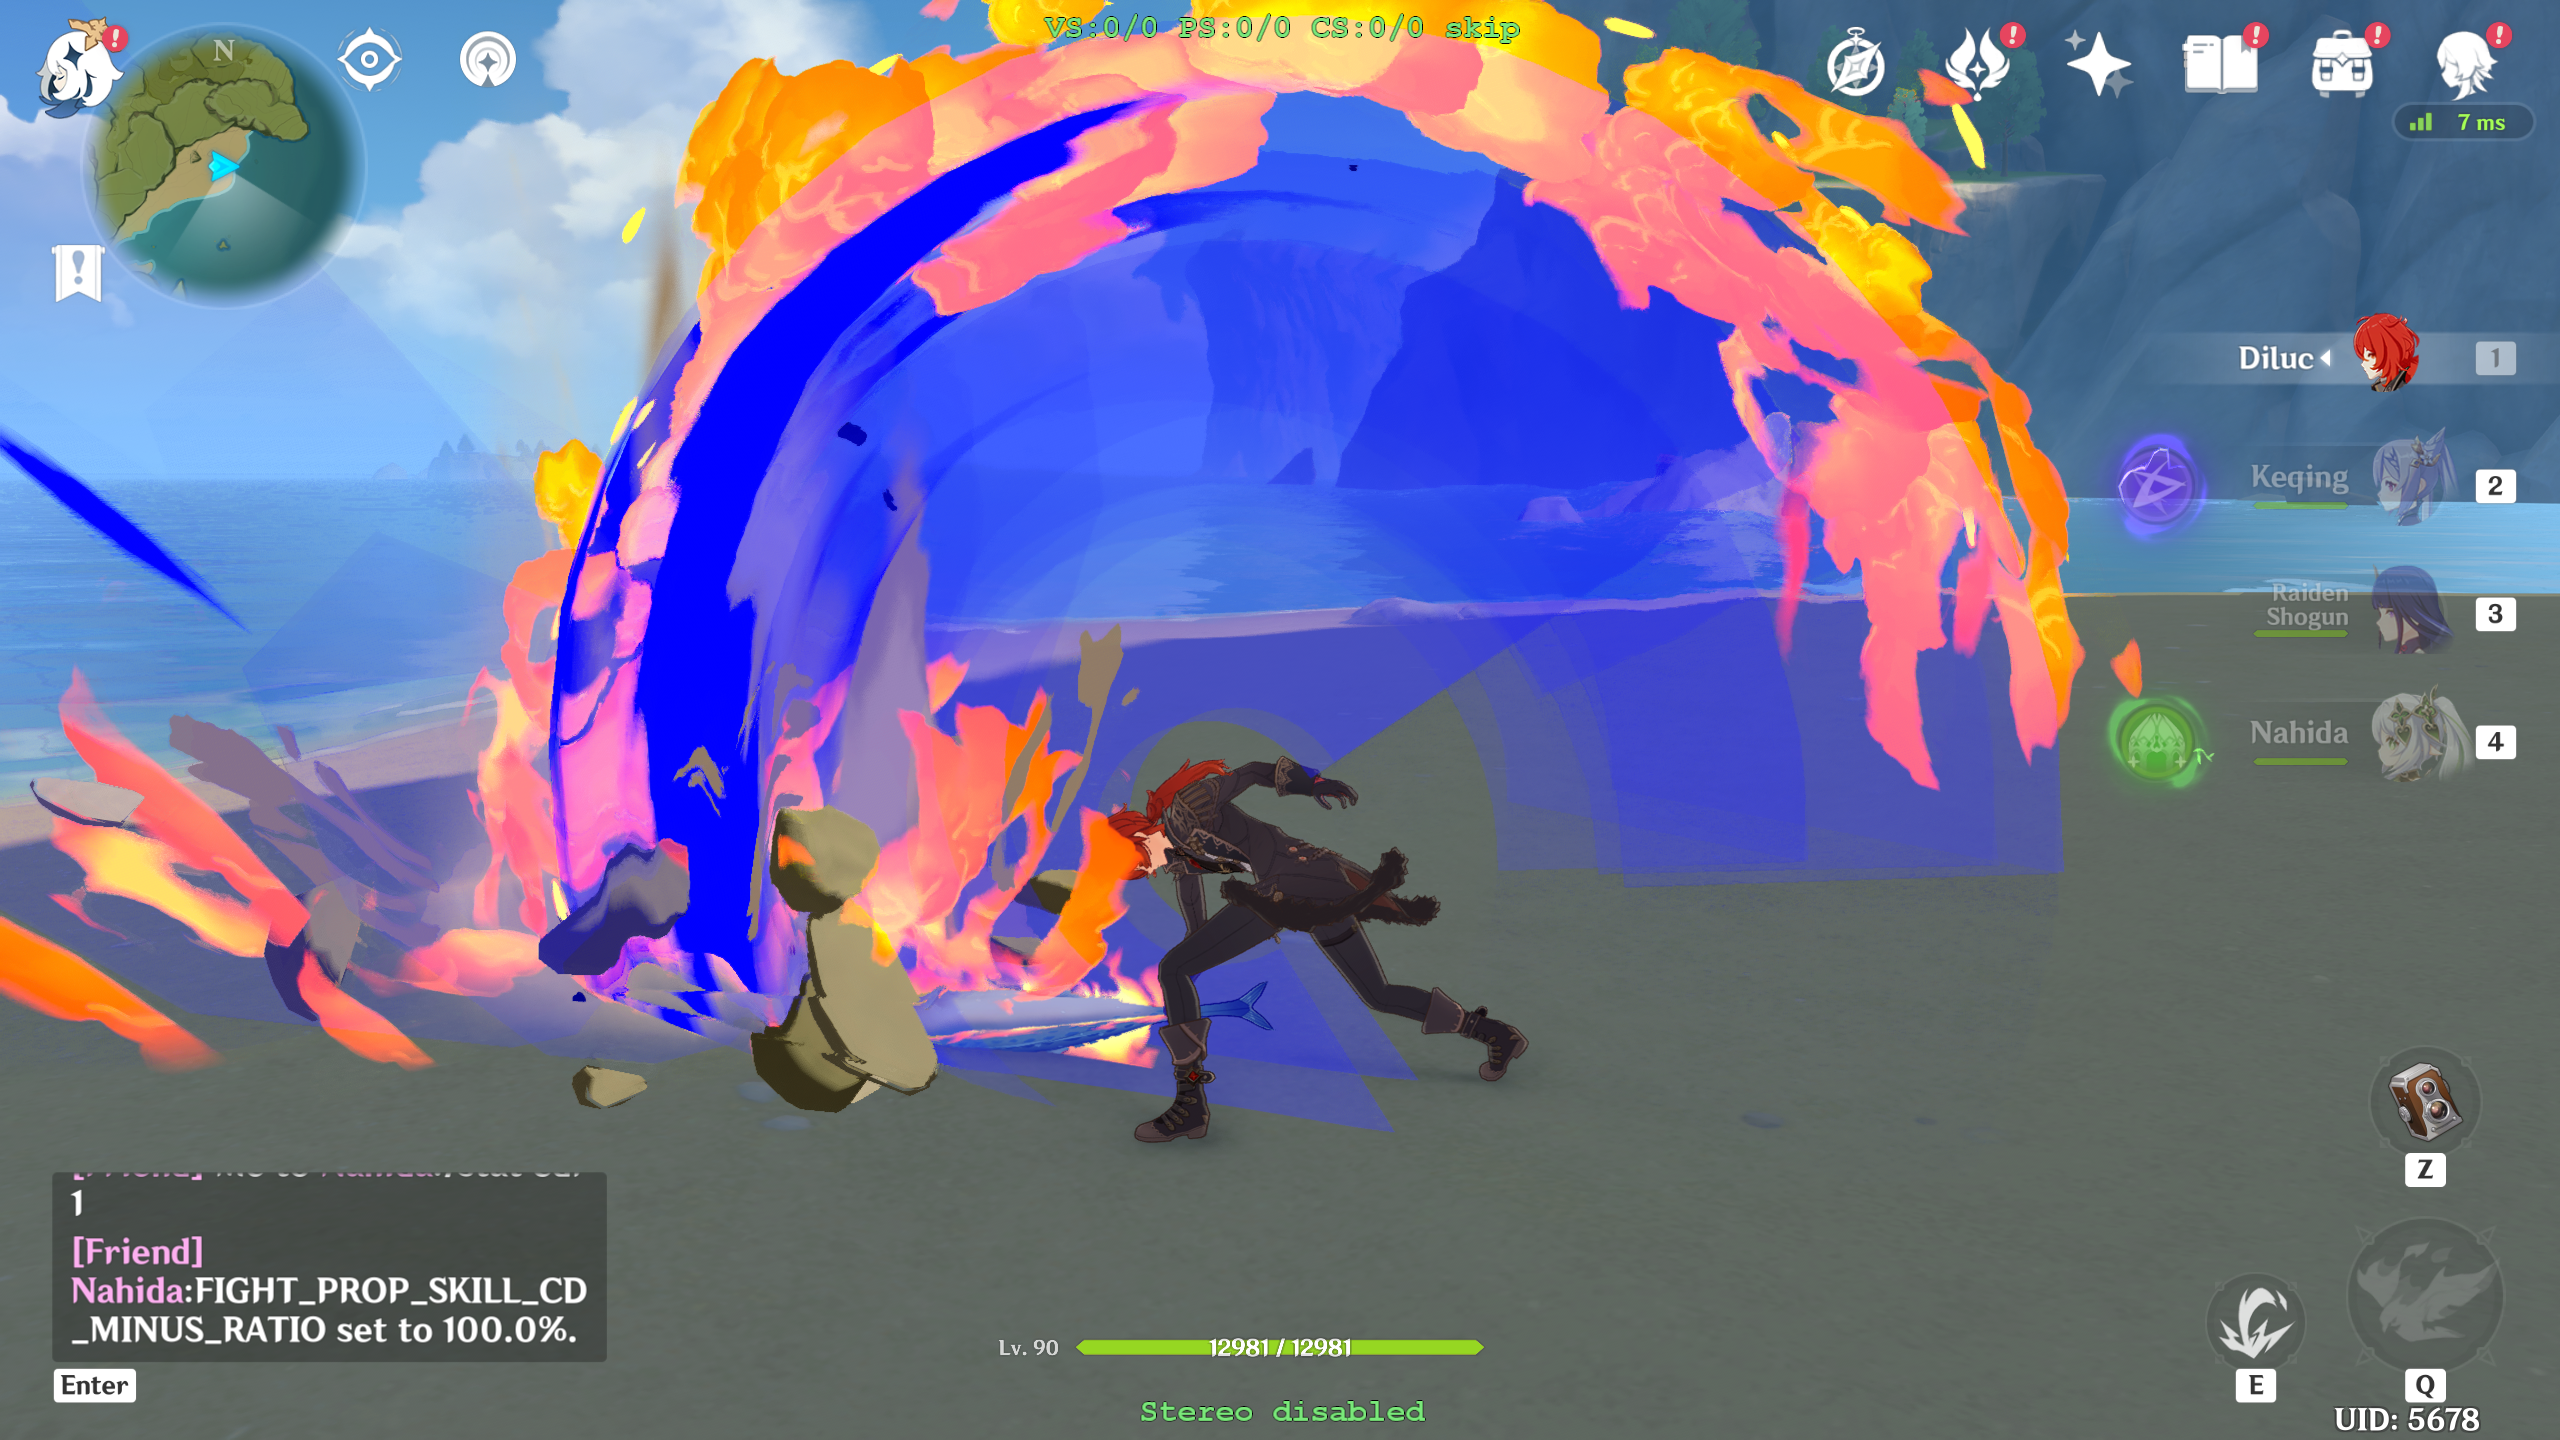
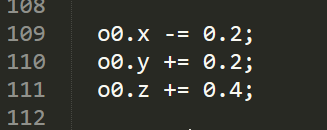
- Now that we know what the values correspond to, we can make basic changes to the colors. For example, setting all three
o0.xyzto 0 causes Diluc’s flames to become black:
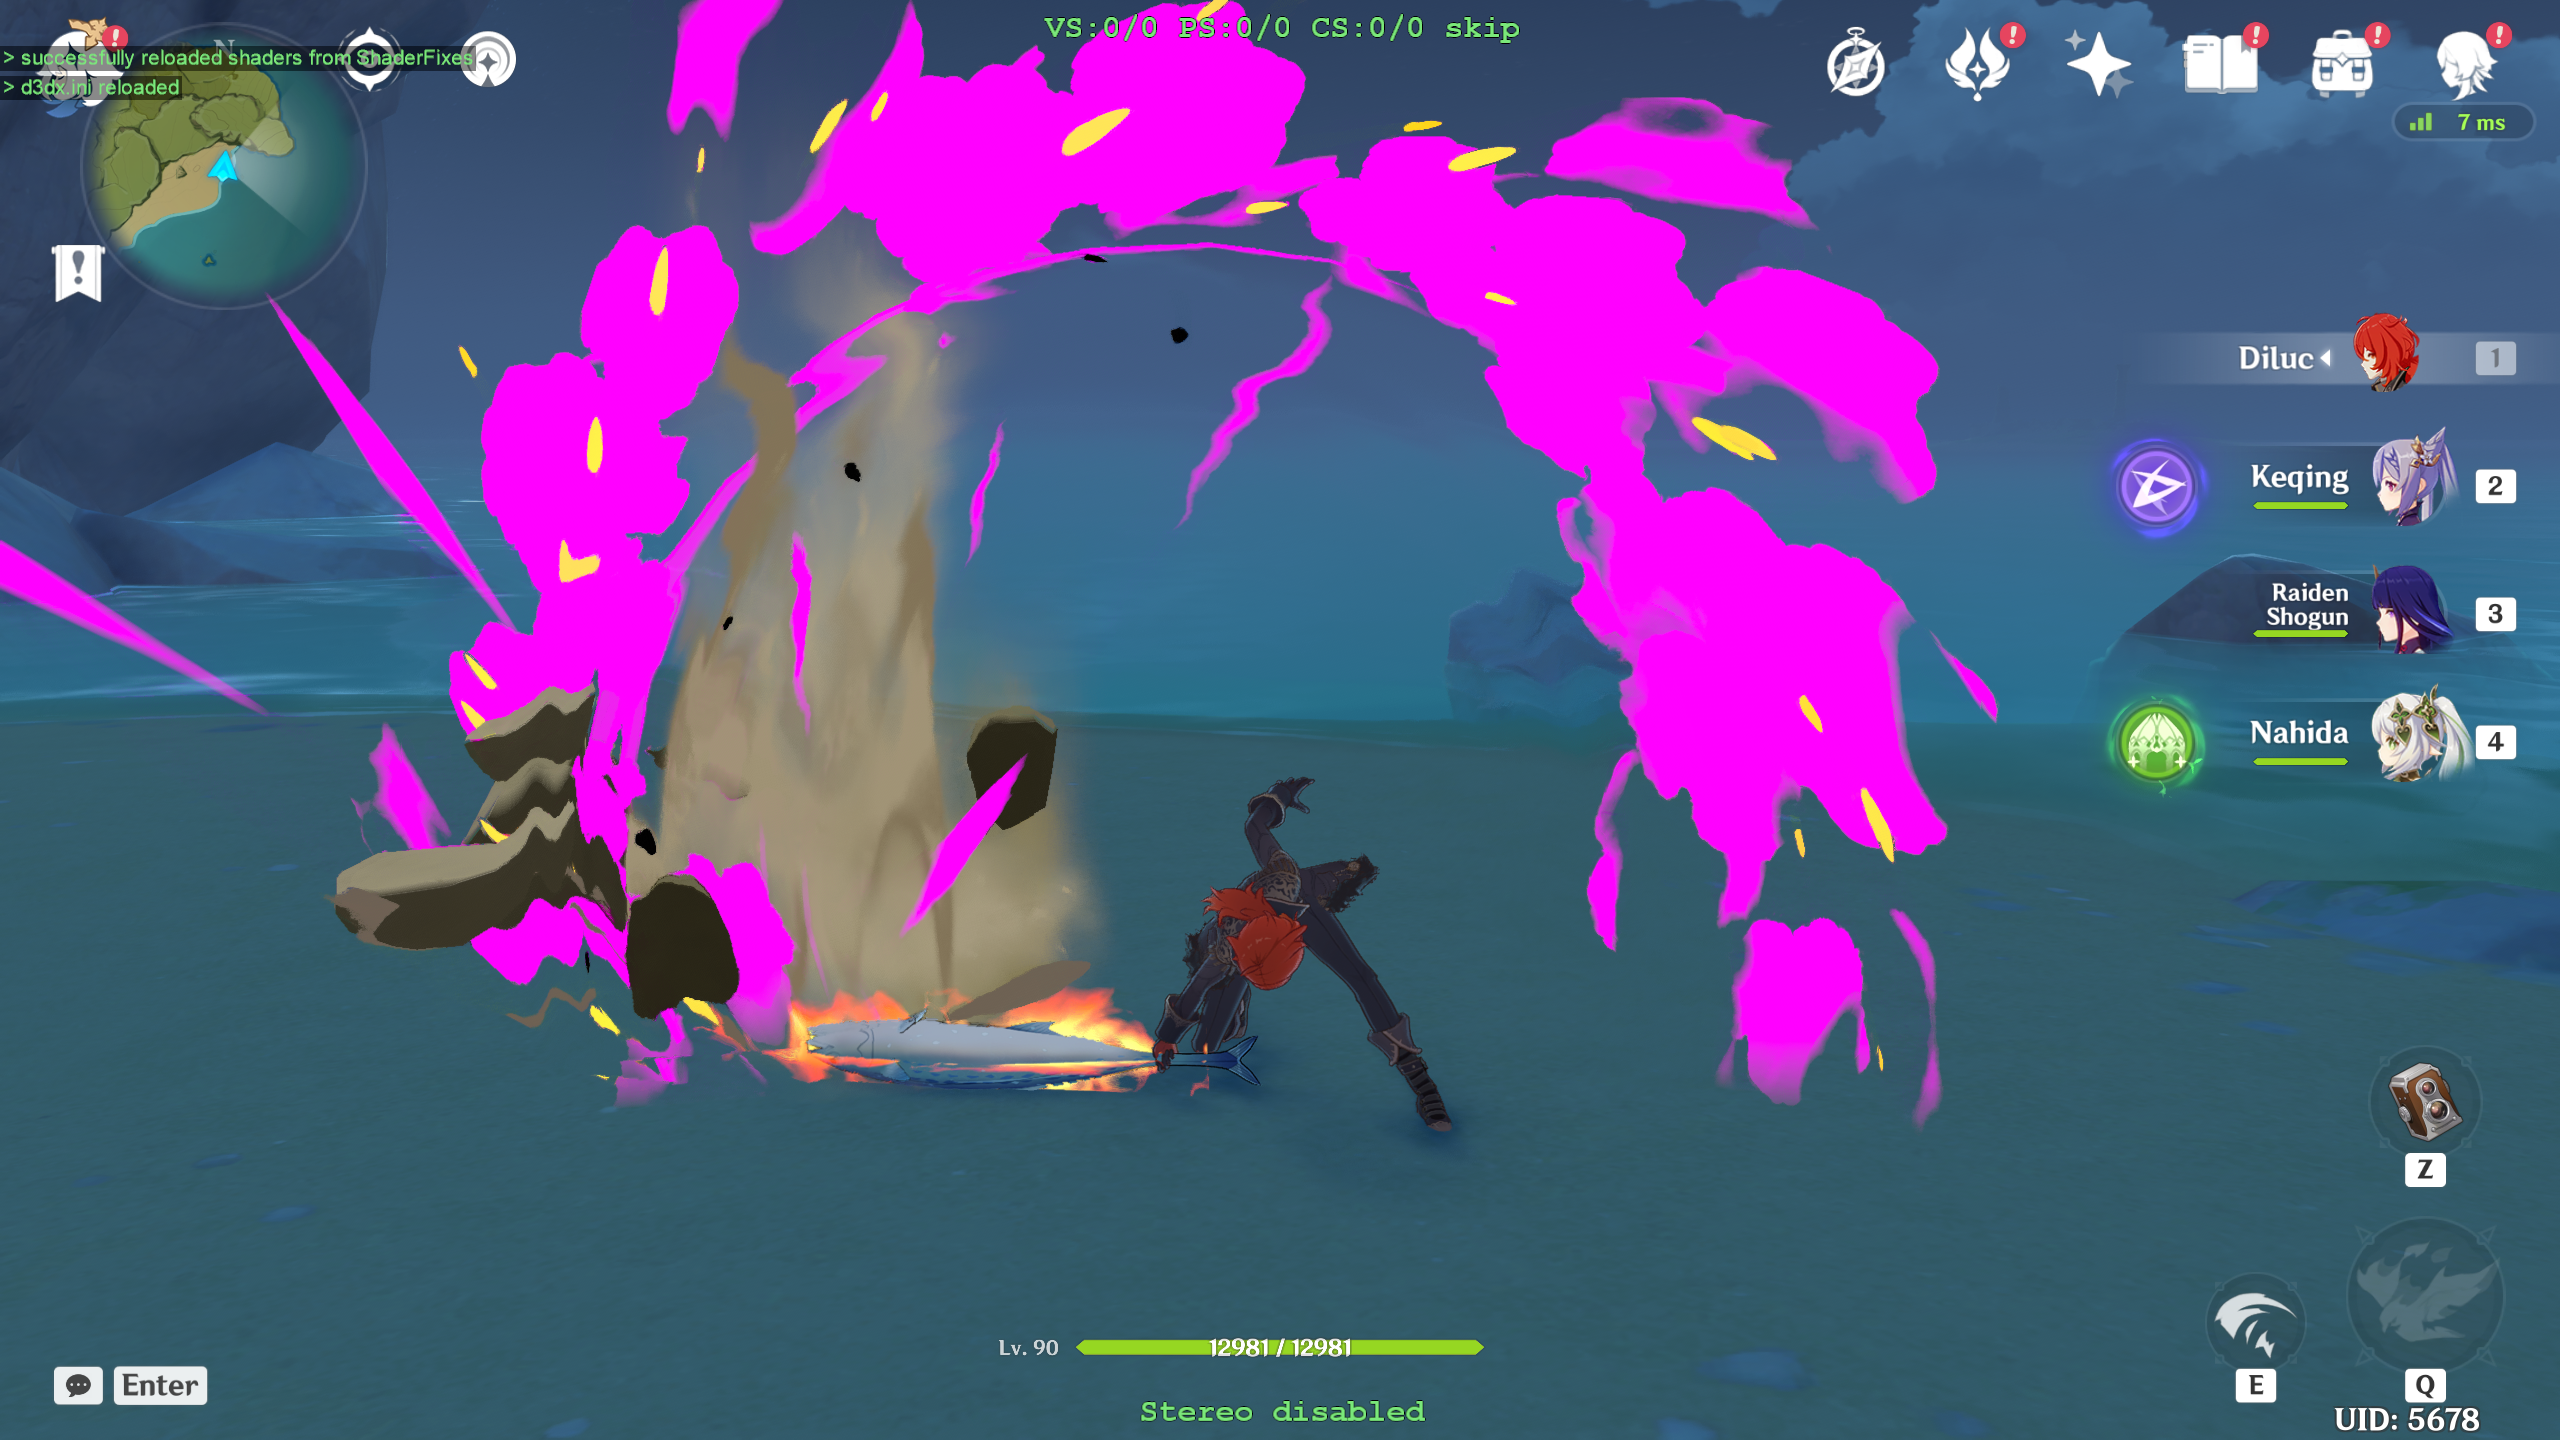
Or we can turn them to purple by setting r and b to 1, and leaving g as 0:
And note we aren’t limited to just setting constants either – we can shift the color hue as well. This reduces the amount of red in the attacks while giving more green and a lot more blue to create a salmon pink color:
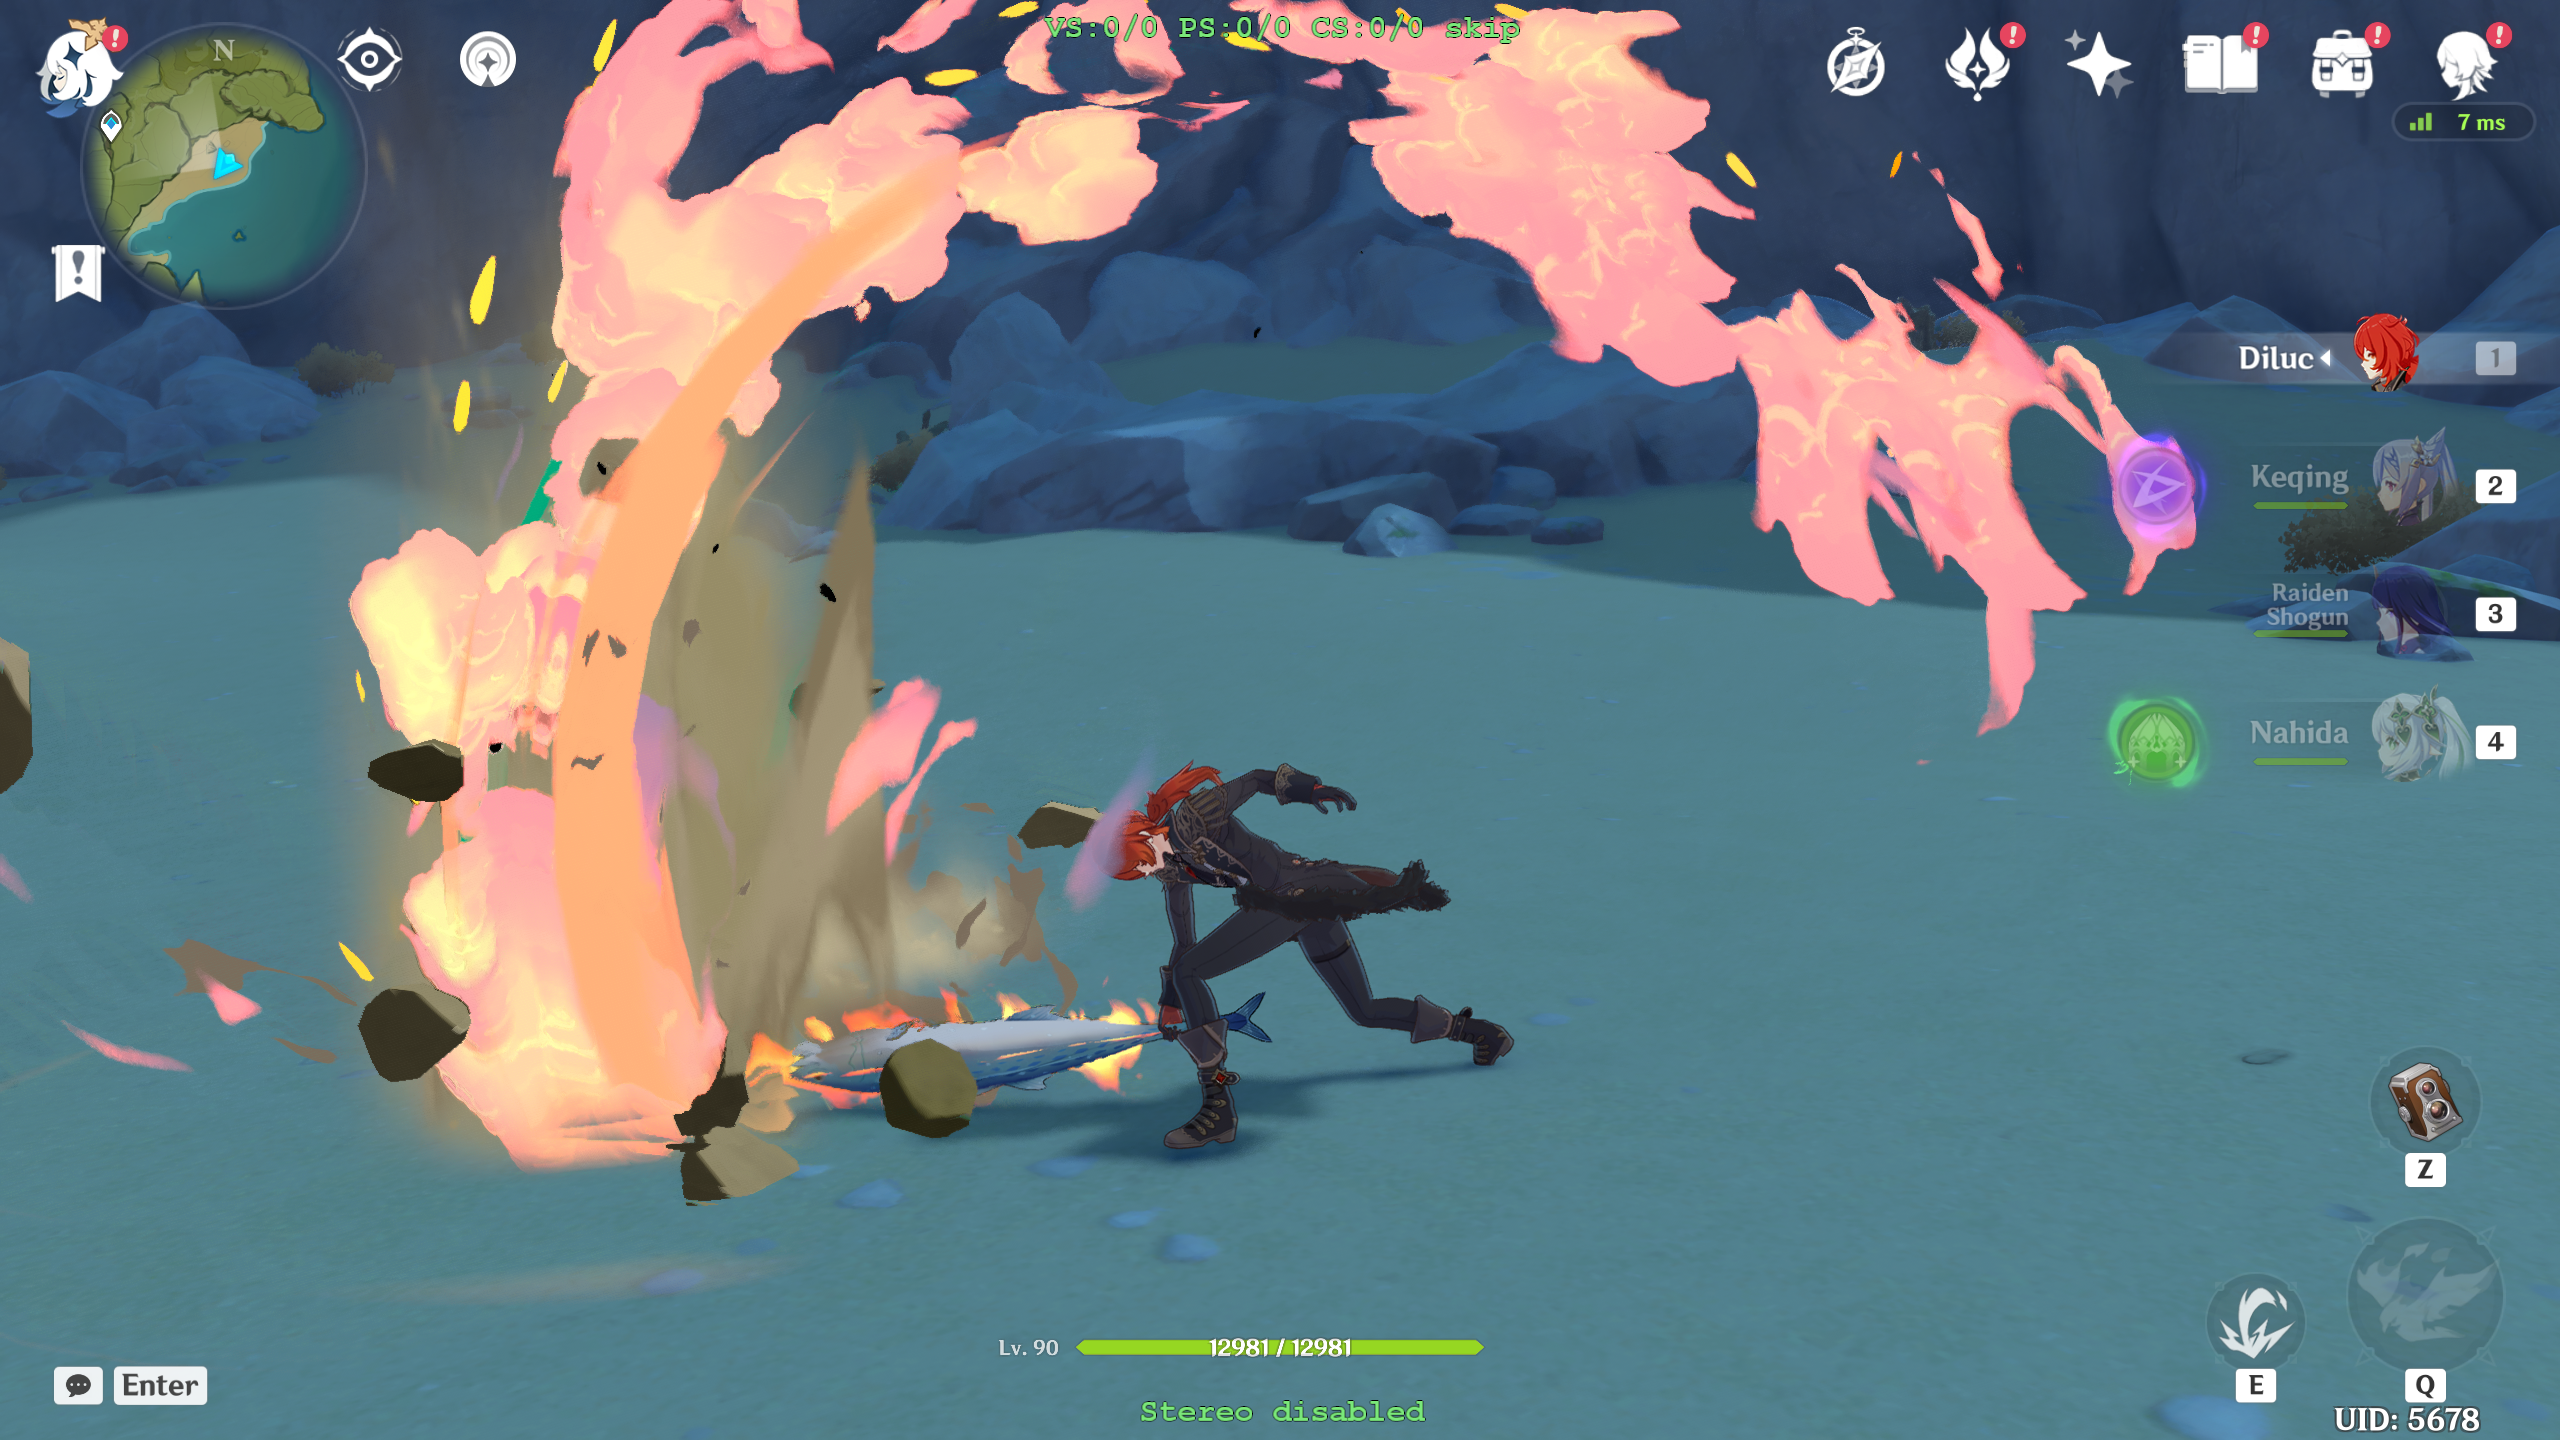
Note that unlike the cases where we forcibly set a constant value, the flame texture is still visible here.
We can even do fancier things like set the values to mathematical expressions, but I will go over that in the final section.
Instead of changing the output it is also possible to change the effects by changing the input using a similar method (putting the lines right after when they are normally loaded and overriding the game’s values), though you will need to experiment to deduce which variable changes what.
- This is the basic process to change effect colors – find the hash, dump it, then modify either the input or output. However, if you have been following along you may have noticed that not all the flame textures have been replaced – there are still more we need to dump:
0fa220b5adced192 is the sparks:
bf7eb60b256538c7 is the flames along the sword:
439c03865c4ce77e is the bird:
7690cf4aa6647c6c is the sword glow during ult:
Collecting all the different shaders is what takes the majority of the time when editing effects.
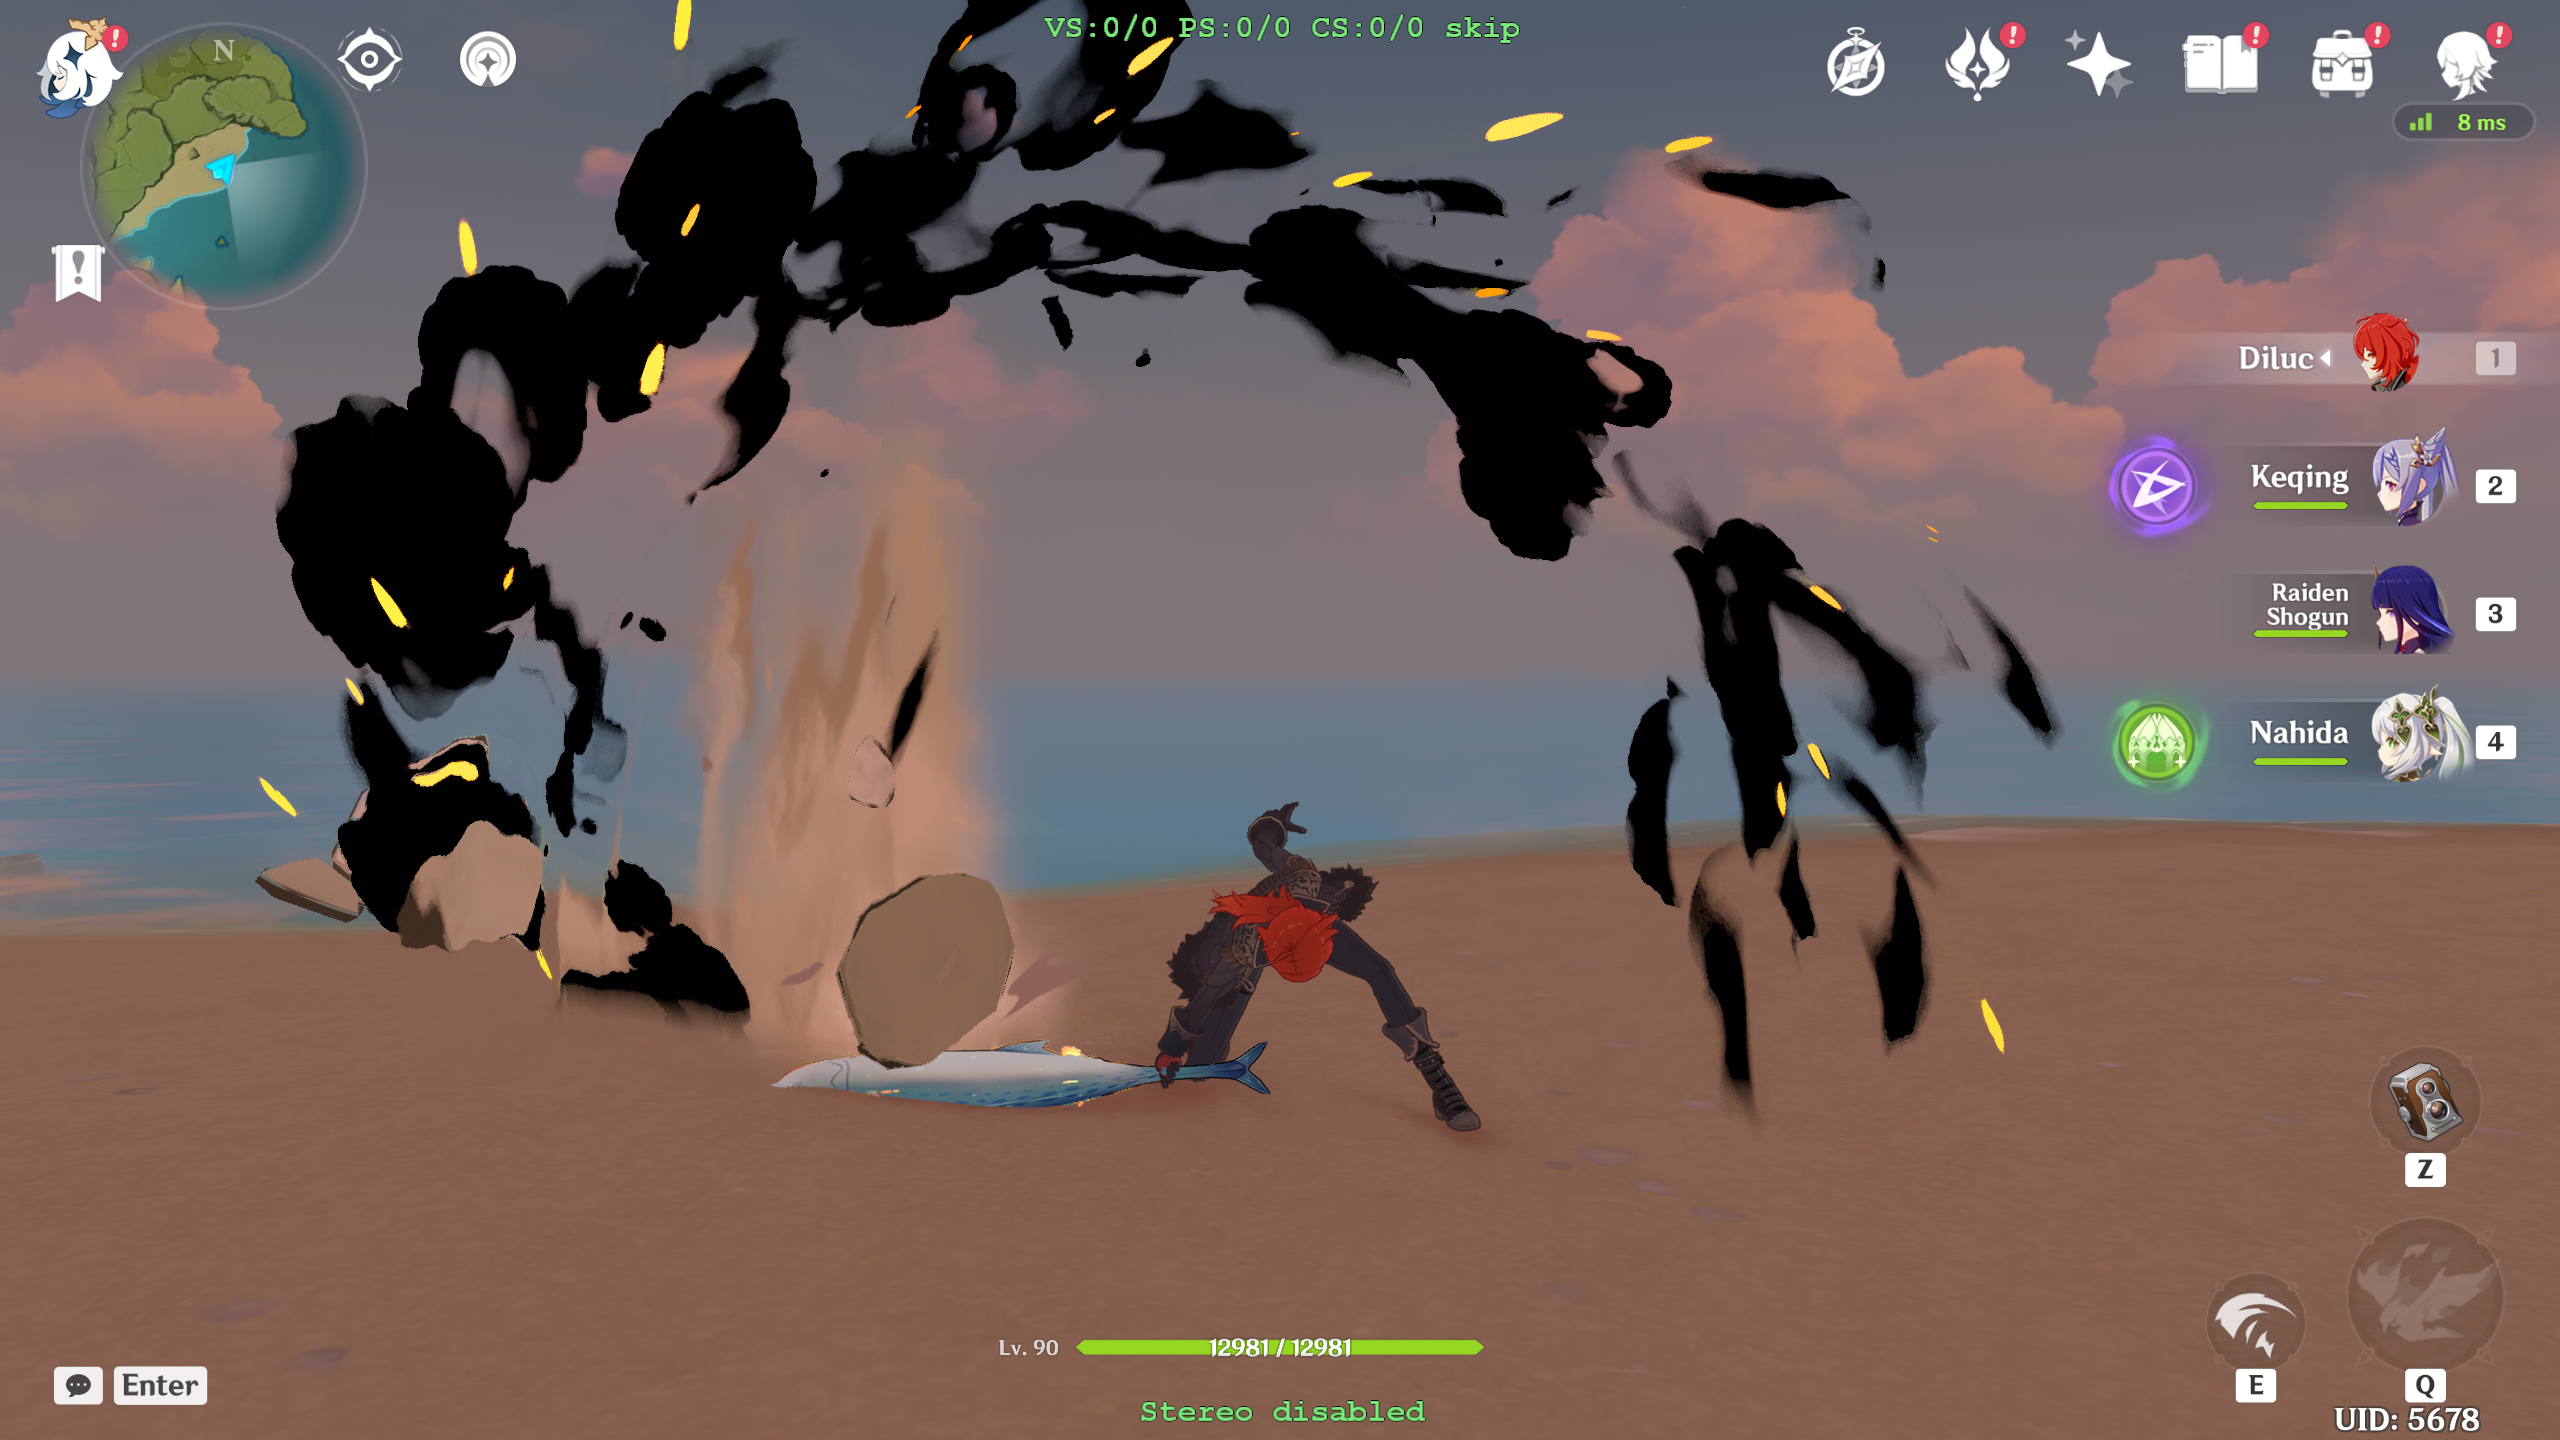
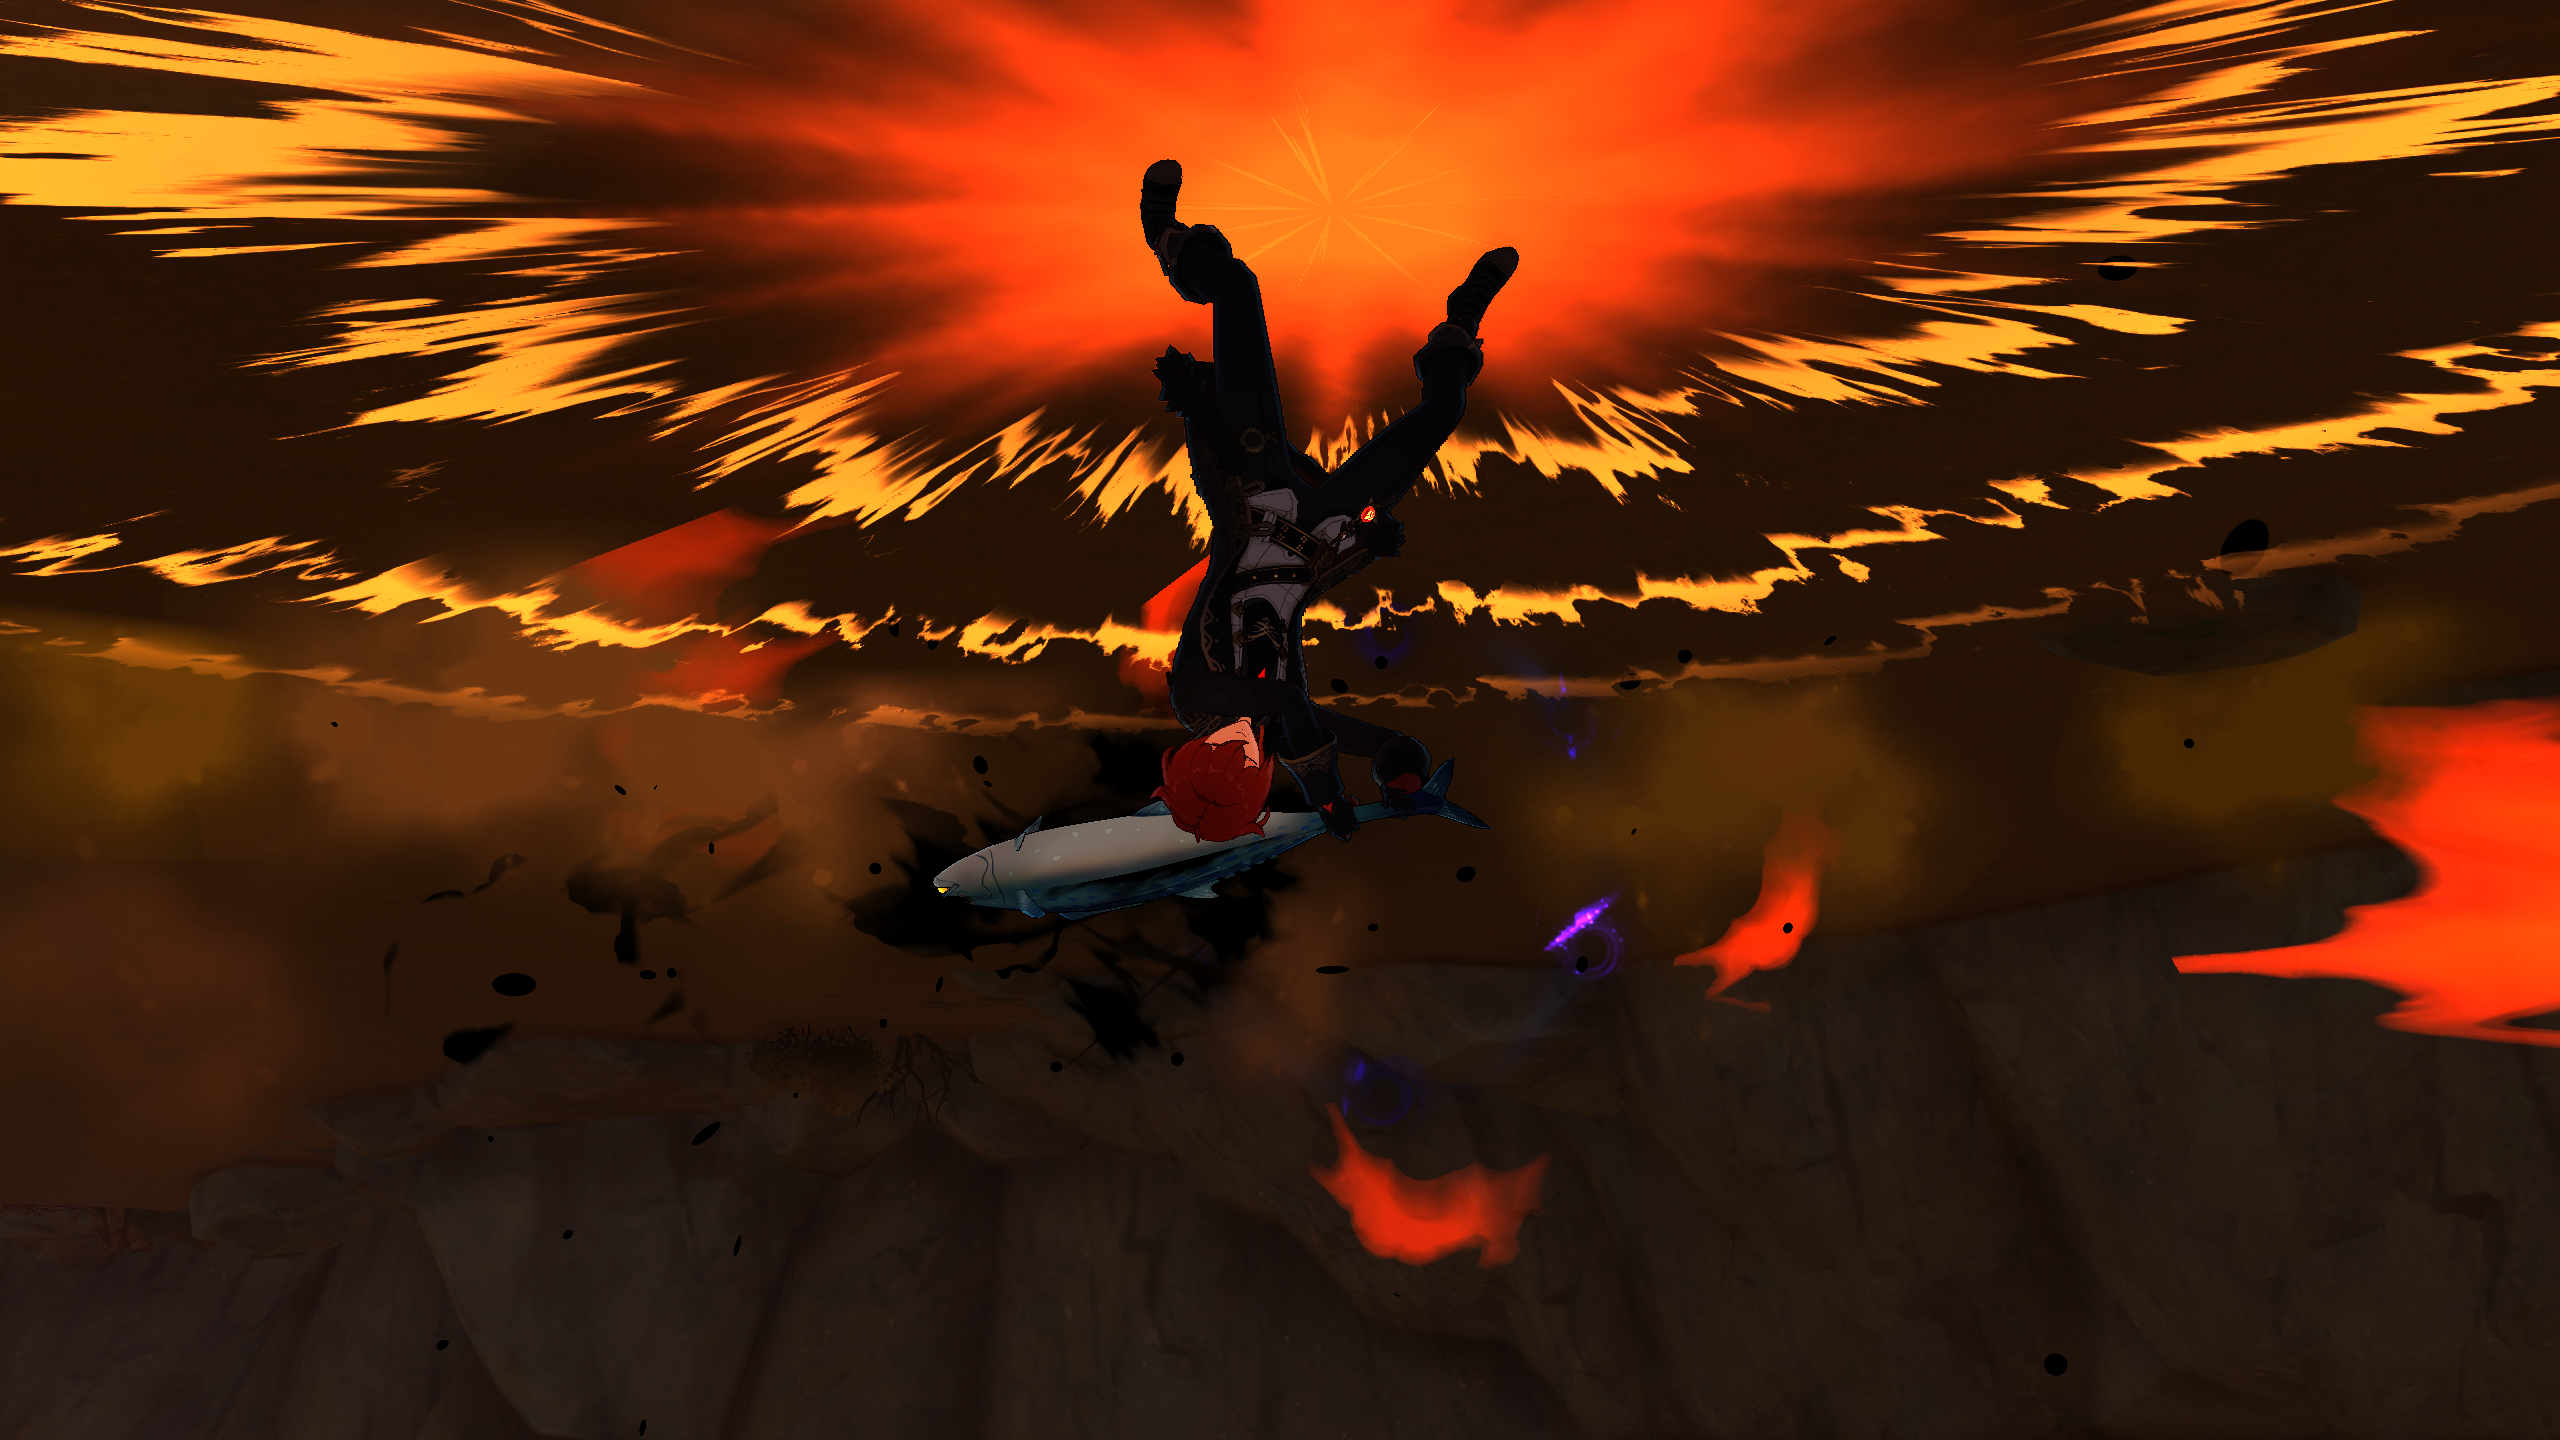
- Even turning all of the above black, you may have noticed that there are still flame effects that show up during the ult where we cannot pause the game:
Getting these shaders is more annoying, but not impossible. The first method is to enable something like infinite burst energy in grasscutter and cast the ult over and over while cycling. This will take some time, but should work for anything that is repeatable.
(UPDATE: I have received recommendations of two more ways you can get shader information from bursts: one is to stand in shallow water or with your back to a wall to disable the burst camera. This will let you pause normally during bursts and give you time to cycle through the hashes:
The second is to use a cheat software like Akebi to reduce the gamespeed to below 1, which lets you watch the effects in slow-motion. Note that using cheat software can result in bans if used on official servers, so I recommend only using private servers if you decide to use this method.
Big thank you to ComplexSignal31#5778 and NK#1321 for the recommendations!)
For effects that only show up in cutscenes or are hard to reproduce, however, the fastest method is to do a frame dump. See the texture modding tutorial for more details on how to perform frame dumps, but essentially you press F8 while the effect is on-screen to perform the dump at the same time as the effect is visible.
Unfortunately, since we do not know the shader hash it will need to be a full dump so make sure you have 5-10GB of space free and as few objects on screen as possible.
When you have the frame analysis folder that is created after pressing F8, you can look through it to see when the effect is drawn. The o0 and o1 files show what is being drawn each ID, and are very useful to isolate the exact ID an effect is drawn on screen.
Example: 000351-o0=3315d2b5-vs=eb65cb4eba57132b-ps=7690cf4aa6647c6c.dds looks like this in my frame dump:
While 000352-o0=3315d2b5-vs=f6a1f24f9c9b28c2-ps=a69e25f25a6c8e04.dds looks like this:
So we know that that in this frame, draw call 000352 is responsible for the glowing effect on the ground. We can also get the hash from the filename, ps=a69e25f25a6c8e04.
Using this method we can find the remaining hashes:
000353-o0=3315d2b5-vs=f50ce30bb0caf55c-ps=4d4da8a4cbe1149a.dds
And 000365-o0=3315d2b5-vs=72ce1e39ede0982f-ps=622a52d3edcf0363.dds
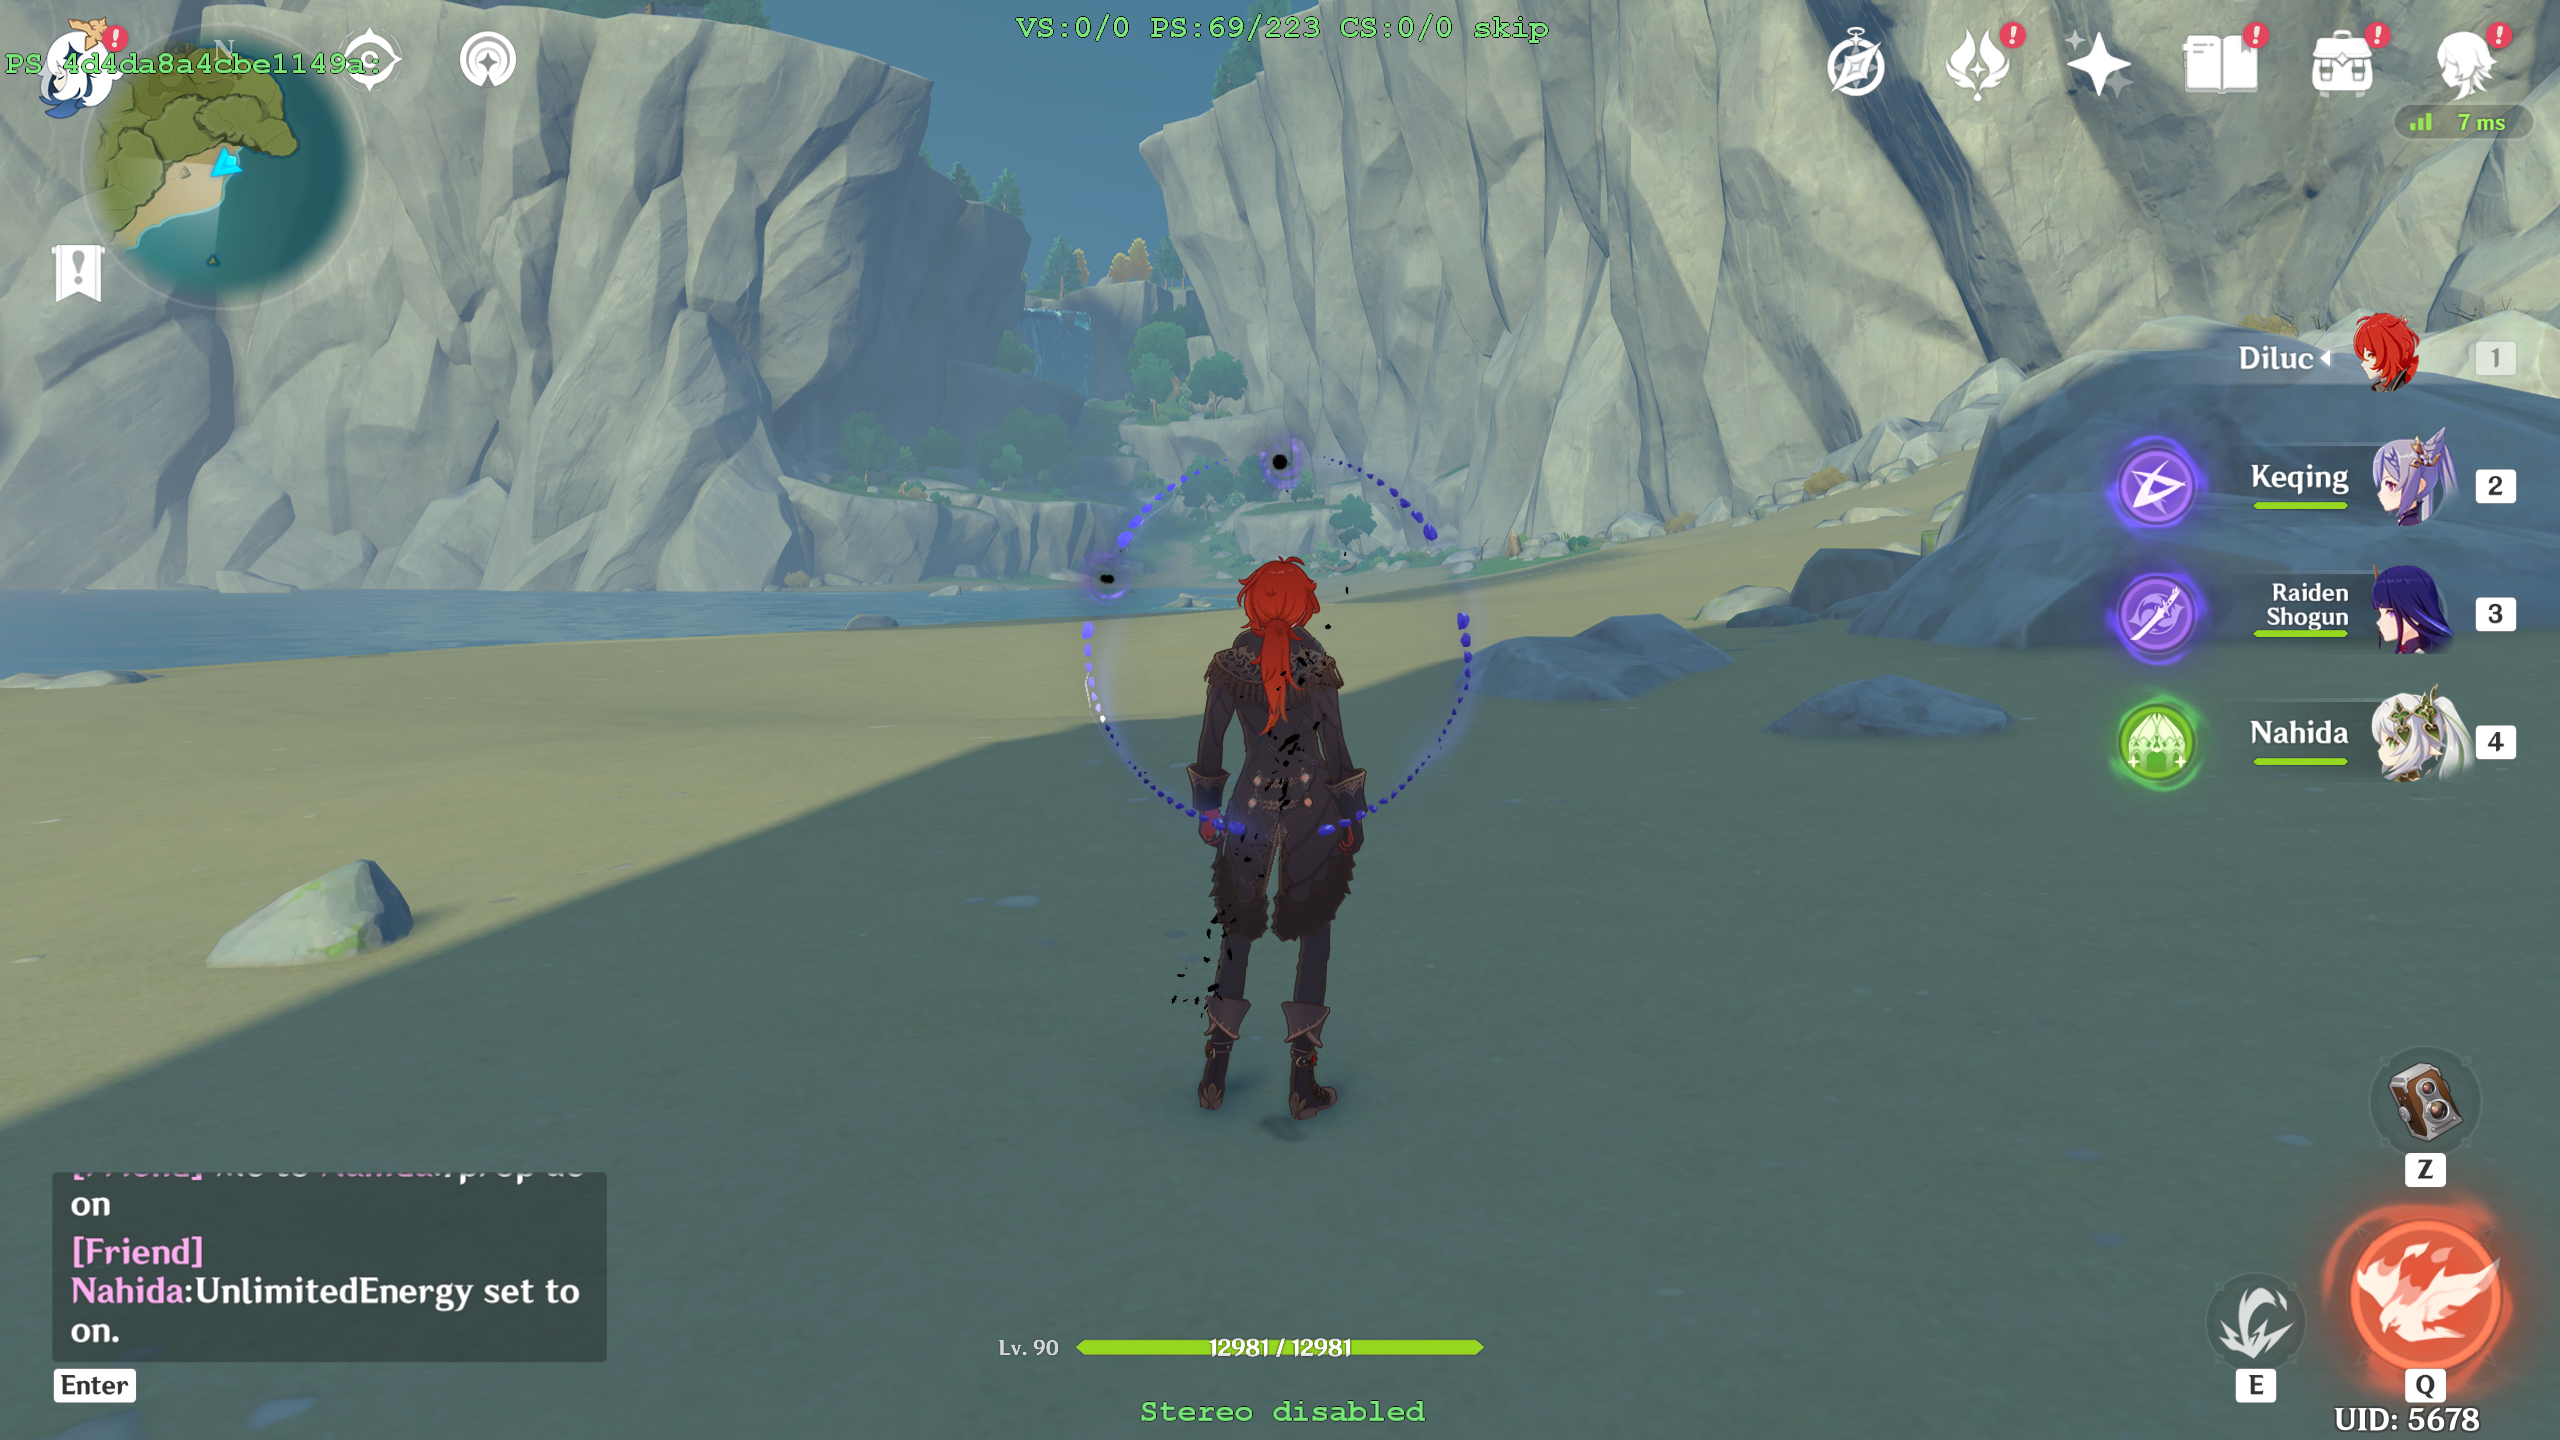
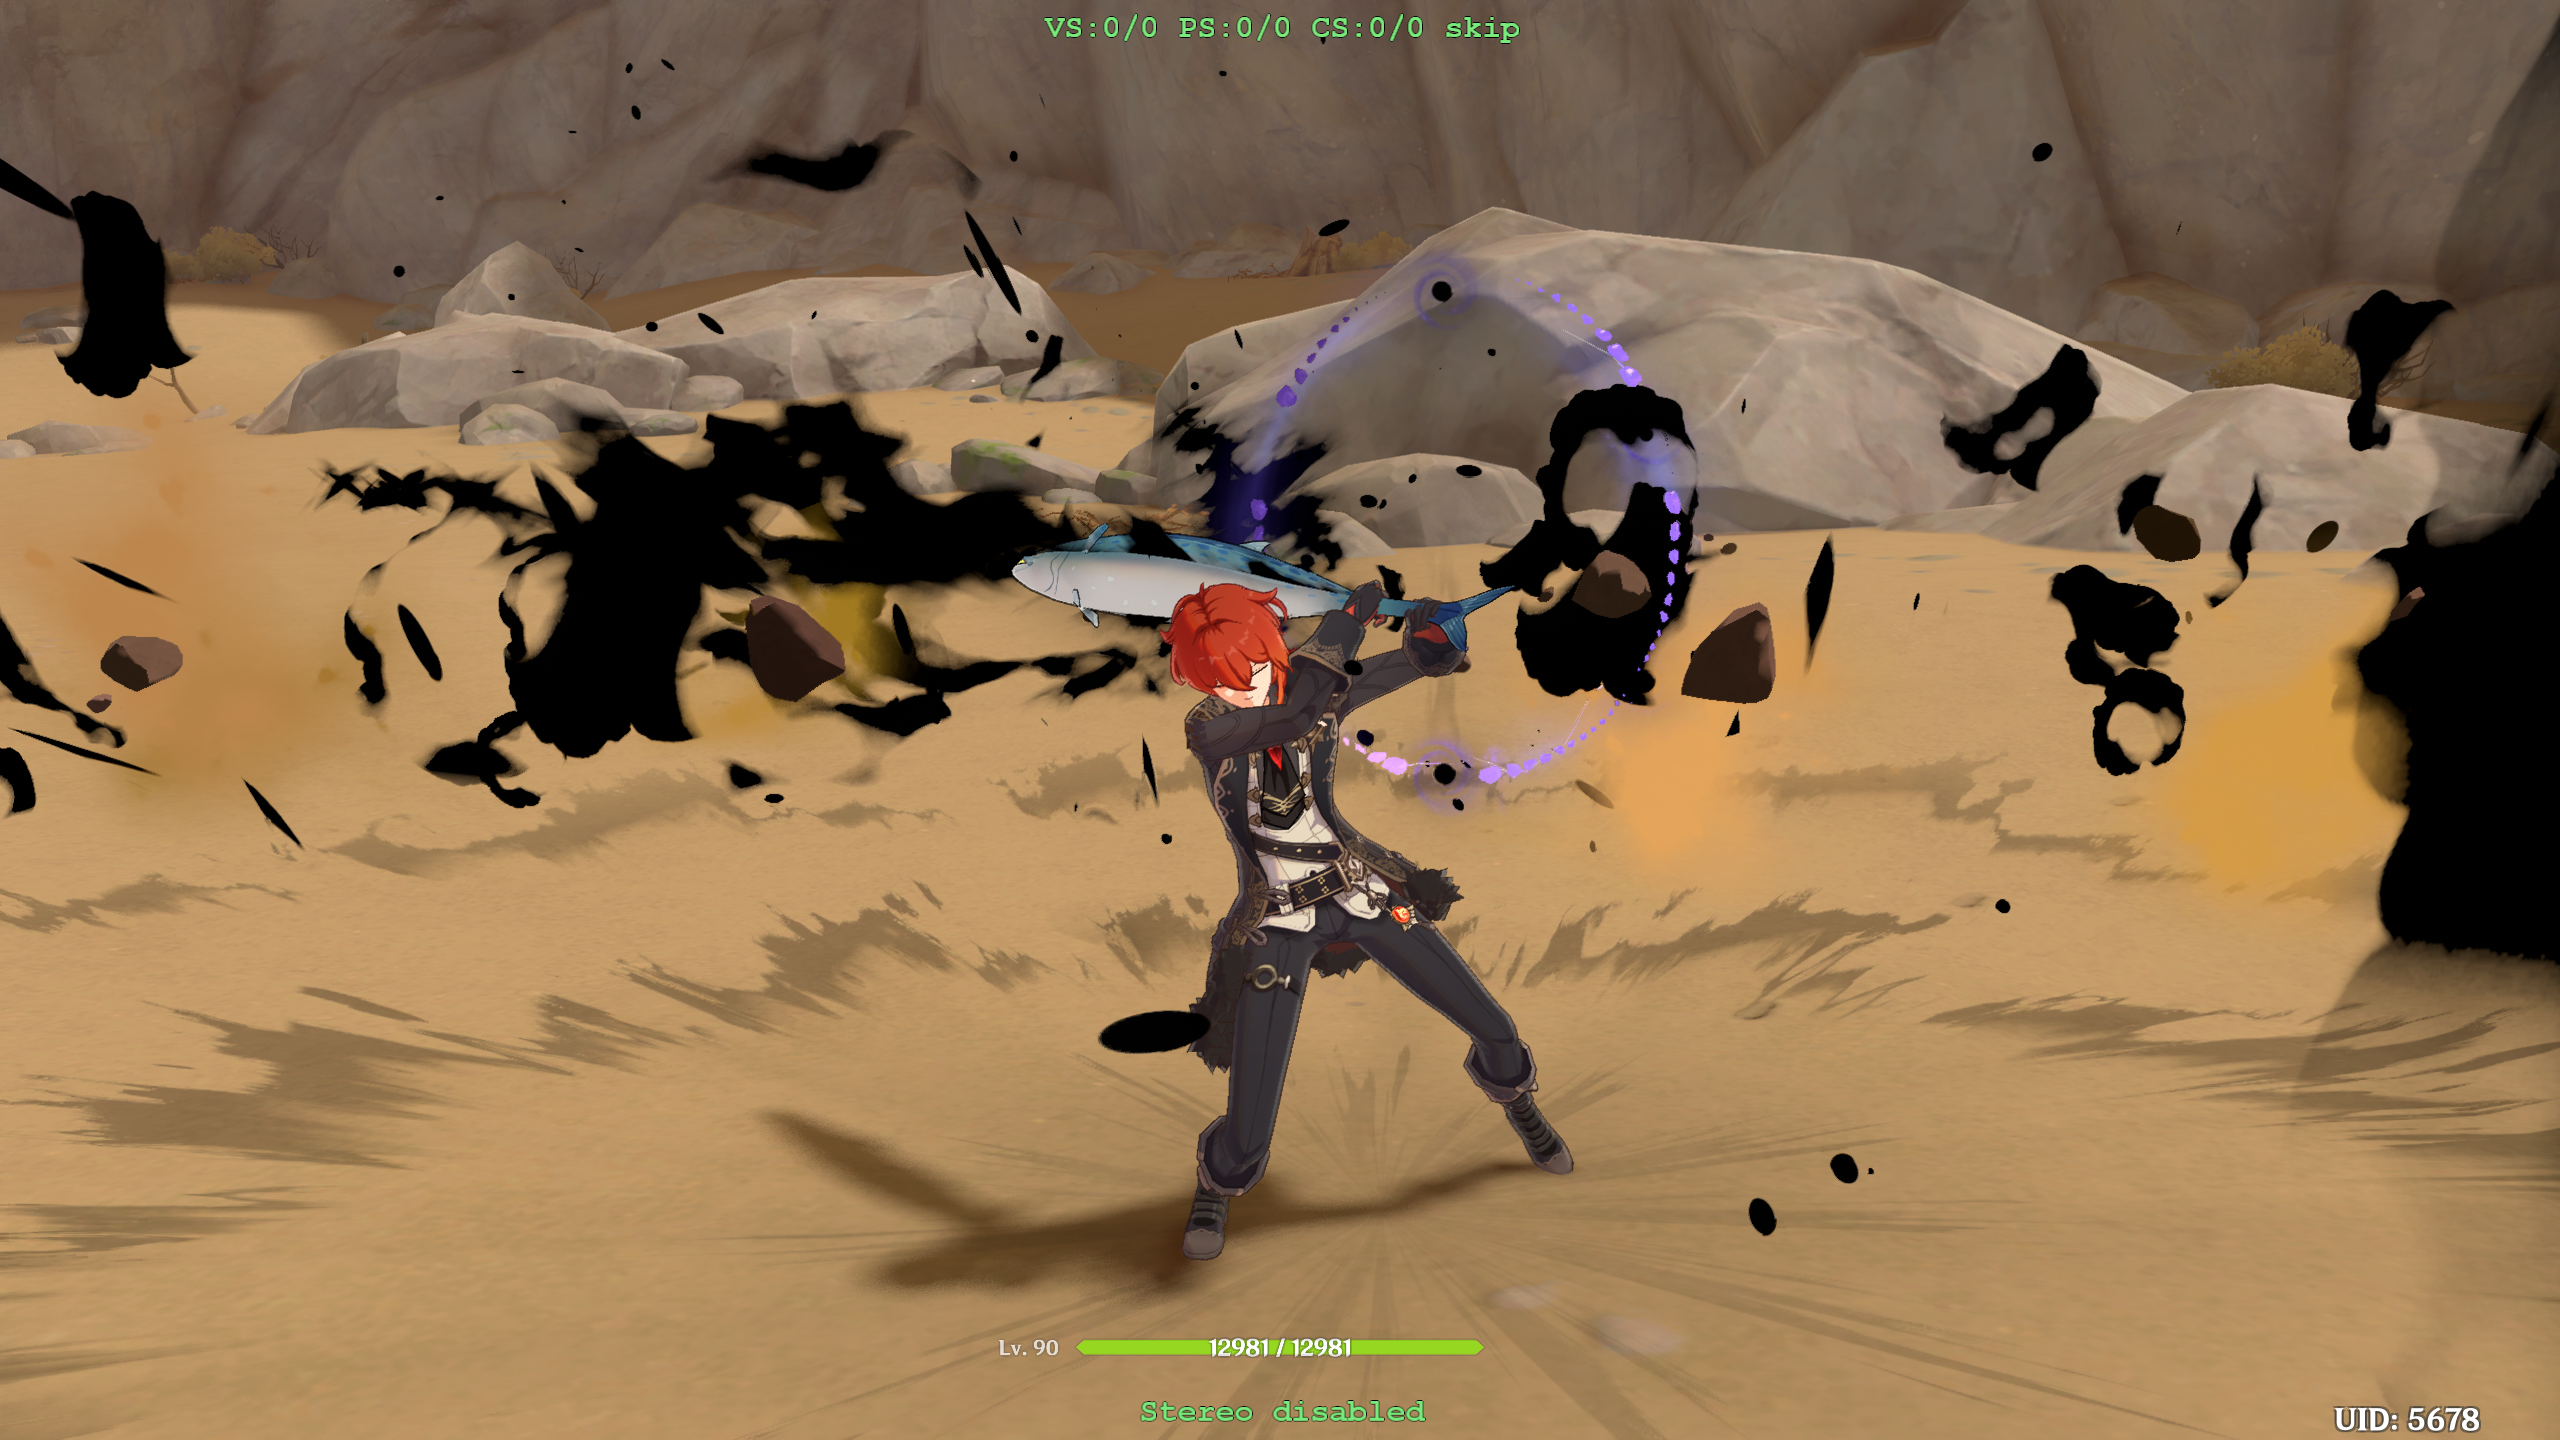
- Now that we have the remaining hashes, we need to actually dump them. Press numpad
+to reset buffers, cast the ult, then start cycling with numpad1/2while the effect is on-screen. Even though the effect will have left the screen by the time we reach the hash, as long as we started cycling when the effect was on-screen it will show up in the list and be available to dump:
Example of PS 4d4da8a4cbe1149a showing up even though the ult isn’t active:
Using this technique, we can dump the remaining shaders a69e25f25a6c8e04, 4d4da8a4cbe1149a and 622a52d3edcf0363:
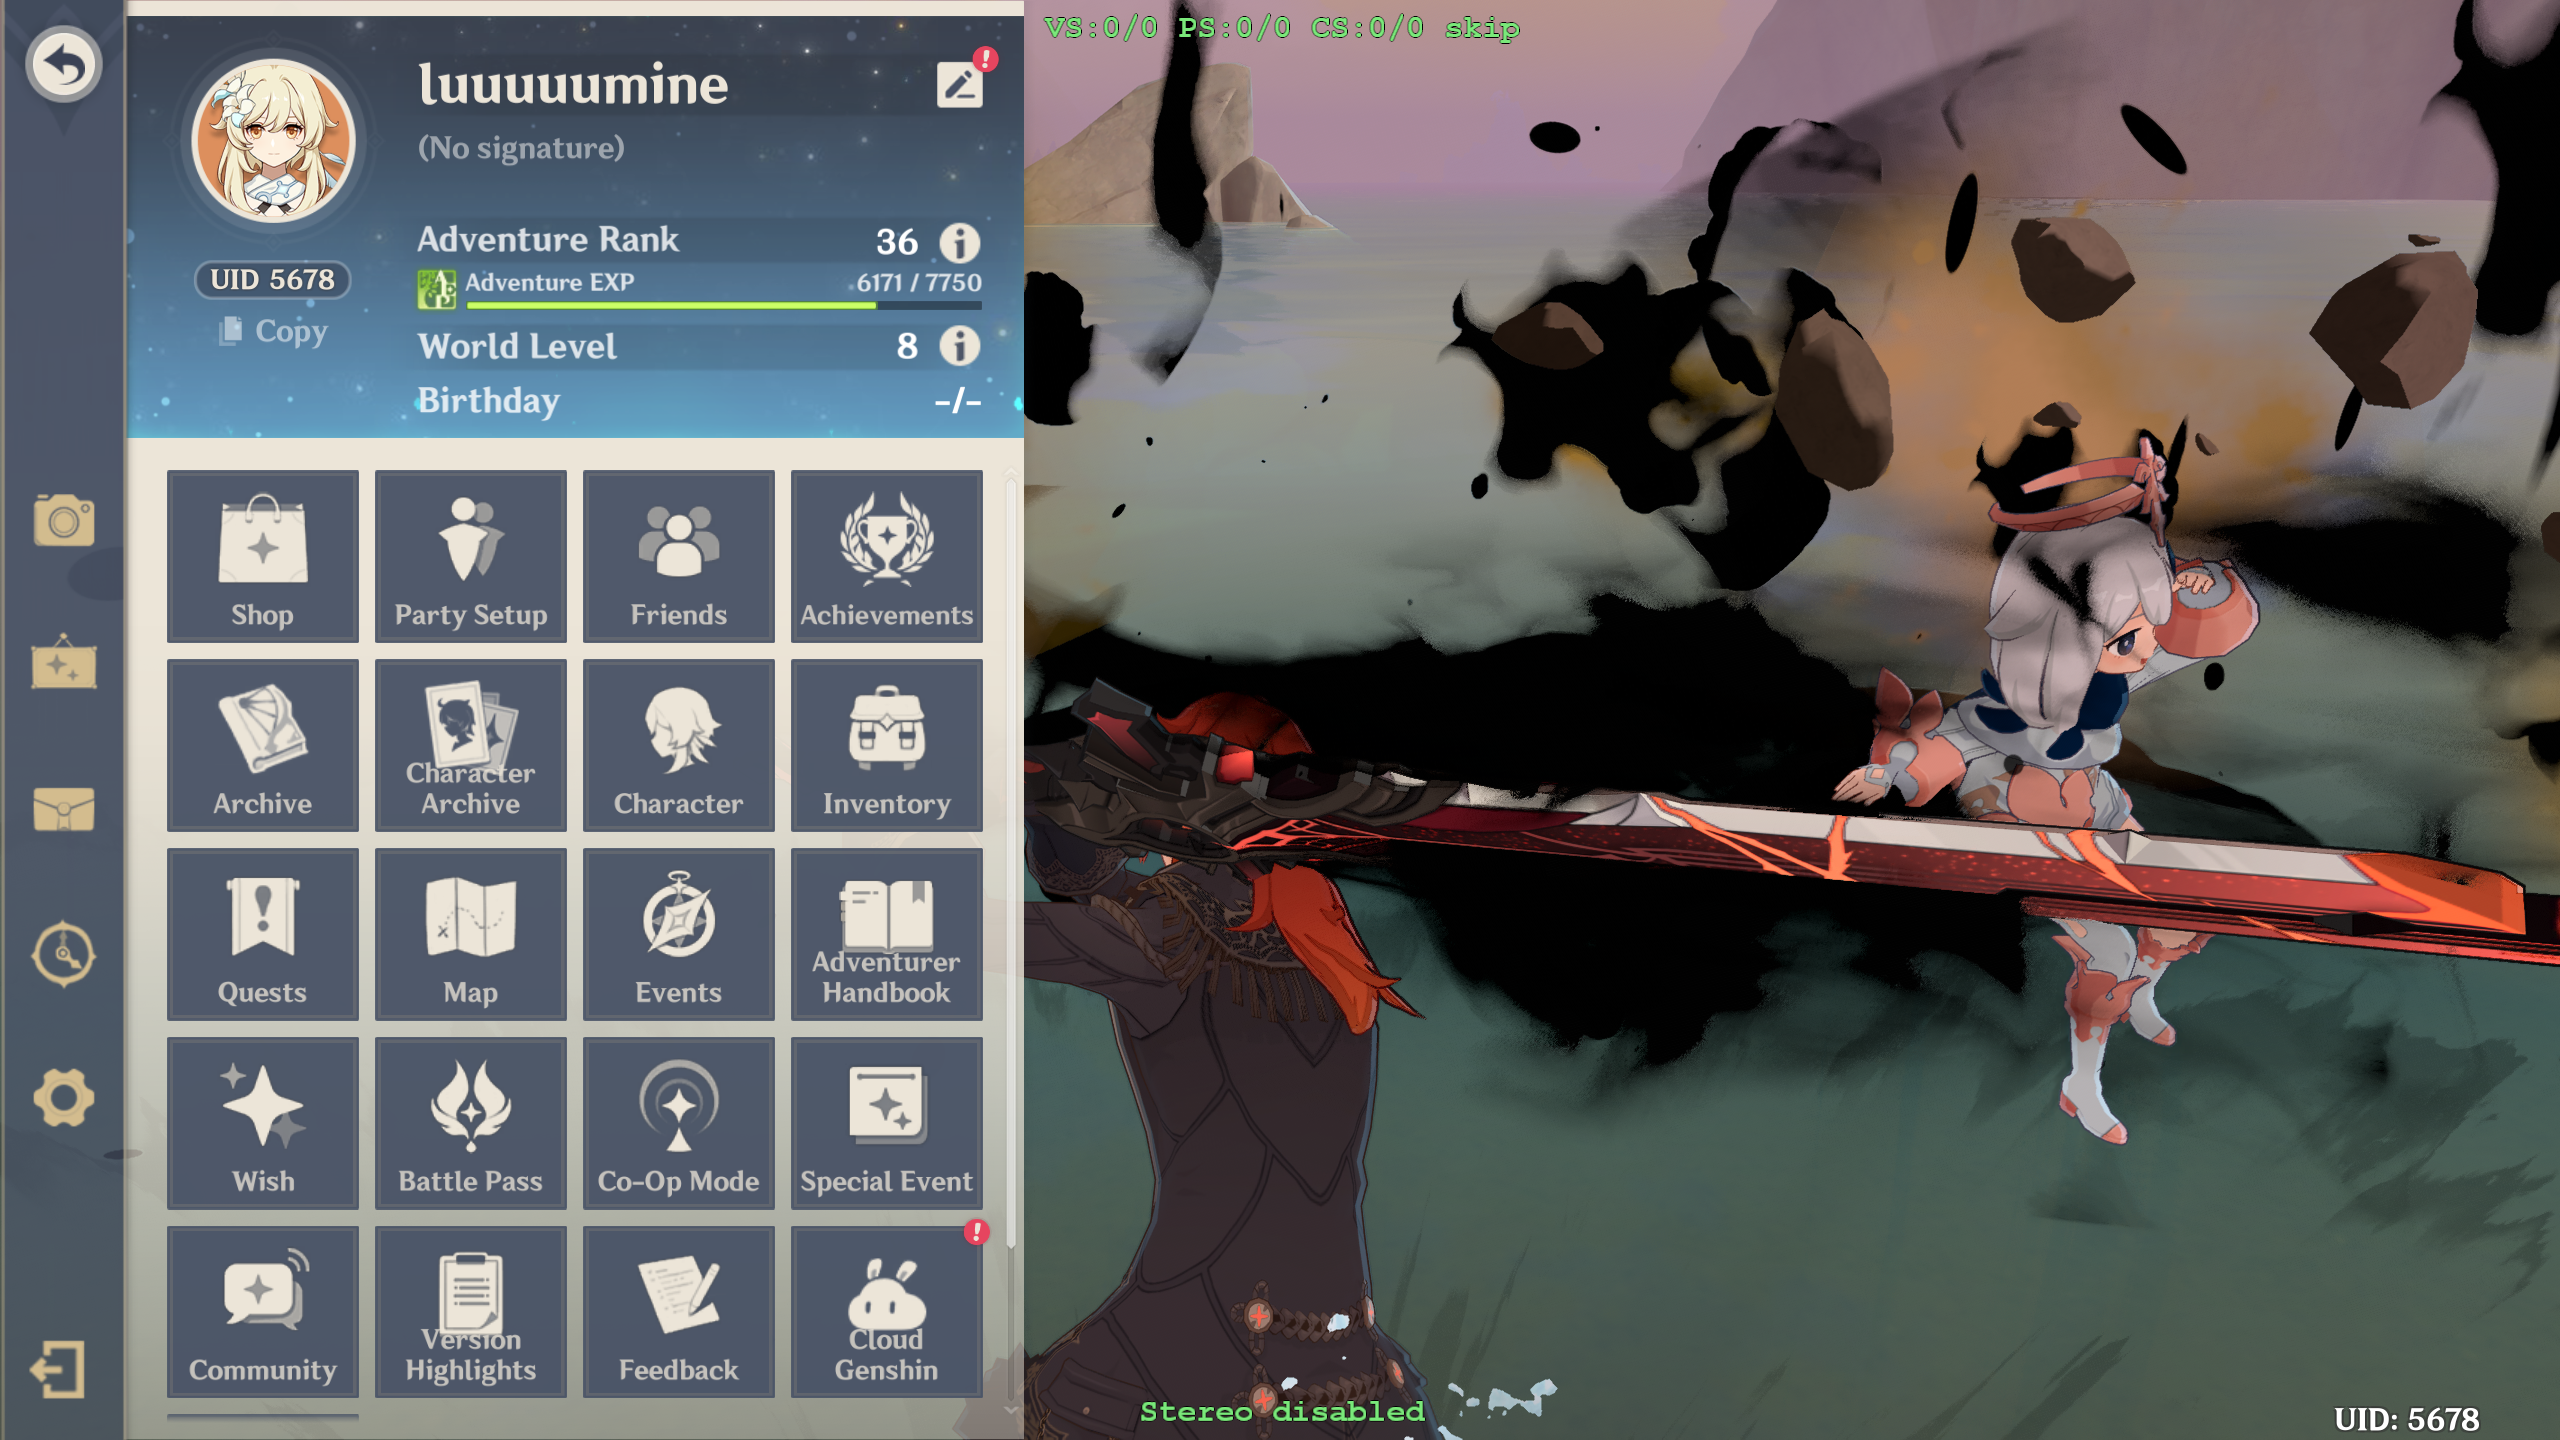
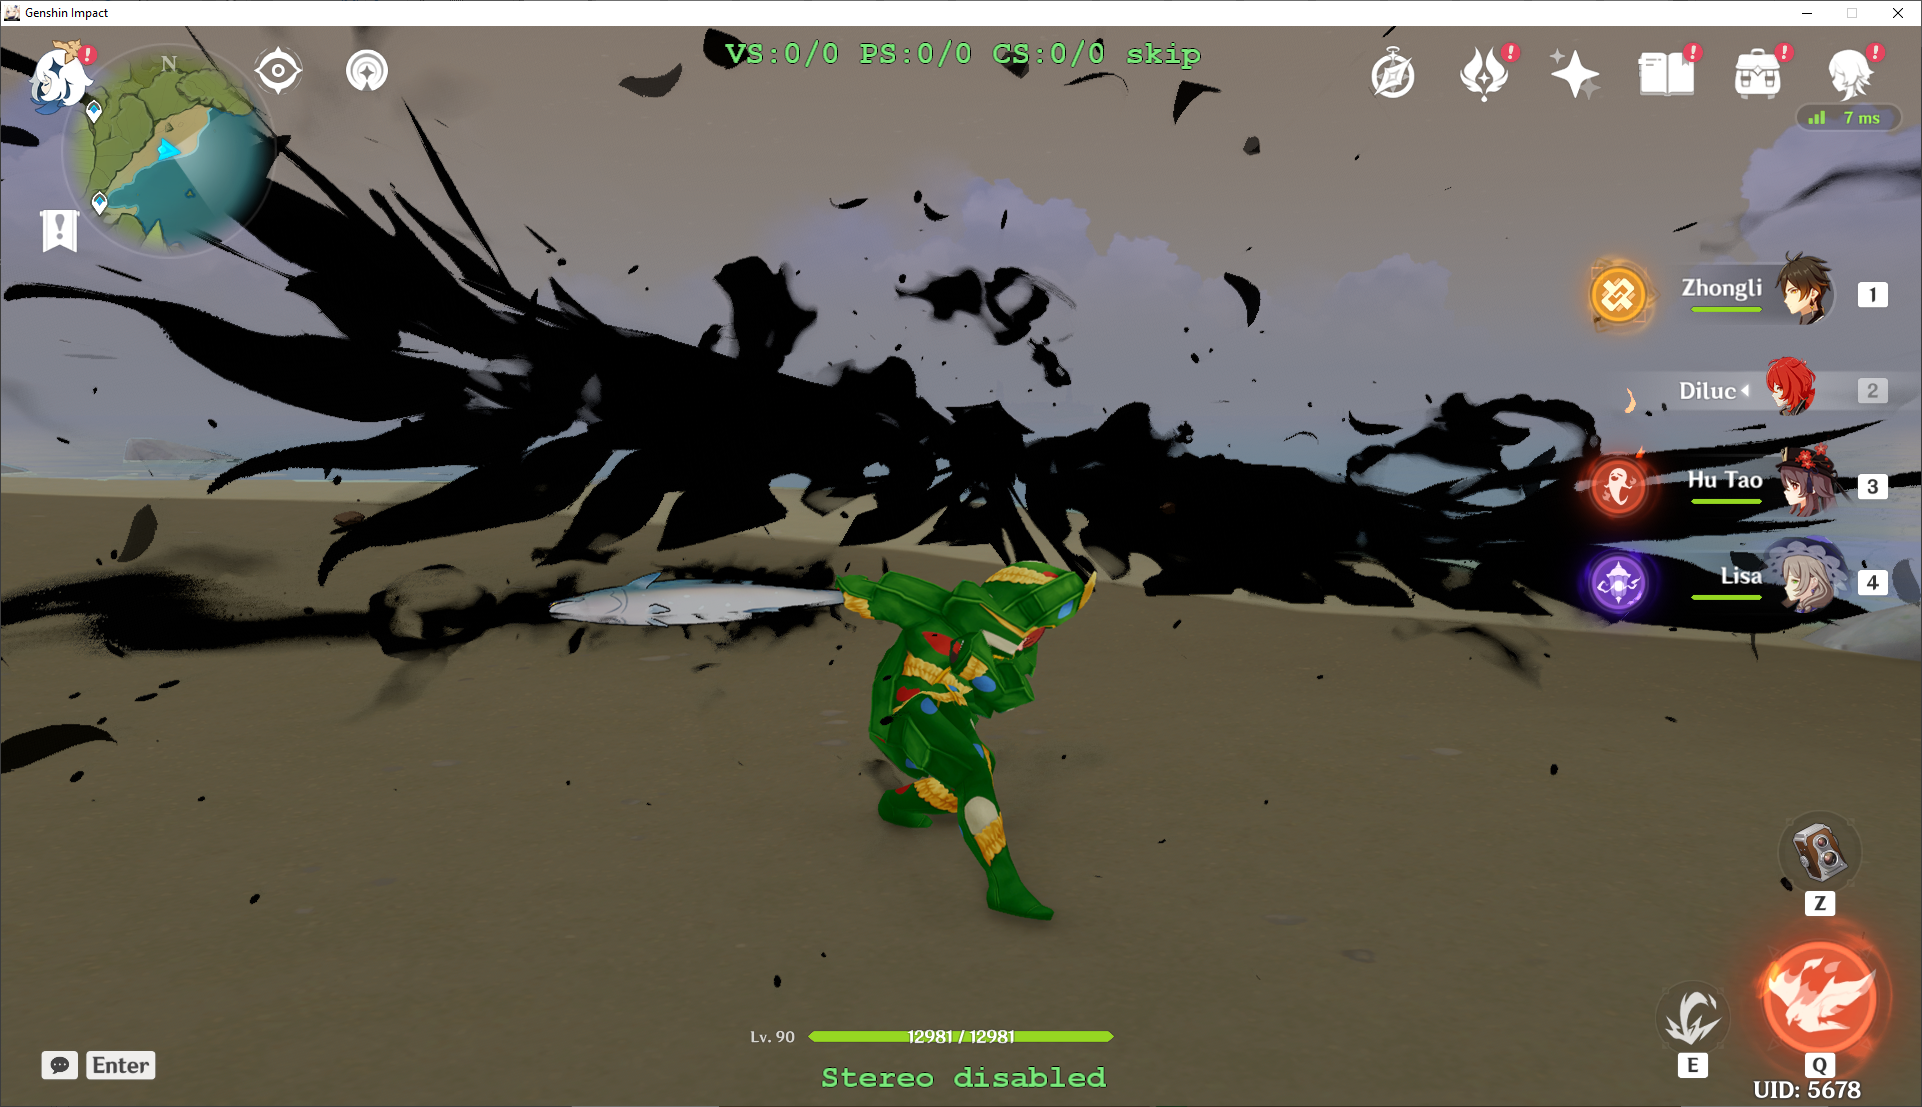
- Modding complete! Or…maybe not. If you switch to another pyro character such as Hu Tao, you may notice an issue:
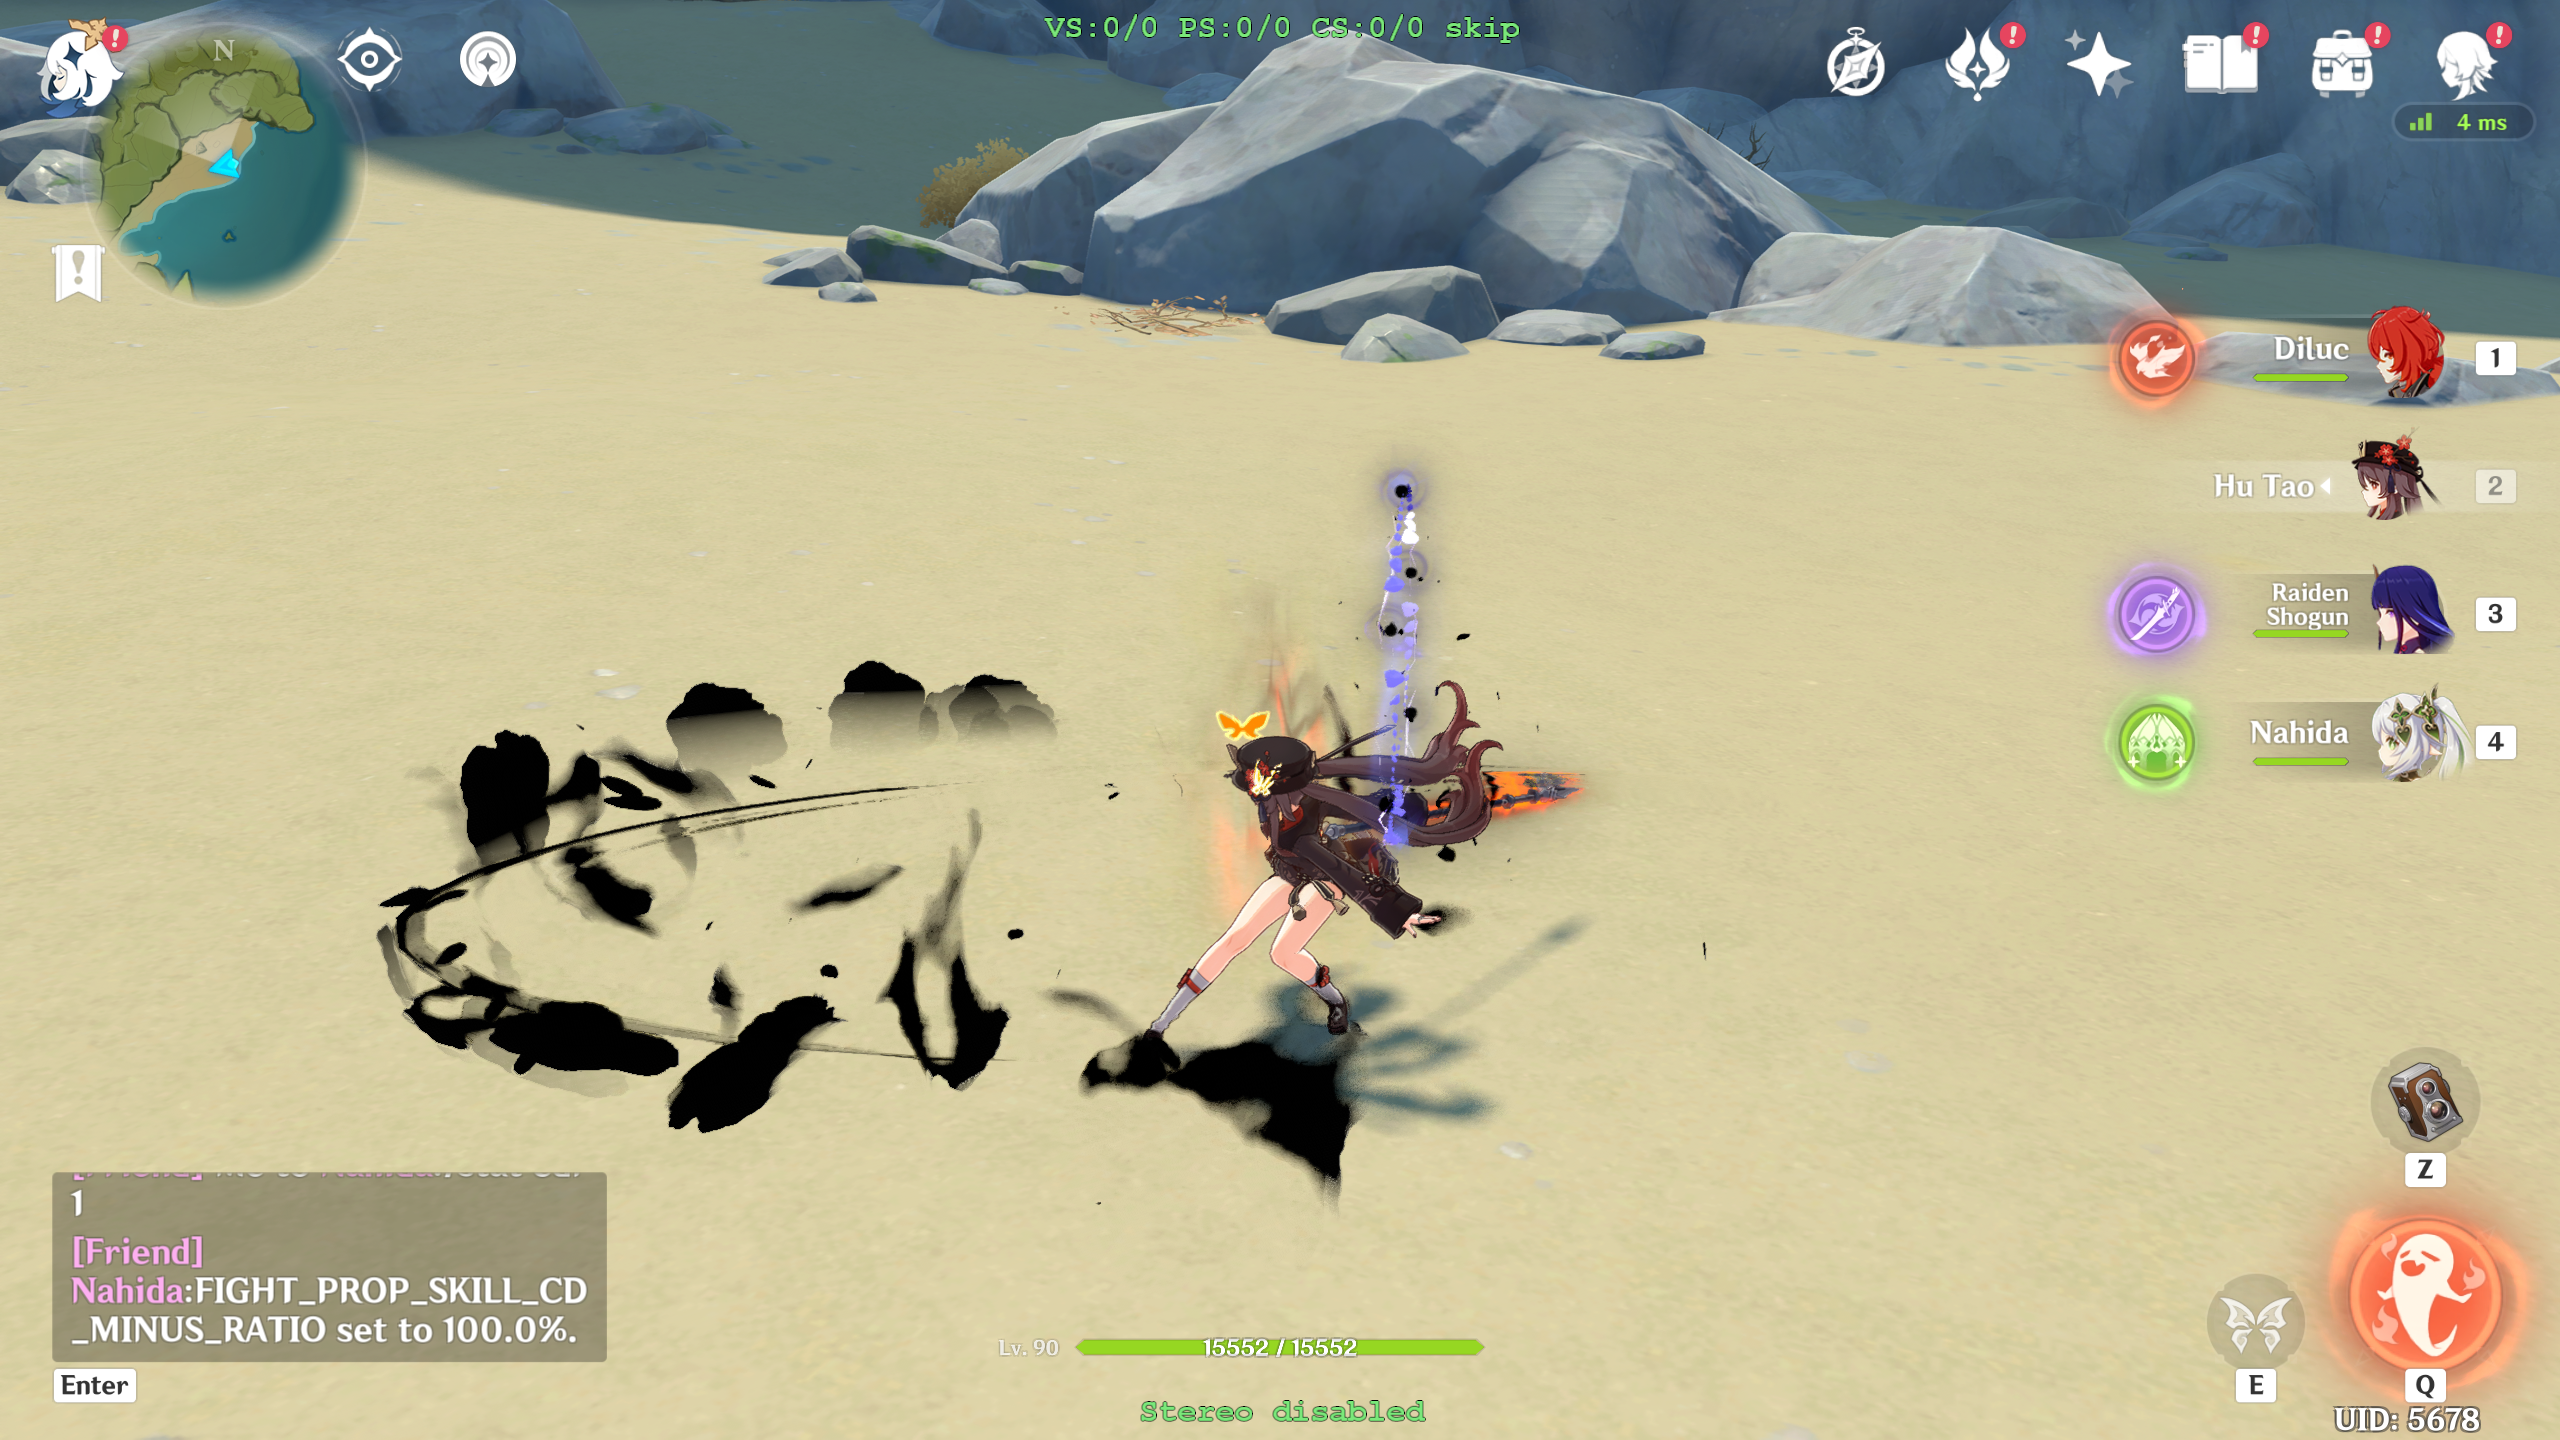
We have set ALL flames to black, not just Diluc’s. Also, if someone else created a mod that changed another character’s flames like Hu Tao’s or Klee’s, it would overlap with the Diluc one as well.
- We want a way to limit the effect to only show up when Diluc is on-field. There are a couple of ways we can do this, but they all follow the same basic principle – we identify some condition that is caused whenever Diluc is on the field, then only apply the effects if that condition is true.
This is a somewhat more advanced topic which will make more sense after you play around with the shaders more and read the later sections – if you have issues understanding this, try reading the following sections and coming back later.
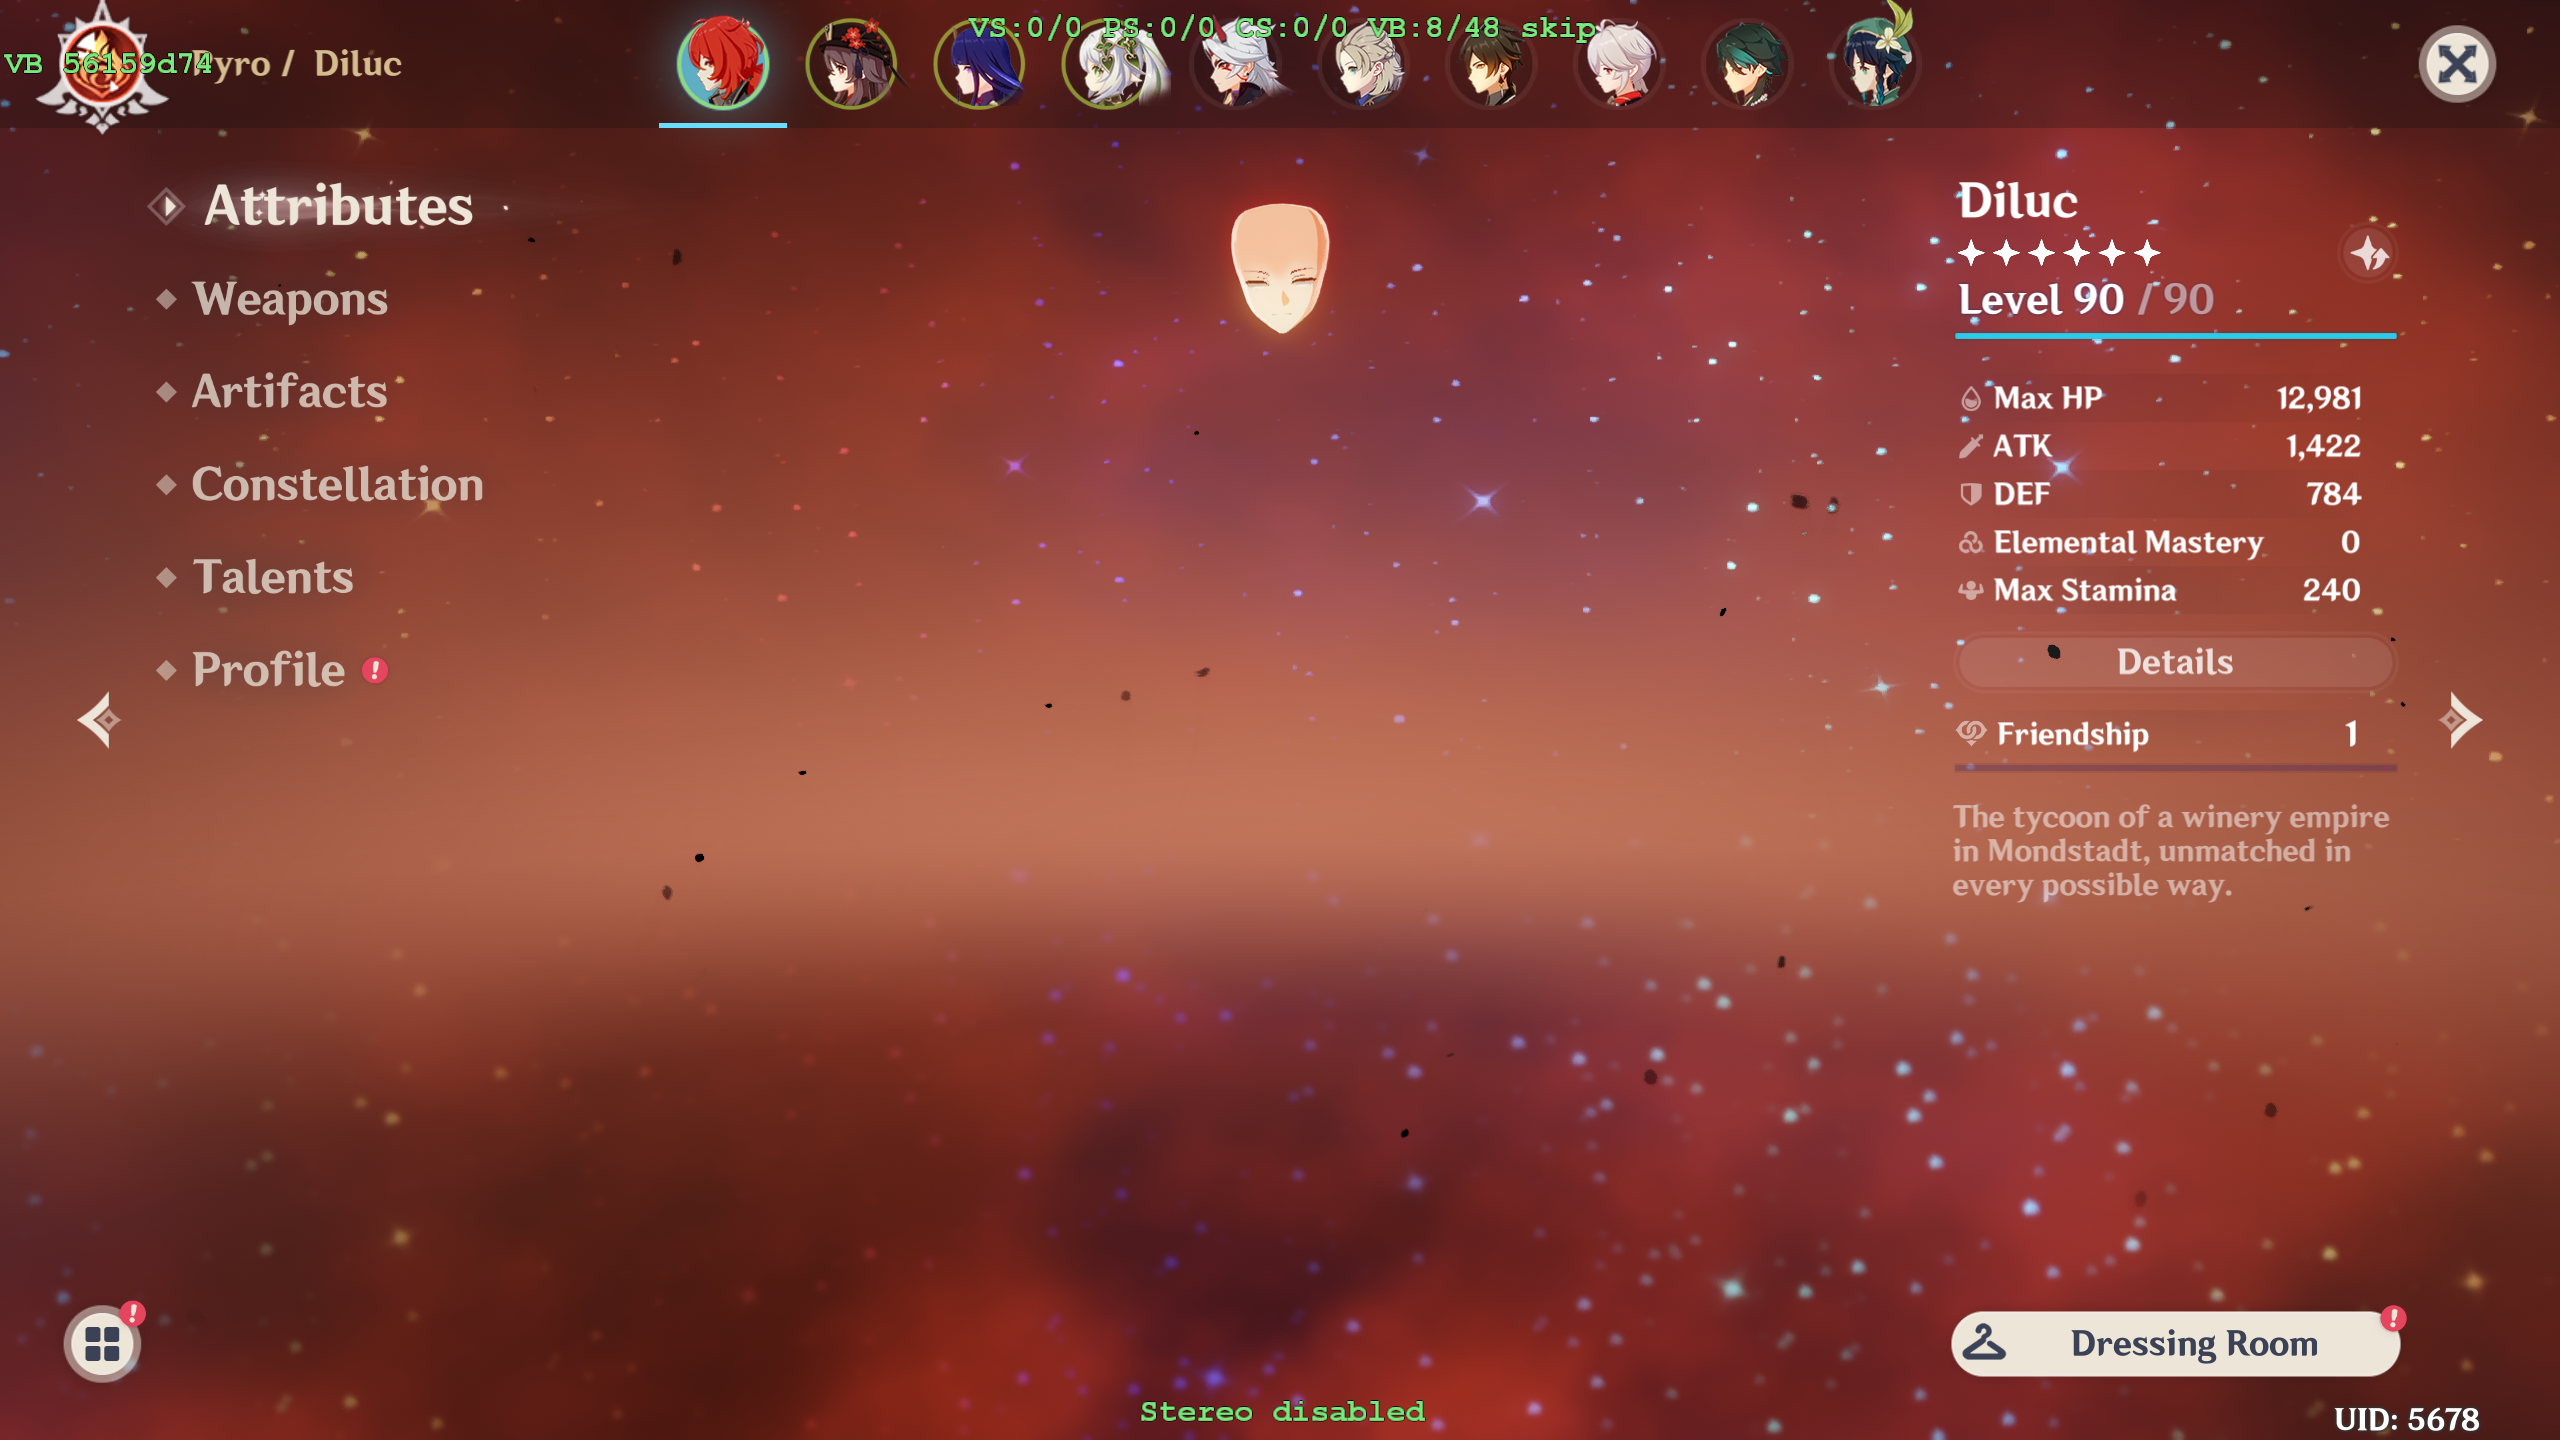
First, we need identify a hash that is unique to Diluc. For simplicity, I am going to use Diluc’s VB hash 56159d74 (VB can be cycled with numpad / and *, and copied with numpad -):
- Next, we construct an
.iniwhich we will use to selectively apply the effects. We define a variable called$ActiveCharacter, and set it equal to 0 at the start of every frame ([Present]runs once per frame at the start). We only set the value equal to 1 whenever Diluc is on-field, indicated by the VB hash being matched:
[Constants]
global $ActiveCharacter

[Present]
post $ActiveCharacter = 0

[TextureOverrideDilucVB]
hash = 56159d74
match_priority = 1
$ActiveCharacter = 1
The match_priority here is just to ensure this effect does not interfere with any loaded Diluc mods – if you are adding this effect as part of a mod and not separately, you won’t need to include it.
- Now, there are two ways to we can isolate the shader. The easier of the two is to simply define a custom shader and perform the replacement, then create a
shaderoverrideand only run the custom shader when Diluc is the active character:
[ShaderOverrideDilucFlame]
hash = 4d4da8a4cbe1149a
if $ActiveCharacter == 1
 run = CustomShaderDilucFlame
endif

[CustomShaderDilucFlame]
ps = 4d4da8a4cbe1149a-ps_replace.txt
handling = skip
drawindexed = auto
This will usually work, but 3dmigoto sometimes does not properly compile the hlsl if done this way leading to errors. Also, it will not work with asm. But the pros are that the shader can be bundled together in the mod folder with the rest of the mod, and it will not interfere if another mod tries to modify the same shader.
The other method is to pass a custom variable to the shader, and only perform the effect if the variable matches. The next section will go over this in more detail, but essentially you want a section like this for each shader:
[ShaderOverrideDilucFlame]
hash = 0fa220b5adced192
x160 = $ActiveCharacter
Then to define a new constant in the shader:
And only perform the effect if that constant is equal to 1 (e.g. the character is on-screen):

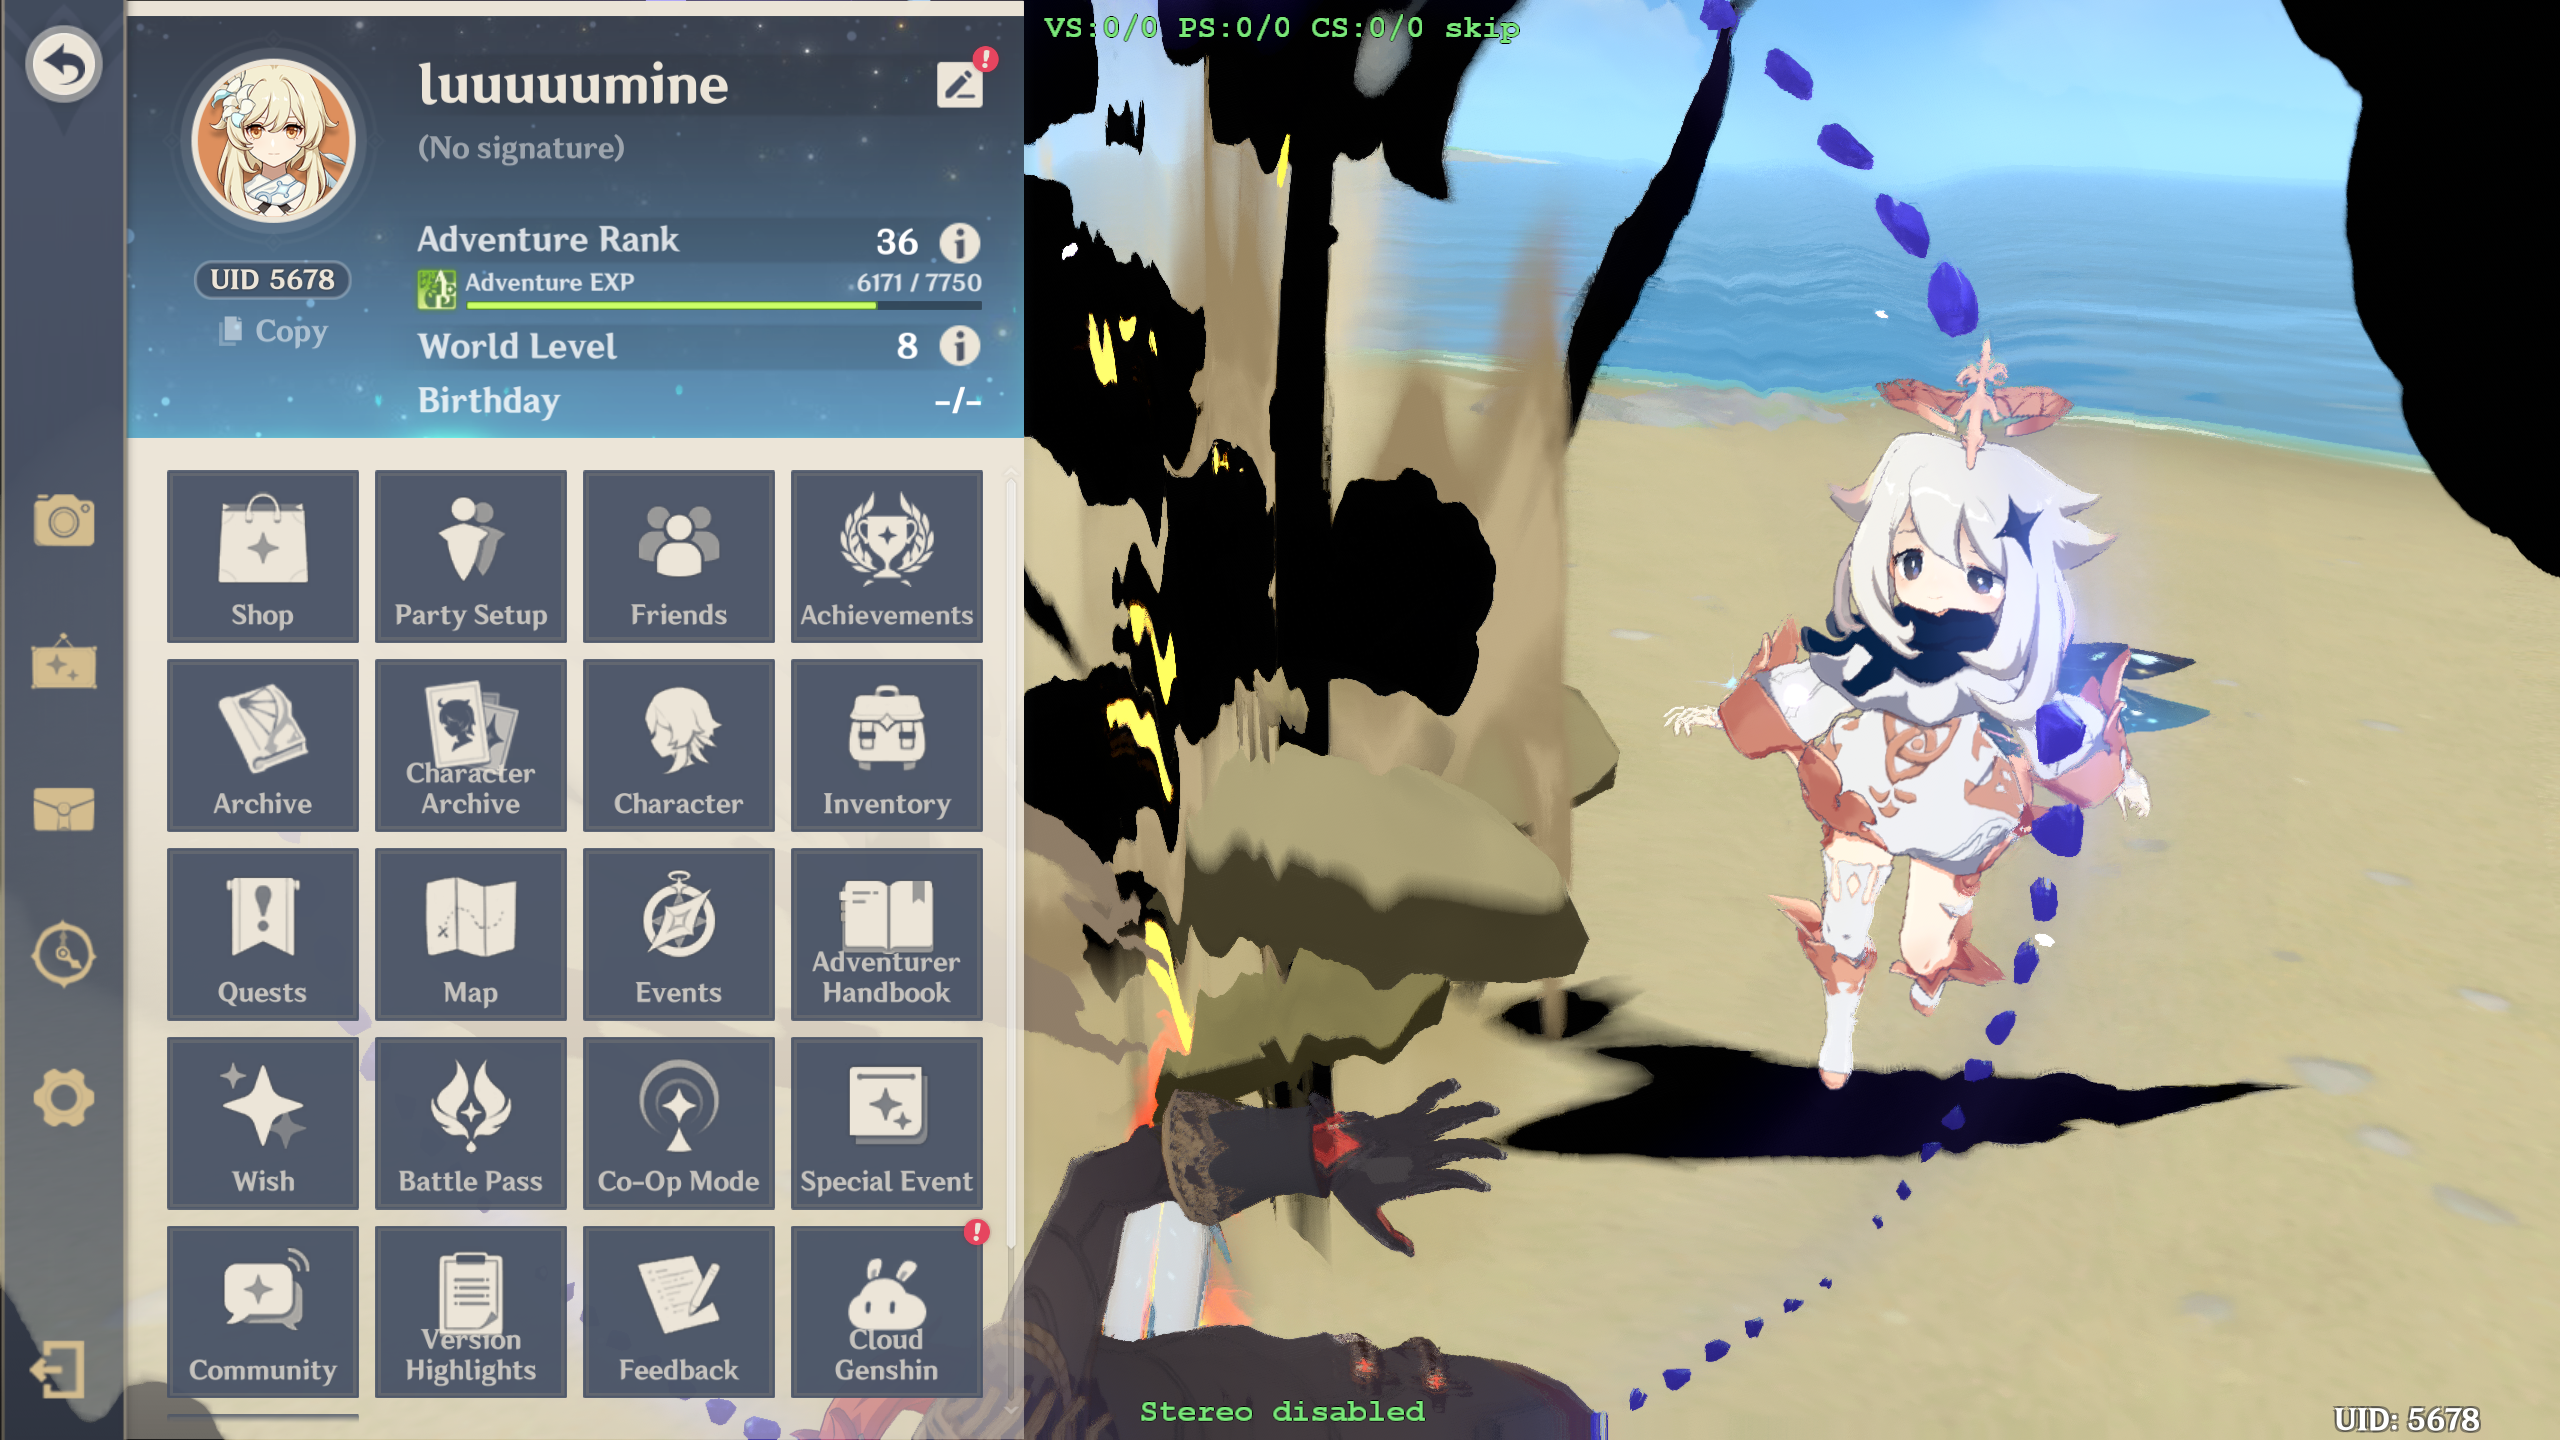
With this, Diluc keeps the effect:
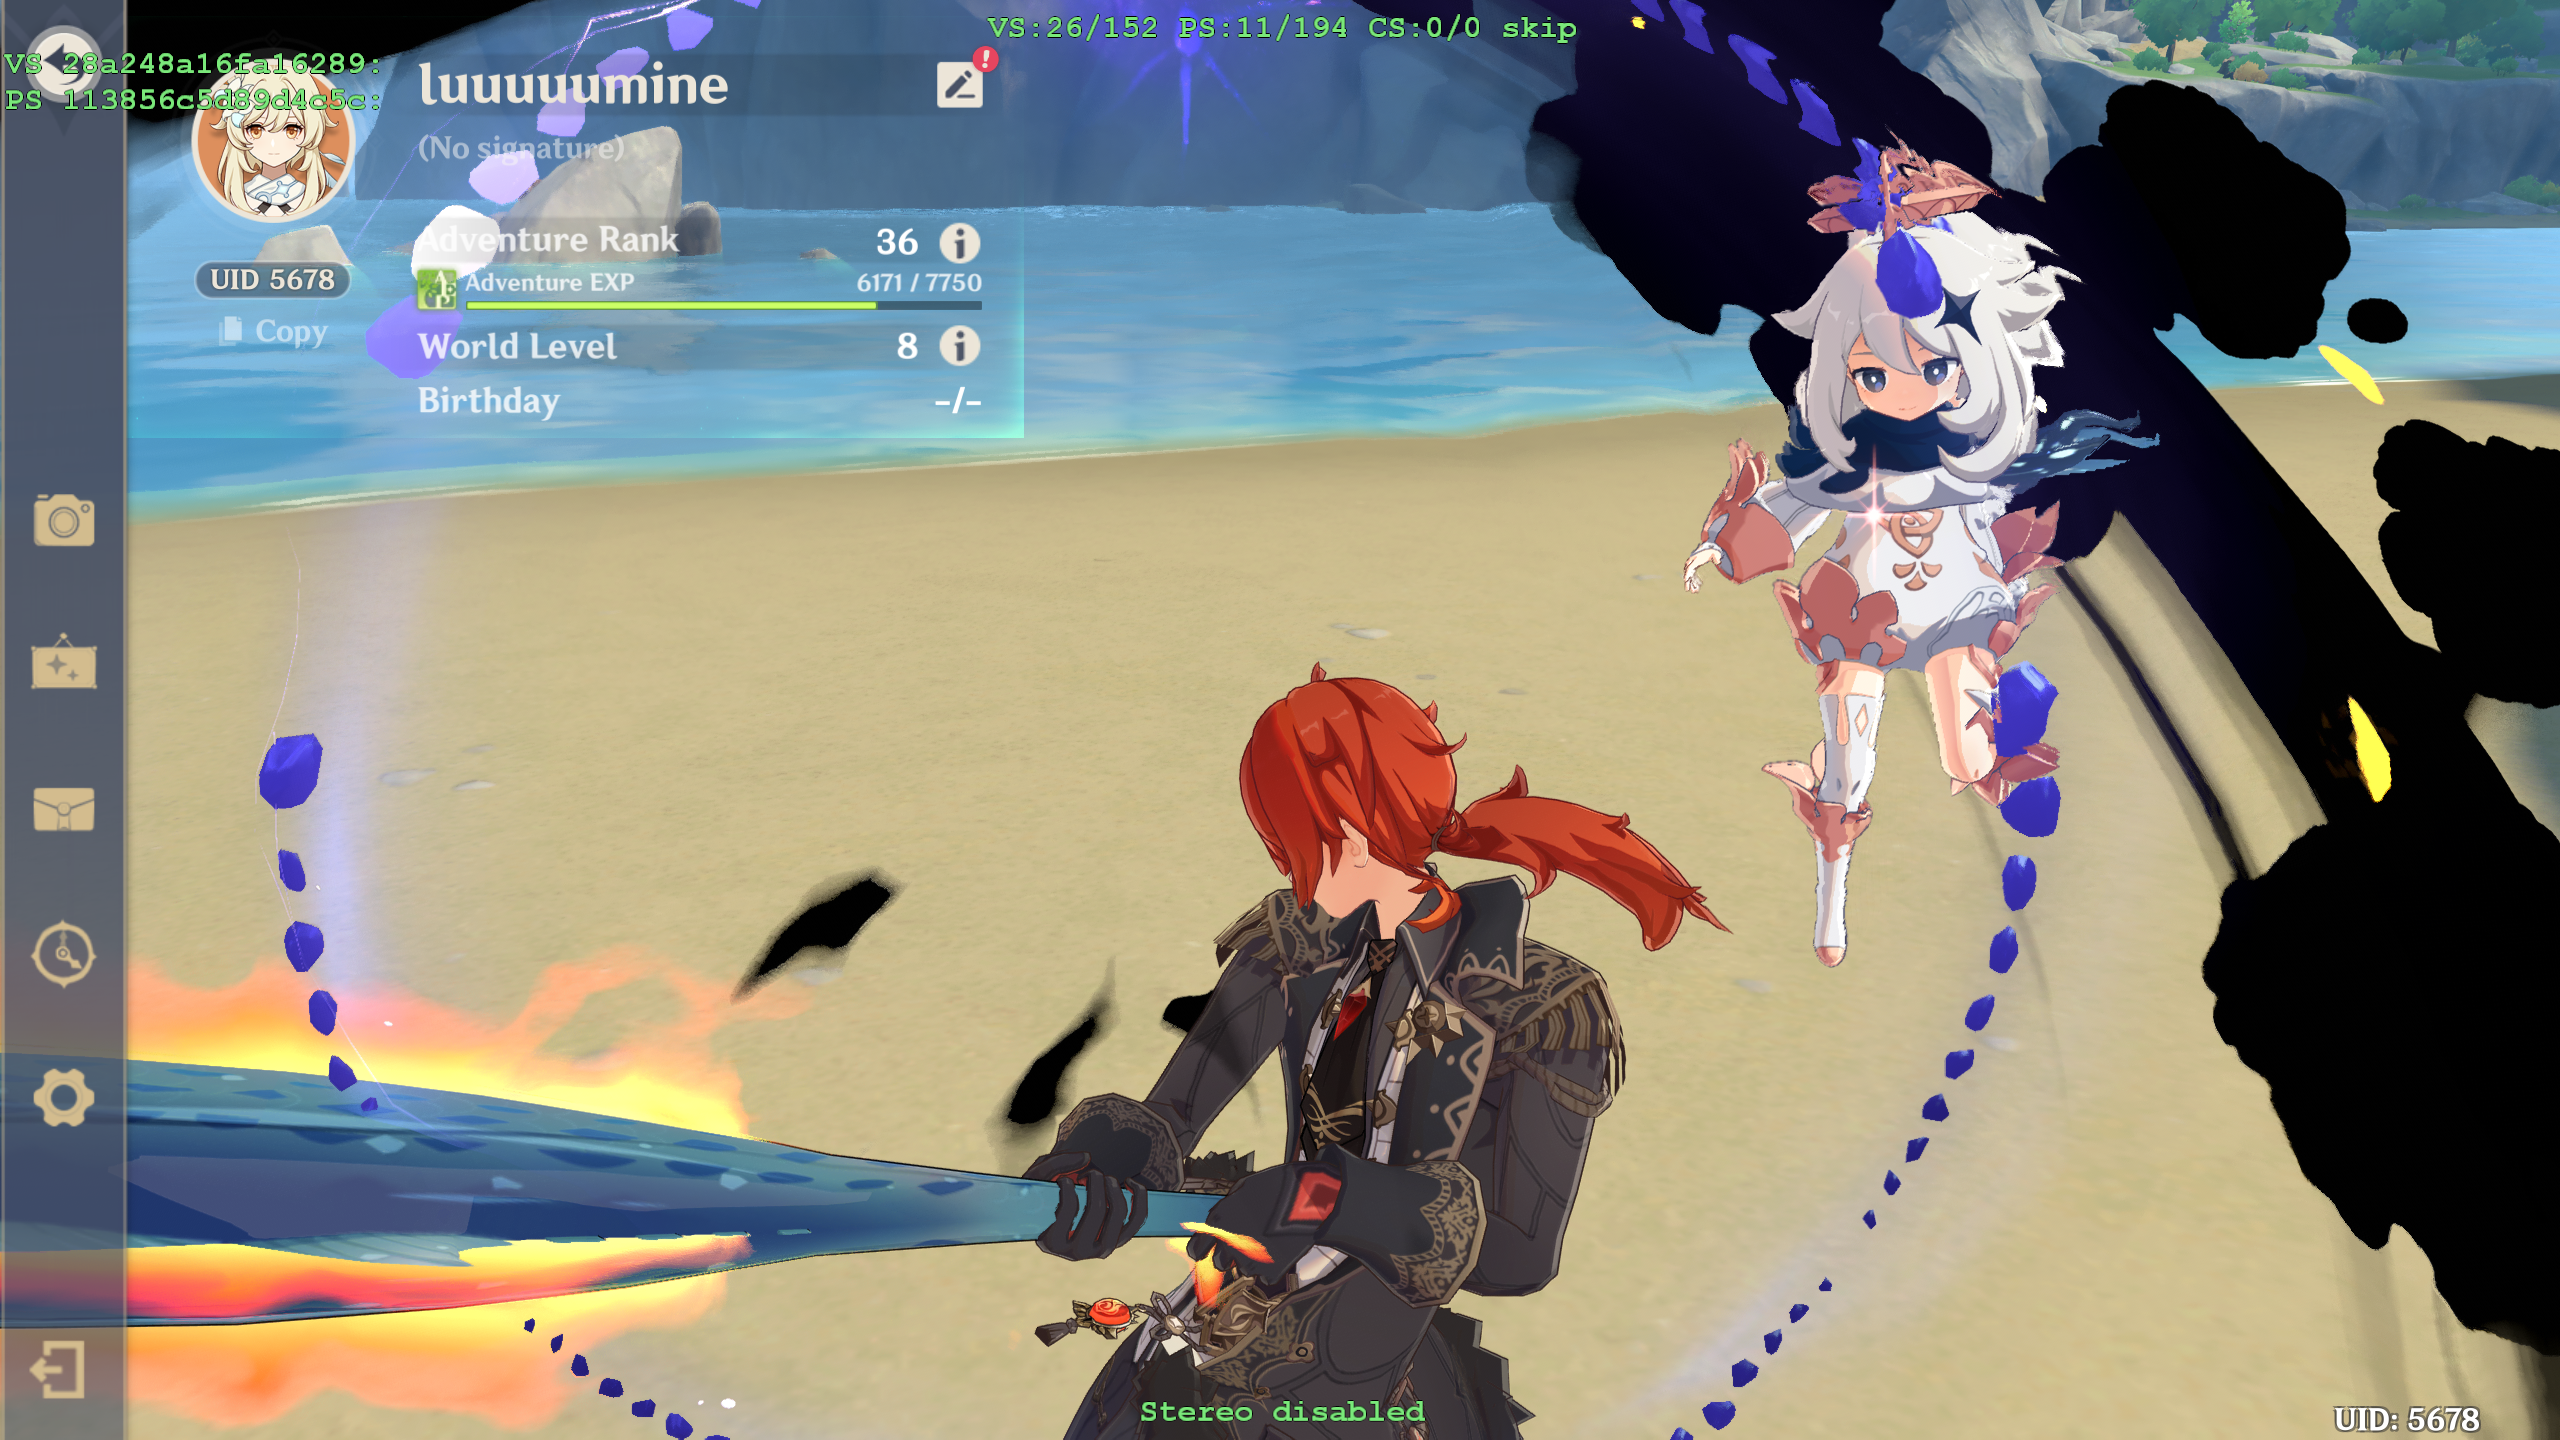
While Hu Tao’s are normal:
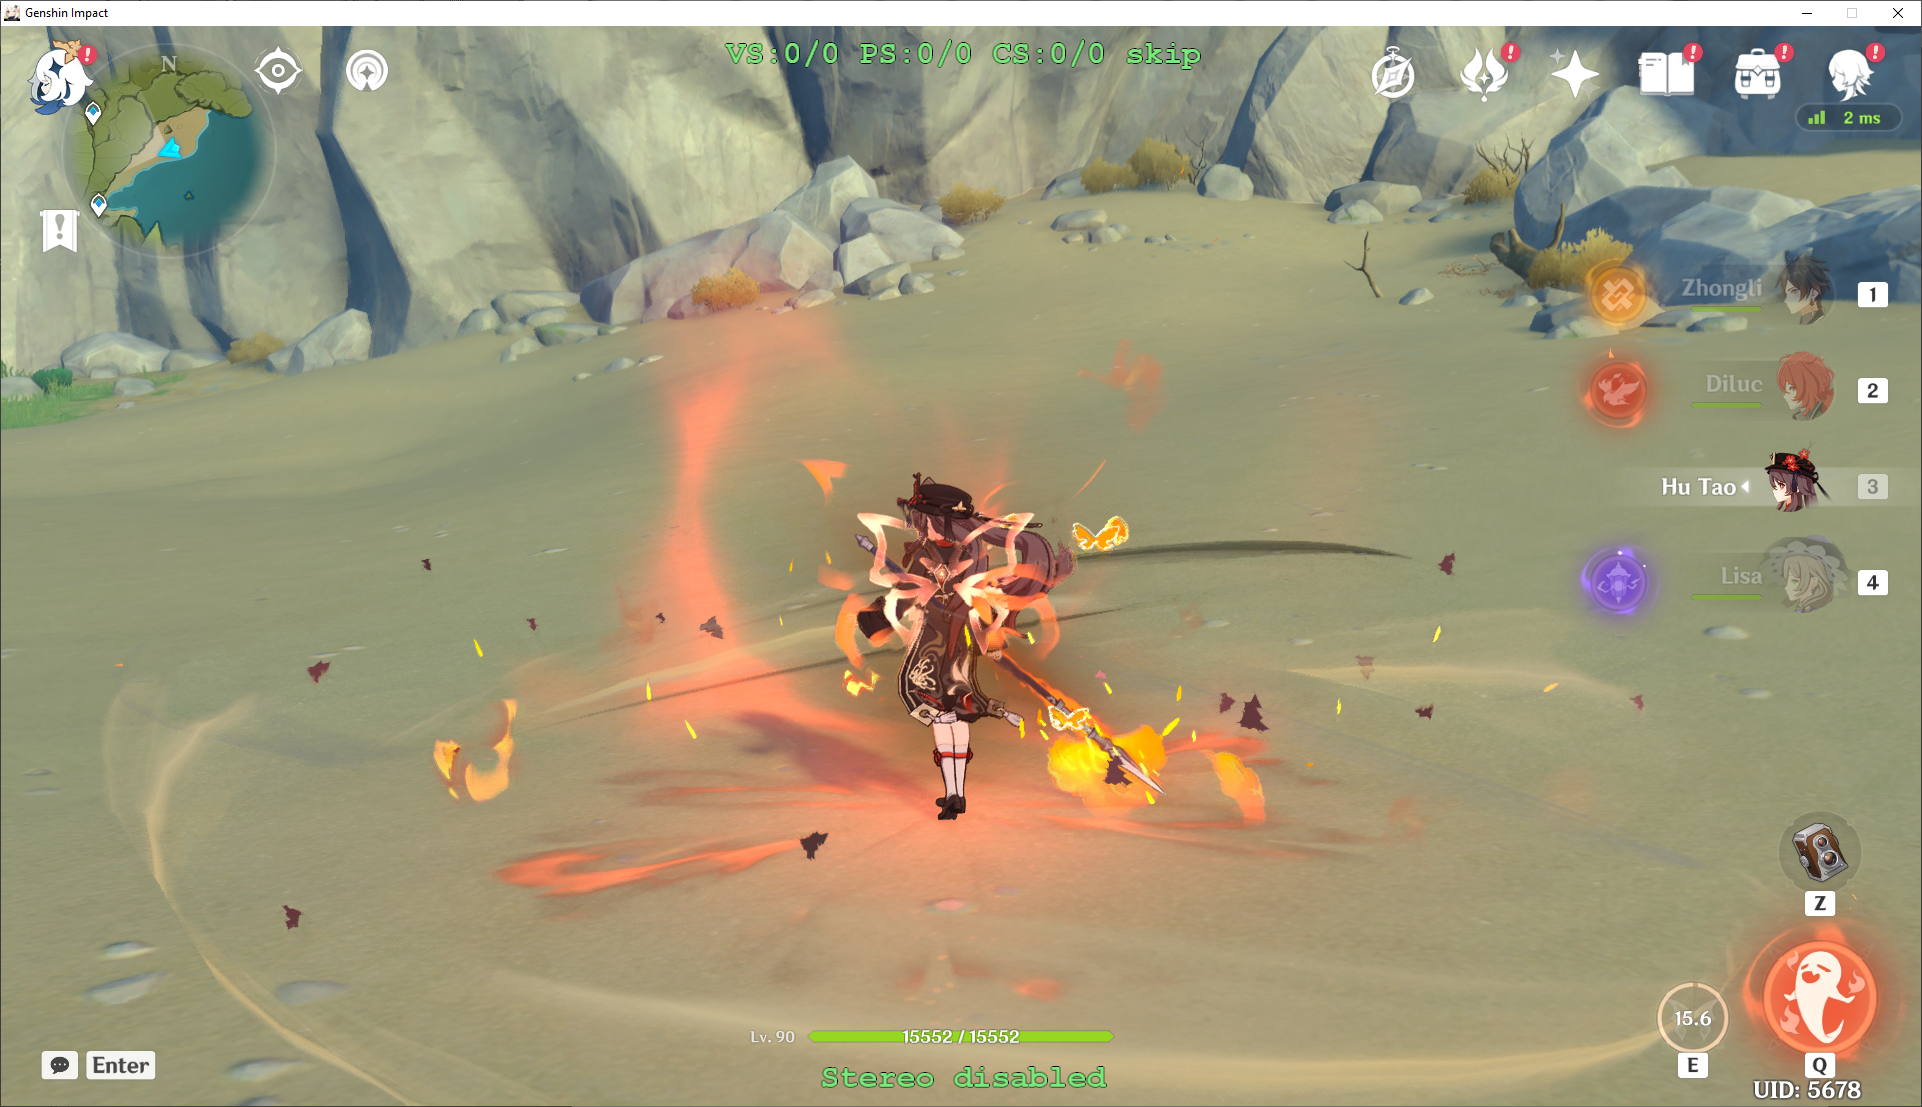
In motion (I left a few of the effects red for contrast):
Passing Custom Values into Shaders (Cycling Colors)
In this section, I will demonstrate how to load custom values from the .ini files to shaders, and how you can use this to make effects that cycle between multiple colors. I will also demonstrate how to find the parts of the shader that control emission, something that is more challenging than just effect colors.
This section is medium-advanced difficulty – I will assume you have read most of the previous section, and have at least some basic familiarity with the .ini files and shaders (e.g. knowing how to open them, and at least vaguely understand the different parts). Basic programming knowledge will be helpful.
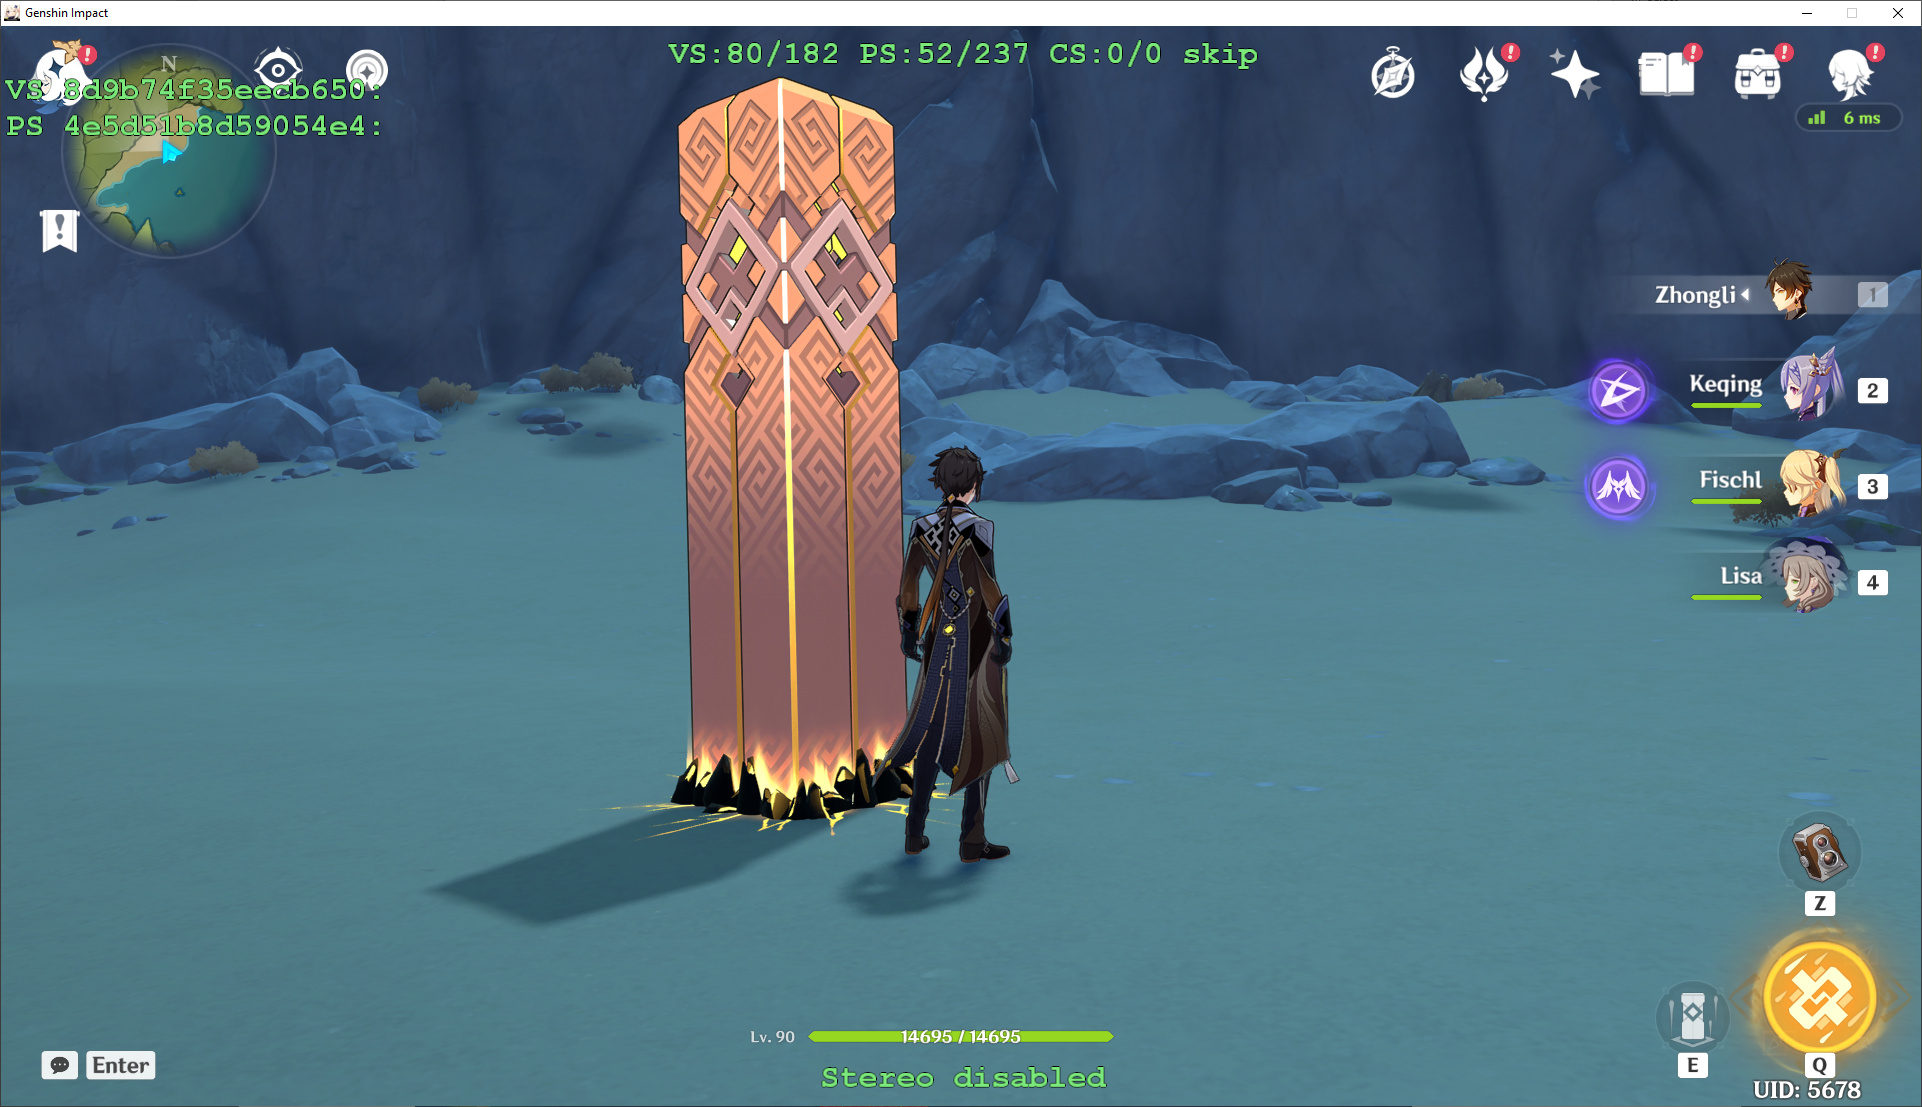
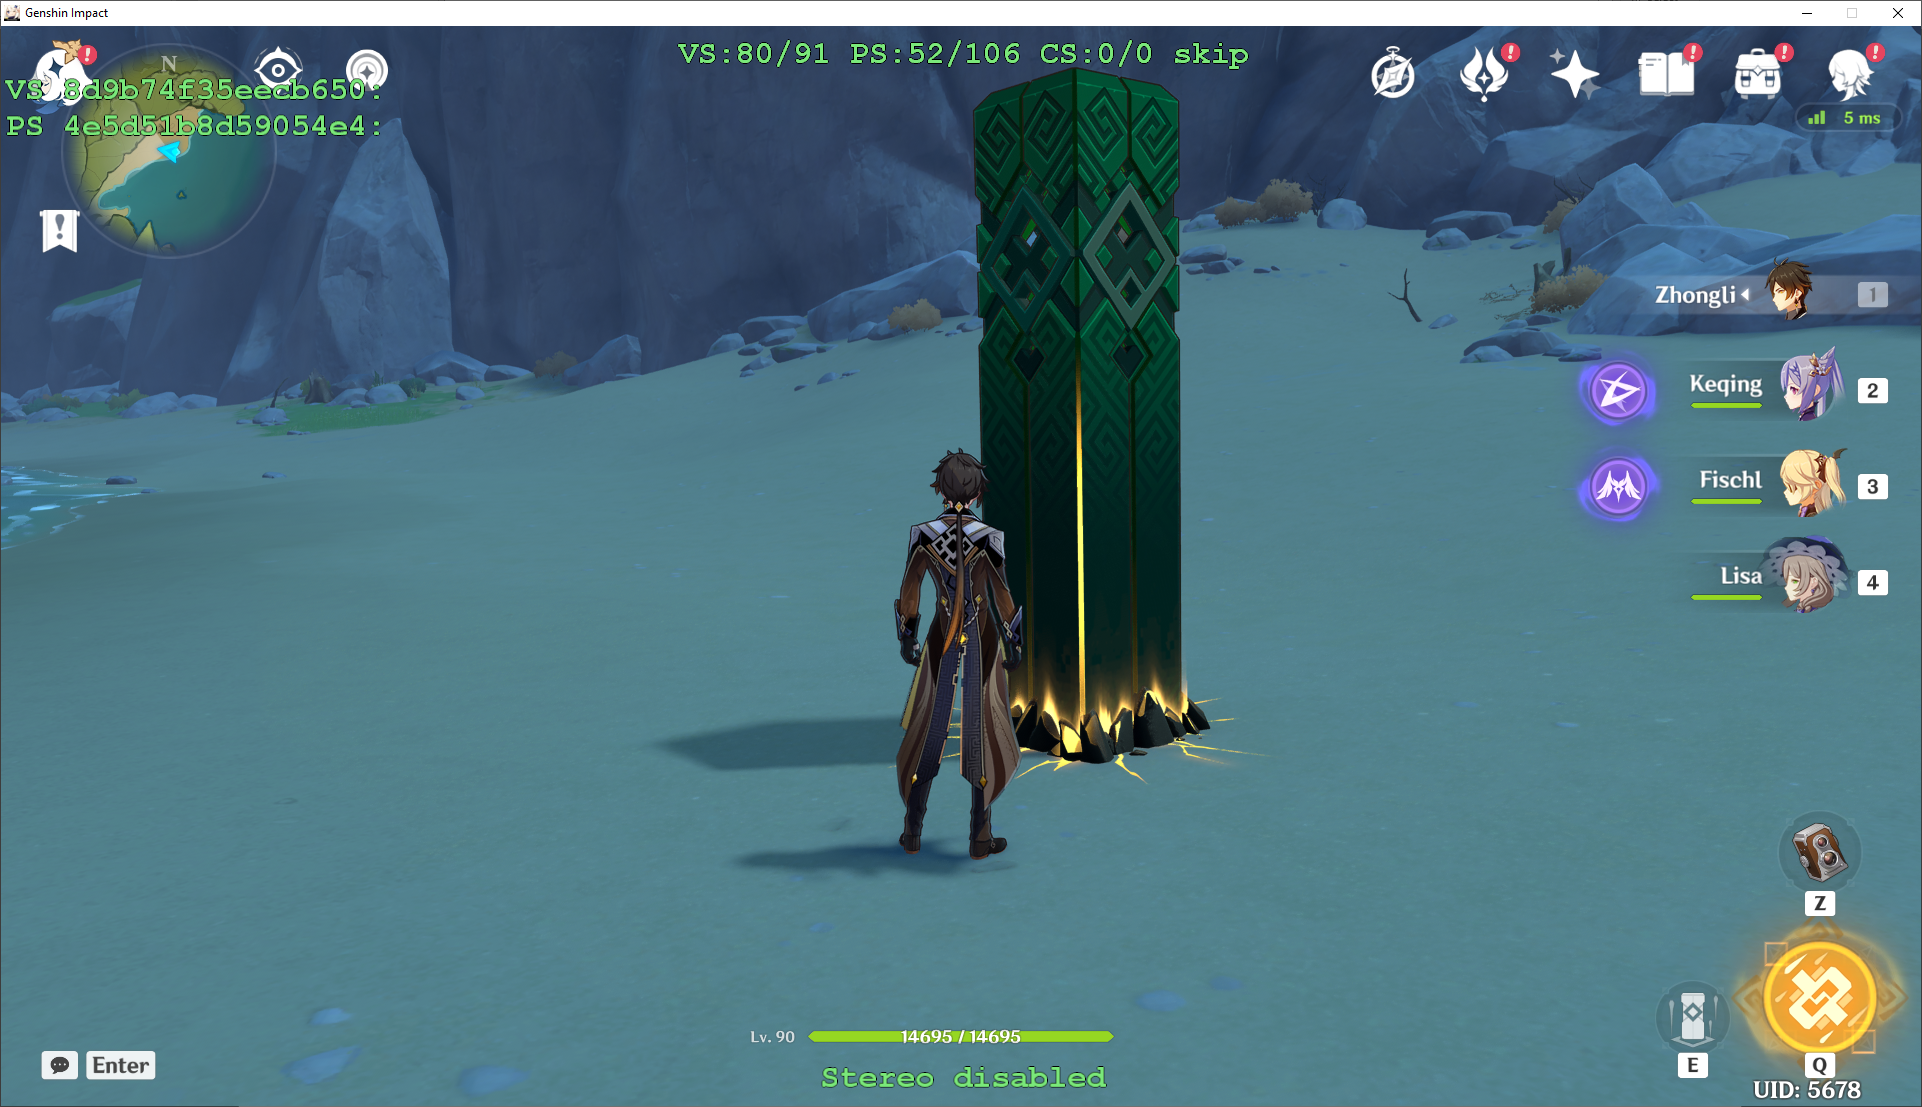
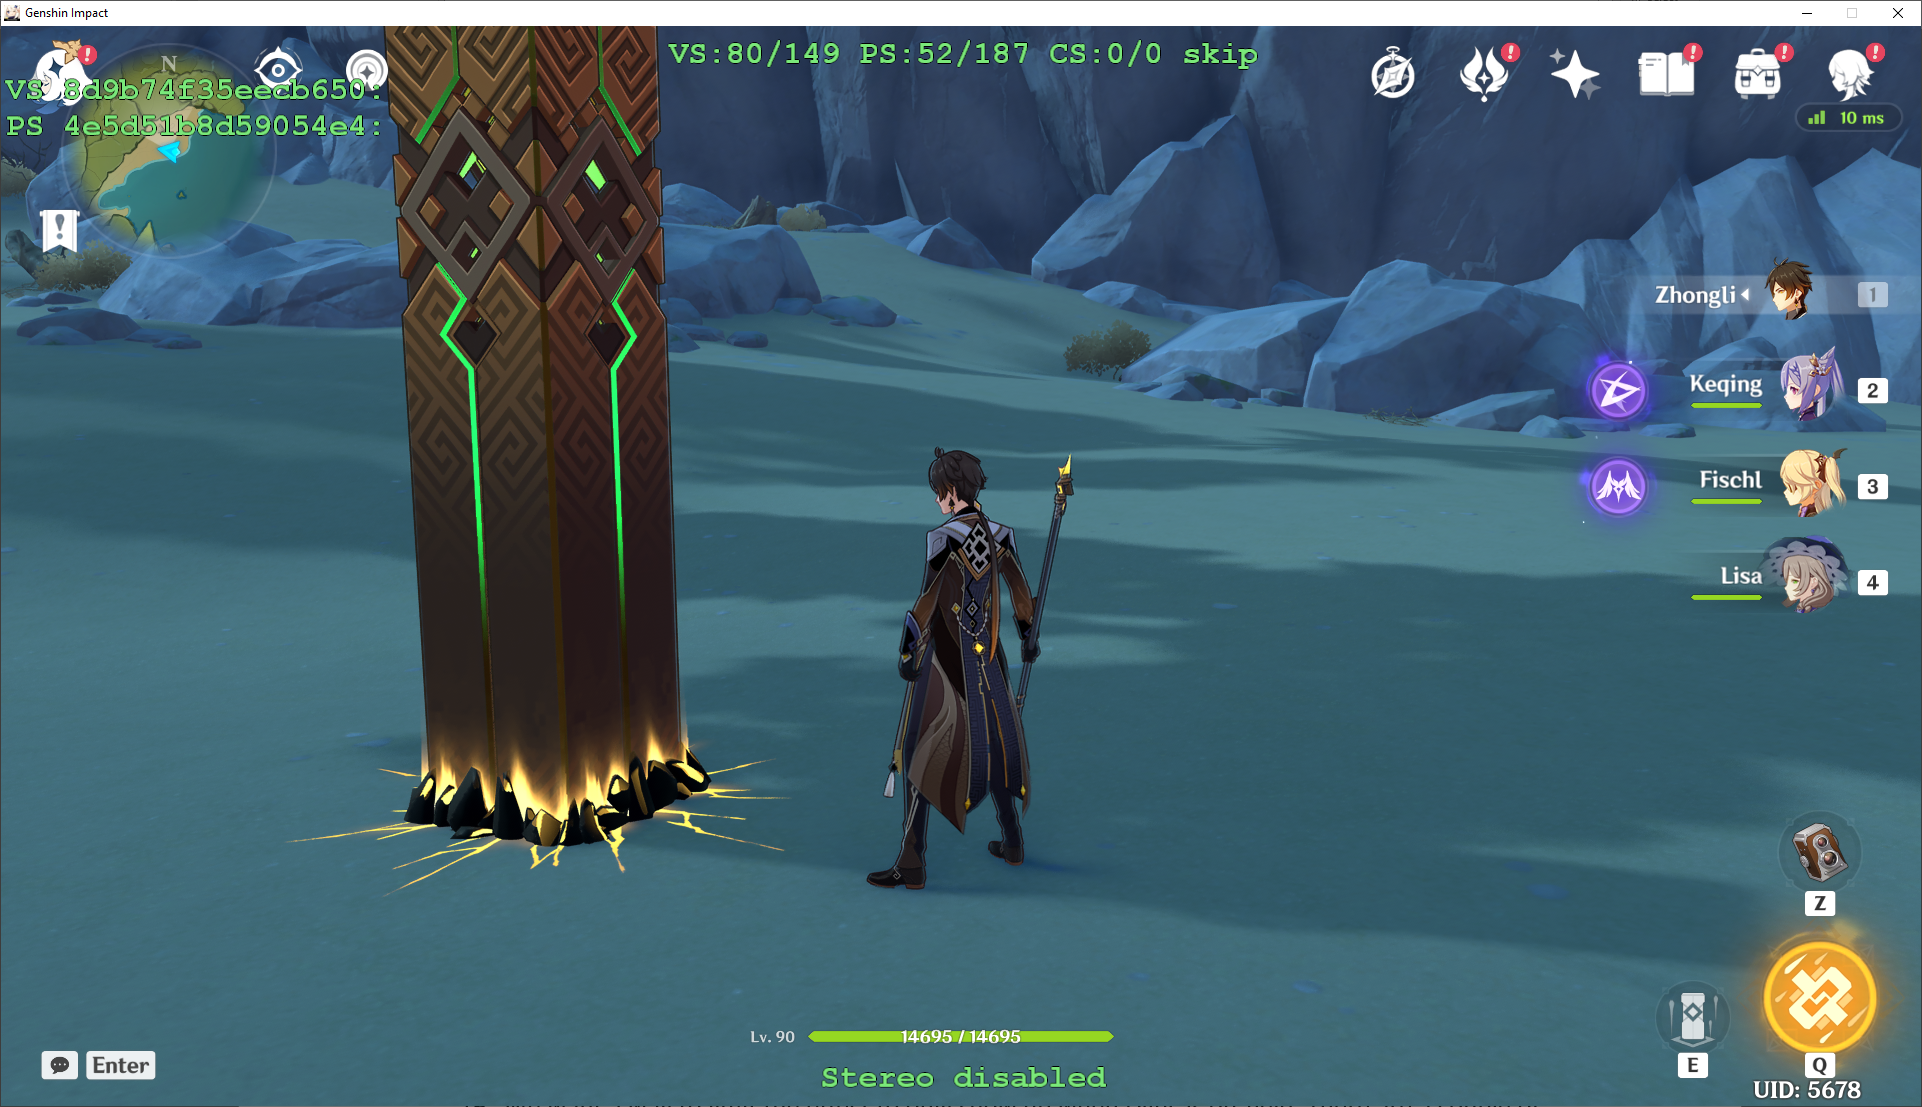
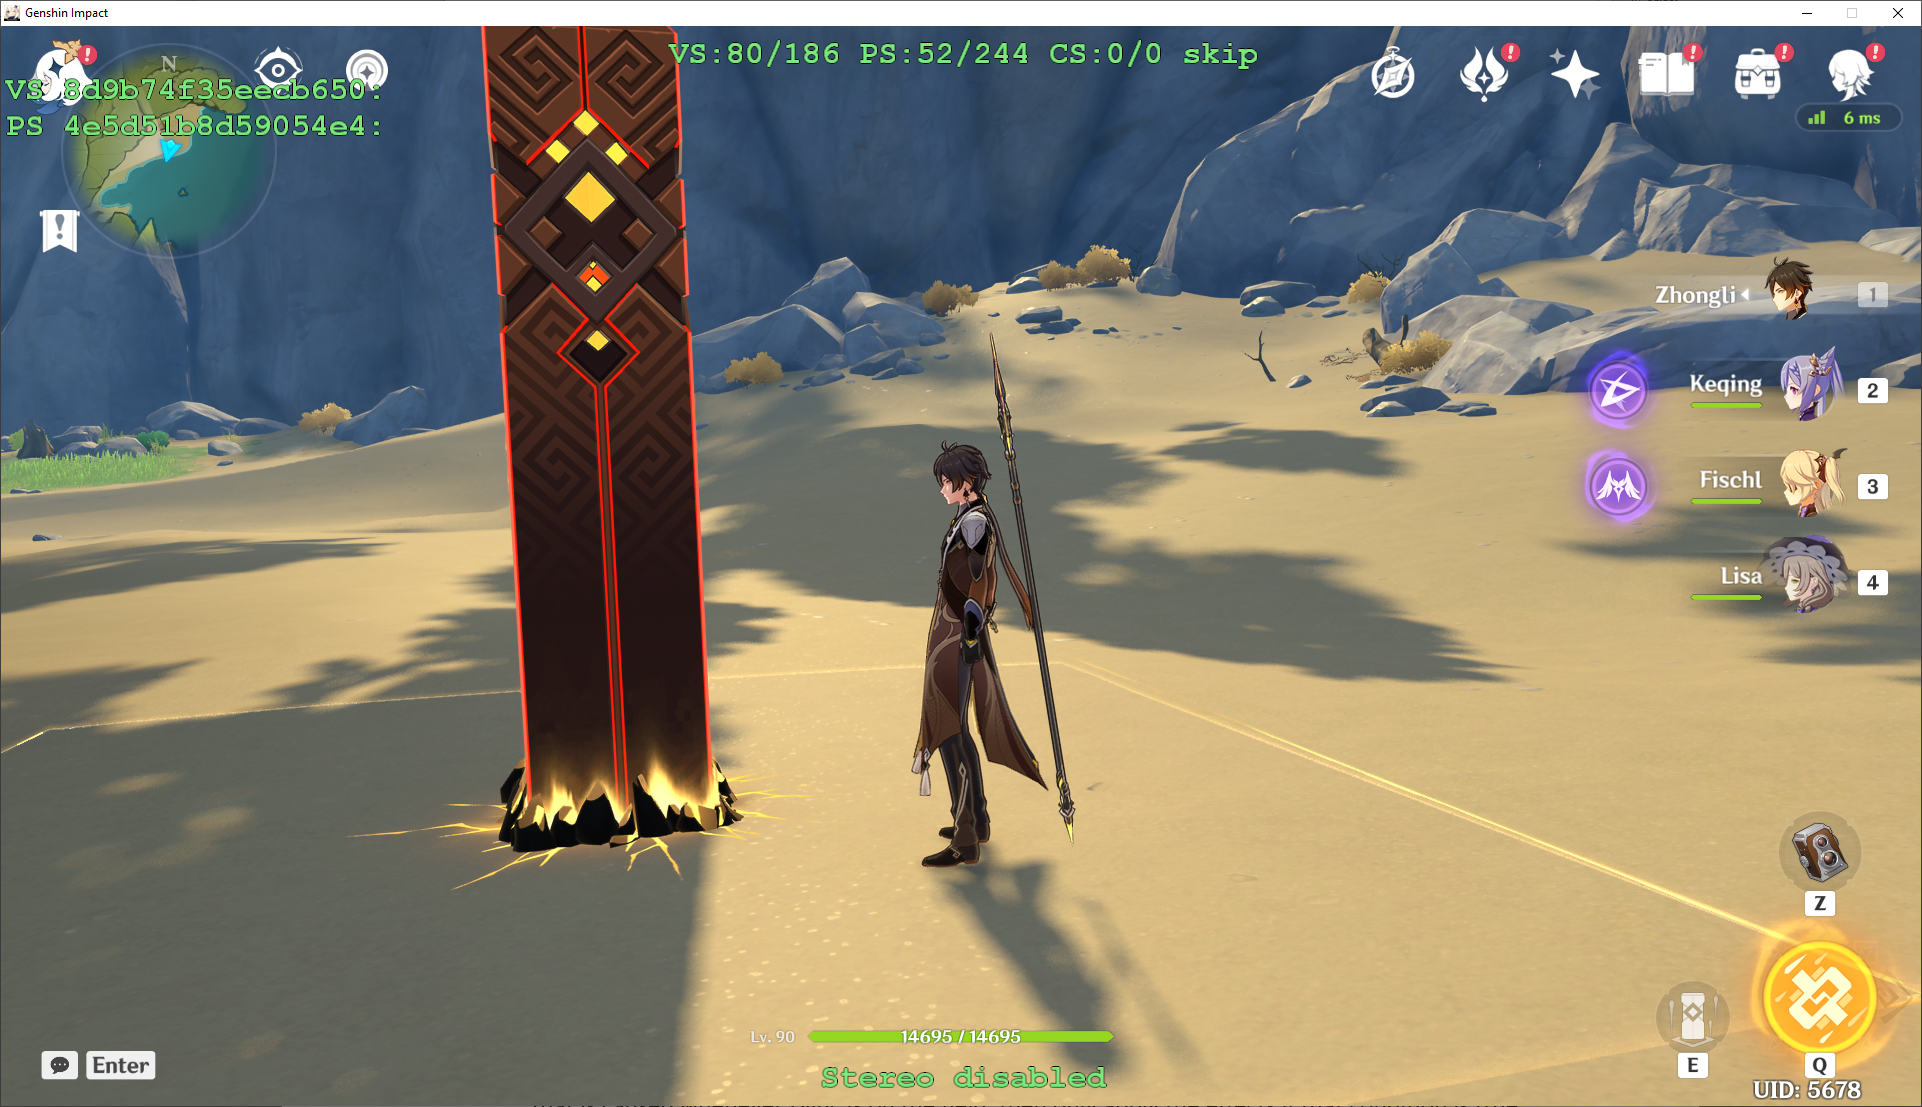
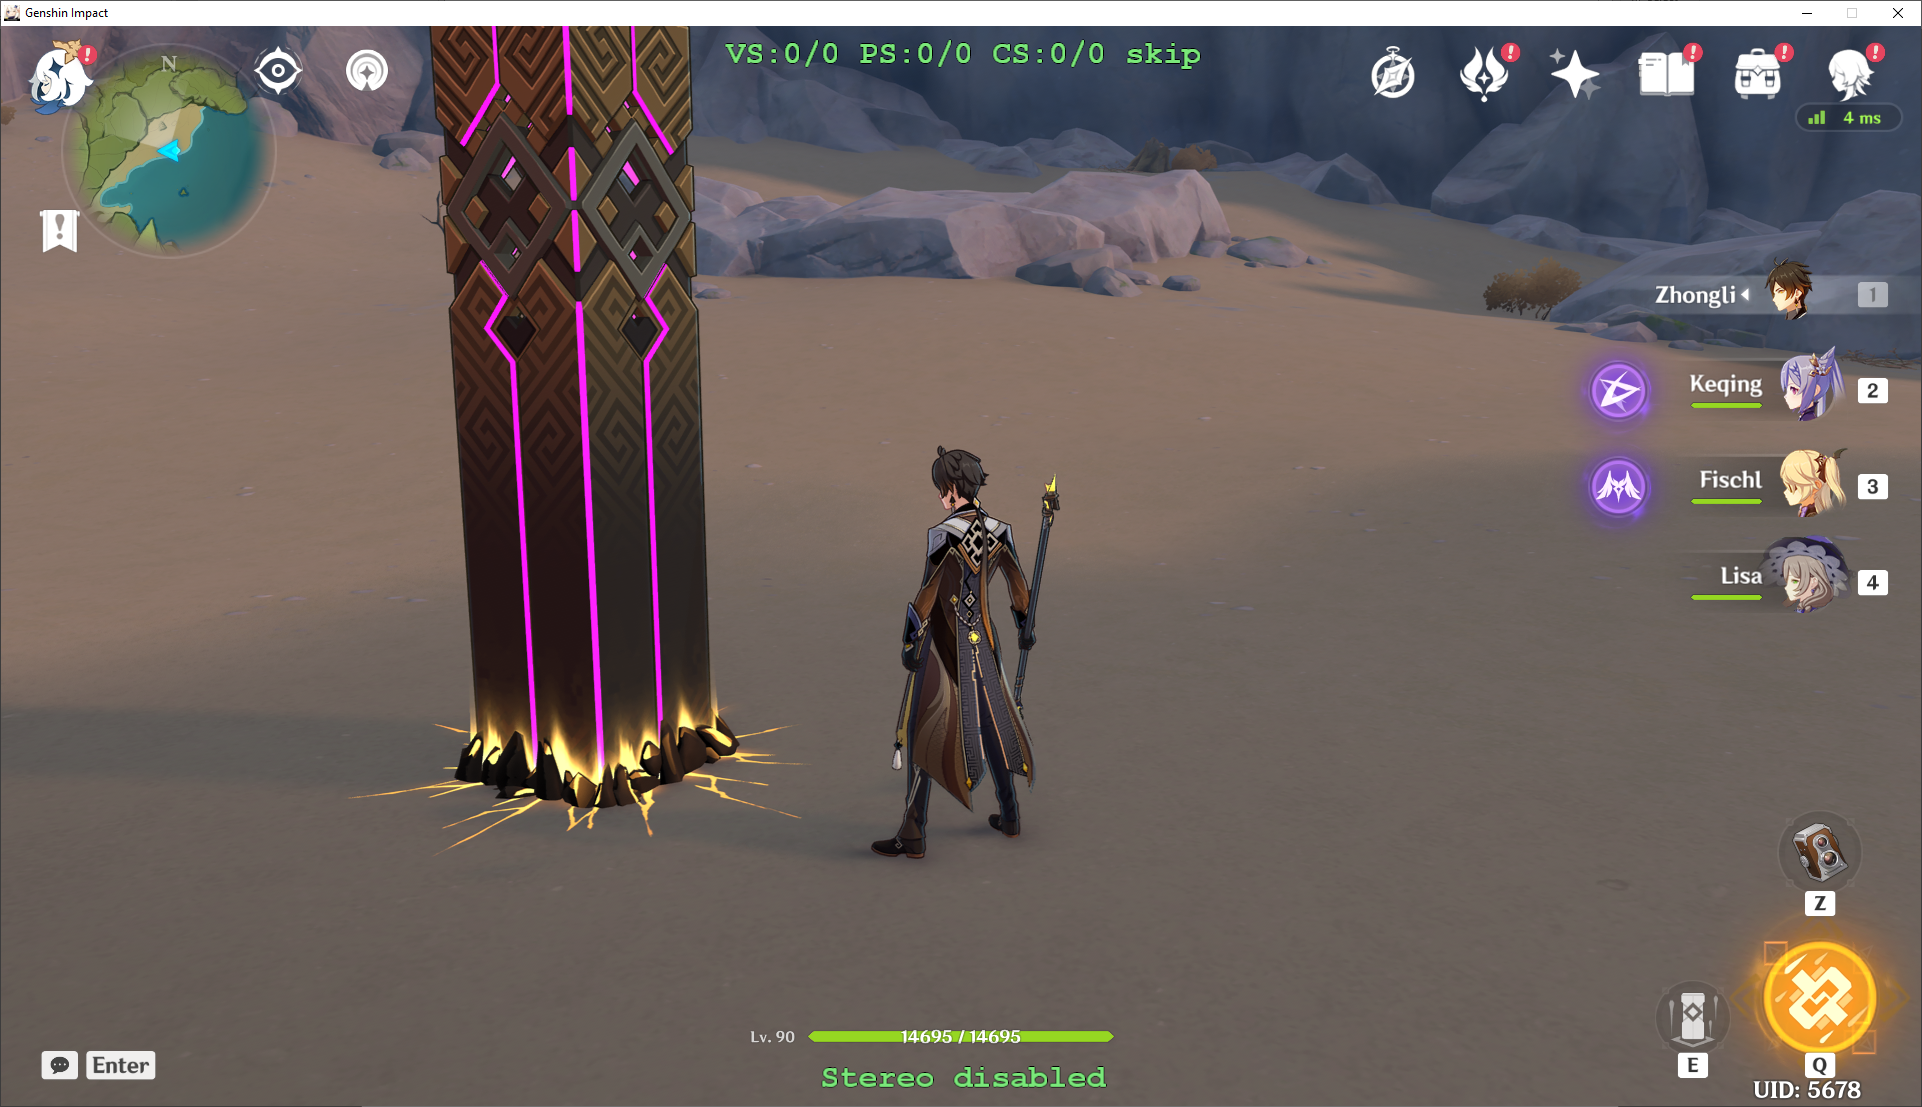
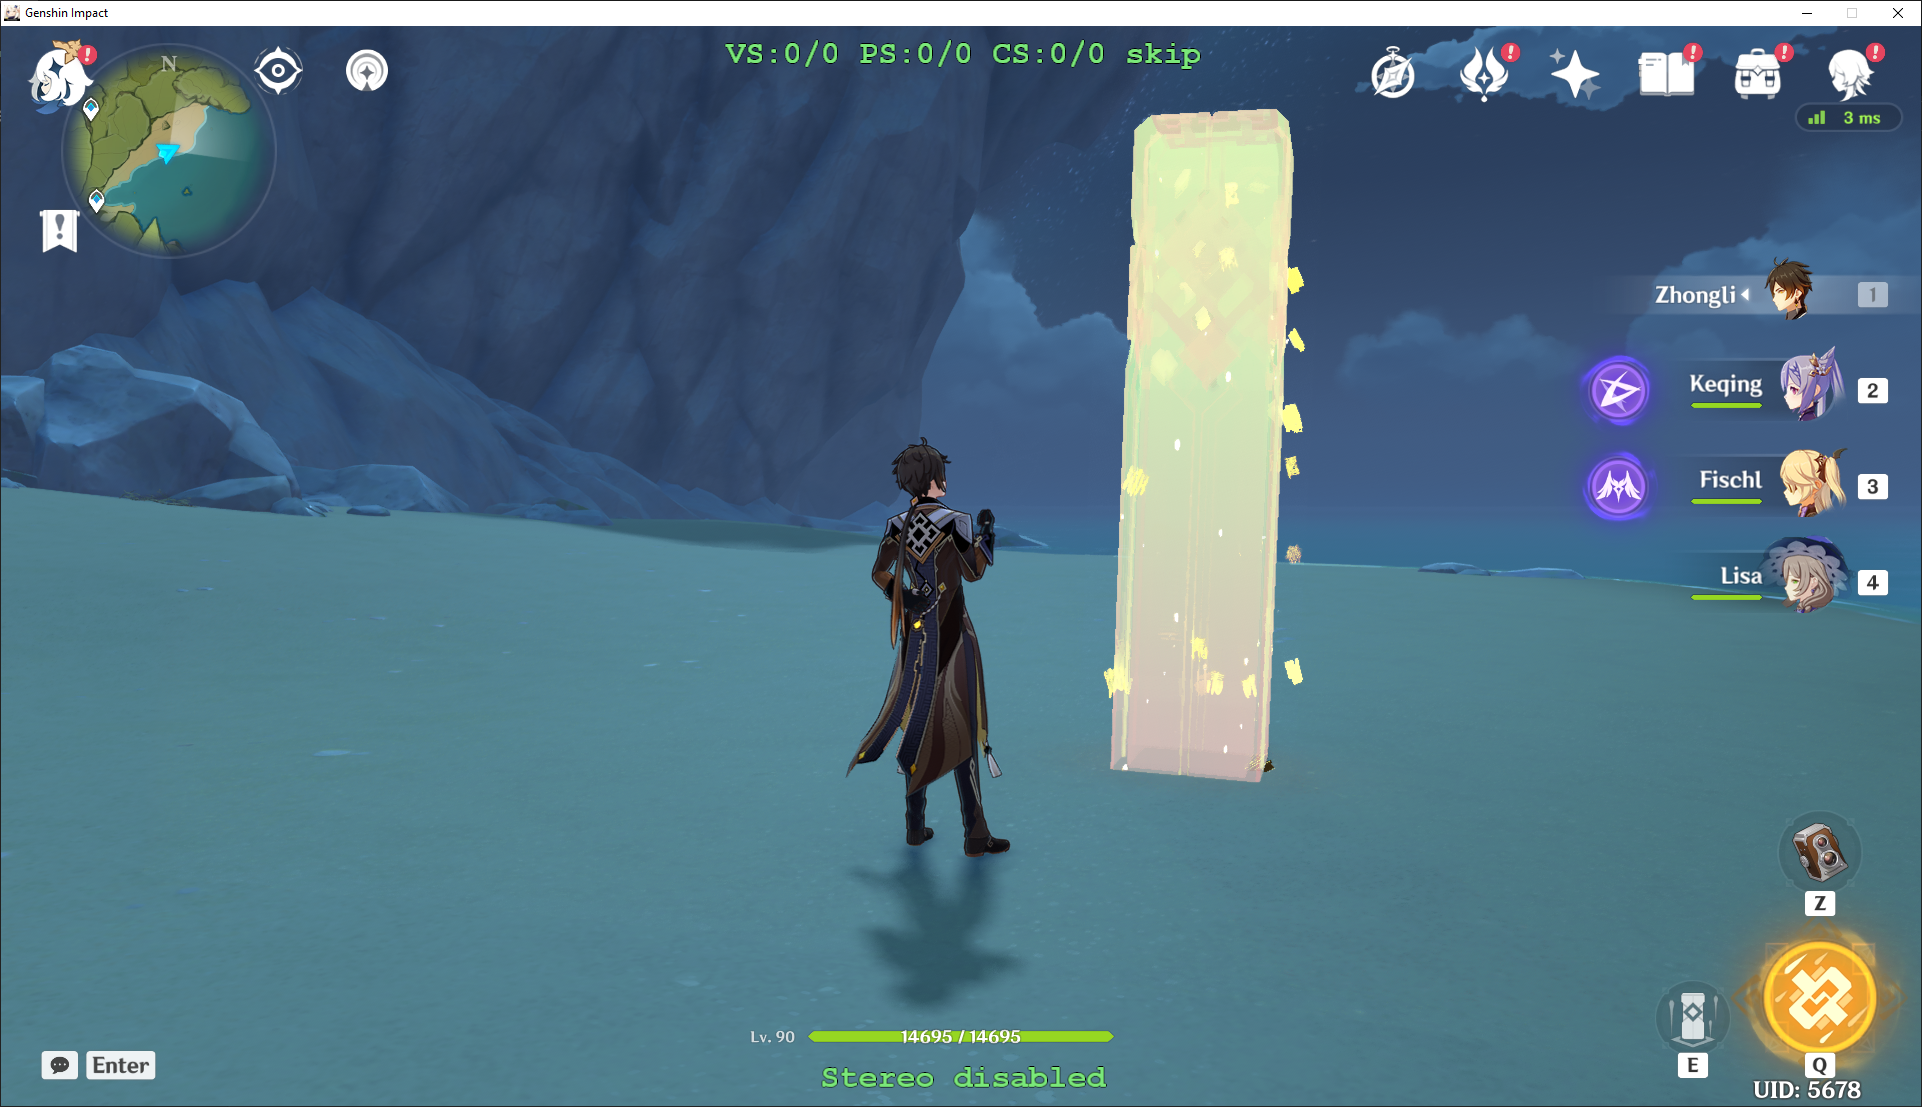
- Like before, we start by collecting the shader hashes, this time for Zhongli’s pillar:
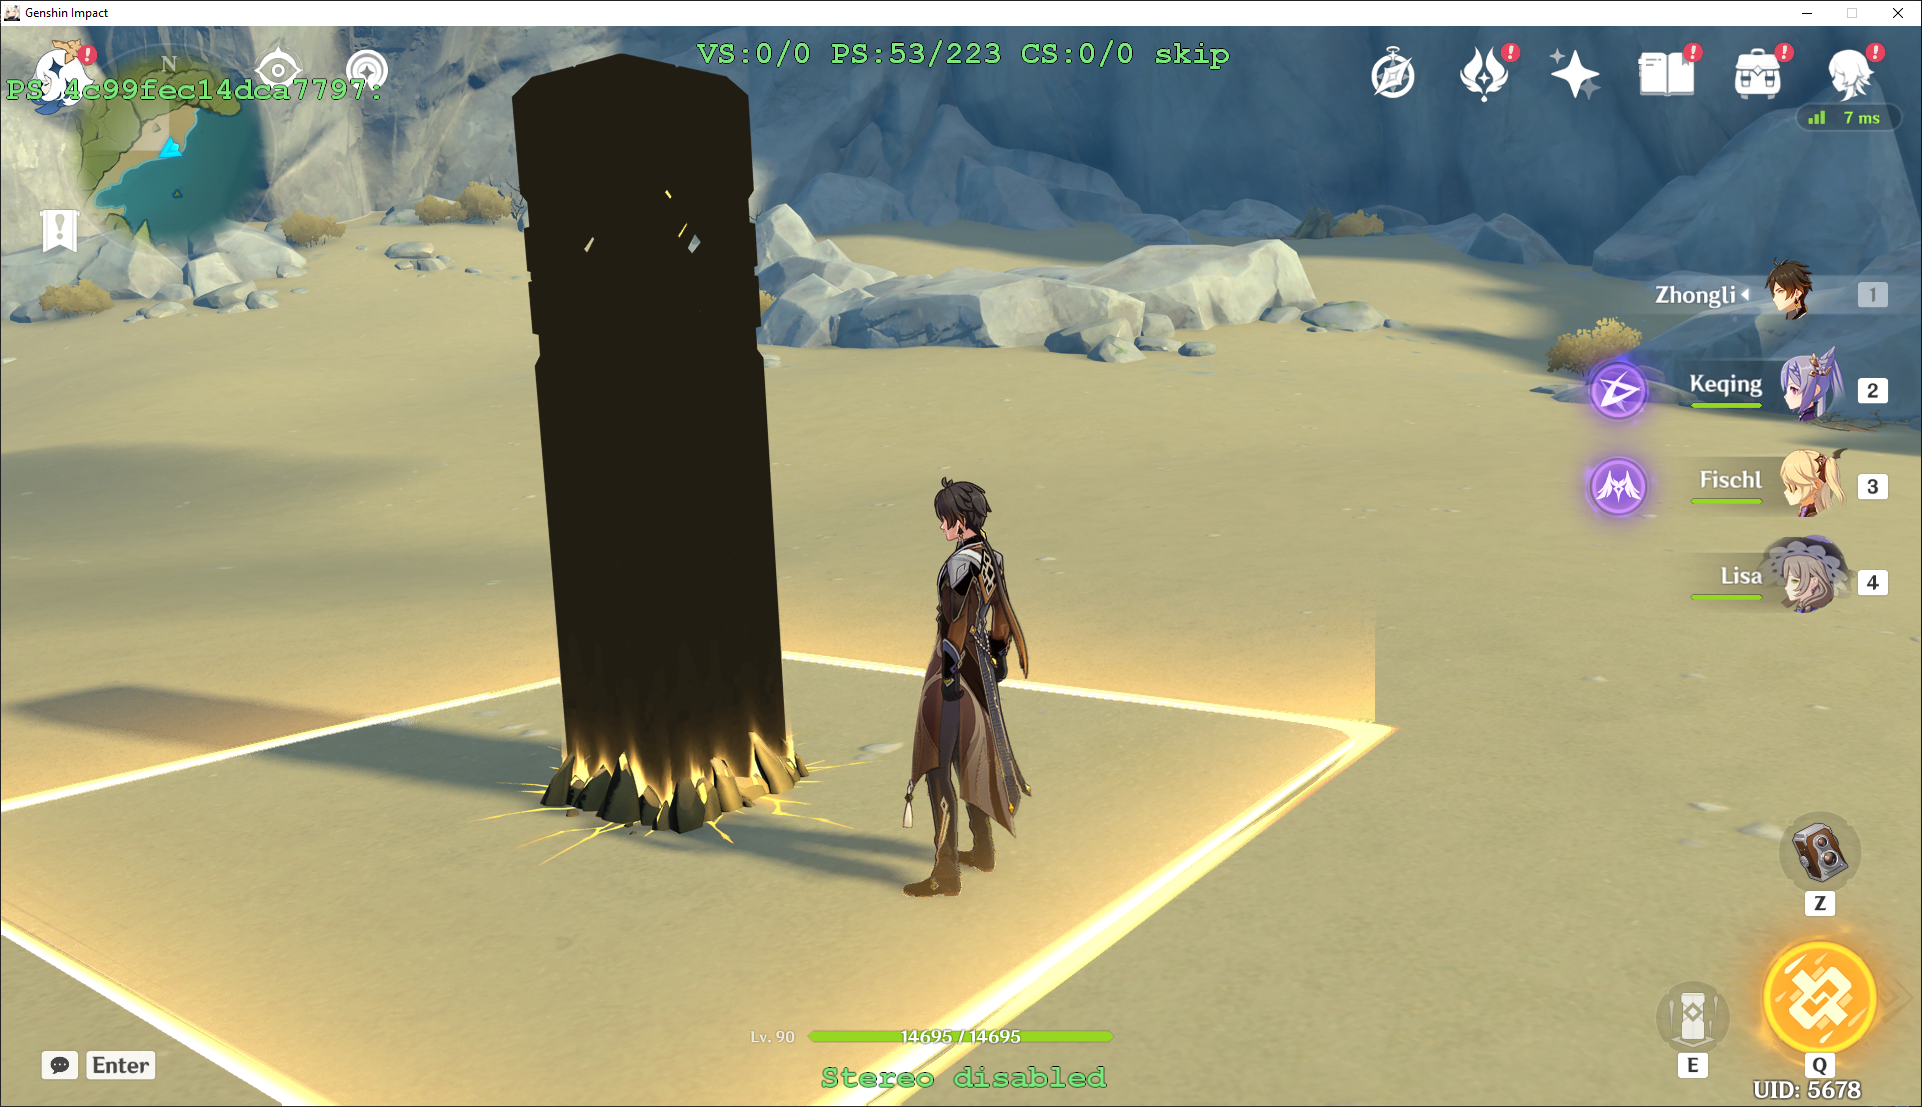
Unlike with Diluc, this hash won’t cause the entire pillar to disappear – just the textures. This is because it is drawn using multiple shaders, so even if we skip one parts of the object will still be drawn (in this case, the outline of the pillar remains).
The hash in this case is 4c99fec14dca7797 – press 3 to dump the shader to ShaderFixes.
Our ultimate goal here is to change the color of the yellow geo effect while leaving the other parts the same.
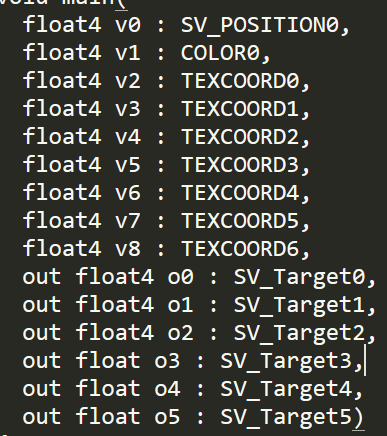
- Opening up the shader, we can see it is more complicated than the previous one with 9 inputs and 6 outputs. This is because the shader is responsible for doing multiple things like drawing the texture, handling the emission, calculating shading, etc.
We start by trying the same method as before – setting each of the outputs to constants to learn about what they control.
o0appears to have something to do with outlines, making them thicker and thinner (a bit hard to see, but can useF9to toggle back and forth between modded and unmodded):
o1.xyz seem to correspond to colors RGB like before, and w seems to control brightness

o2 also seems to control color:
o3-o5 are unclear, but seem to affect the line thickness.
However, you may have noticed an issue – all of these options change the color of the entire pillar, not just the yellow geo line! We have to dig a bit deeper to find where that is handled.
- Before we go further, let me explain the most important symbols in the shader in more detail:
v0,v1,v2..etc. are the input data in the vb files that is loaded in – that is to say, data related to things like vertex position, vertex colors (different from texture colors!), uv maps, blendweights, etc.o0,o1,o2… are the output targets, and are what is actually drawn to the screen (or in the case of vertex shadersVS, what is passed to the pixel shaderPS)t0,t1,t2… are the textures – things like dds textures typically, though they can also be buffers in some cases. Whenever you seeps-t0,vs-t0,ps-t1,vs-t1, etc. in .ini files this is what they correspond tor0,r1,r2… are the registers – these are temporary variables that the shader uses to store the results of calculationscb0,cb1,cb2… are the constant buffers – these are values passed by the game to the shader that represent values of the current game state like global location of objects or time passed since the game started
With this in mind, we can focus to the part of the code we are interested in instead of trying to understand all 200+ lines.
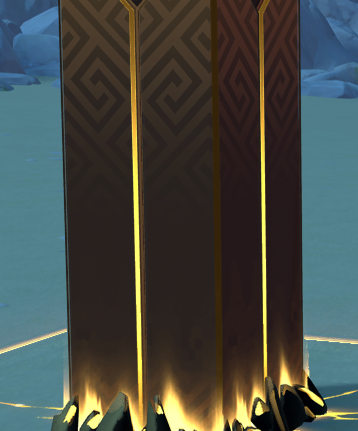
We are interested in the glow of Zhongli’s pillar. Looking at the textures for the pillar, we can see that the diffuse texture contains the glowing part above the alpha layer and is loaded in slot 0 (is the first hash from the hash.json of the pillar, or by looking in a created mod and seeing the diffuse is loaded as ps-t0):
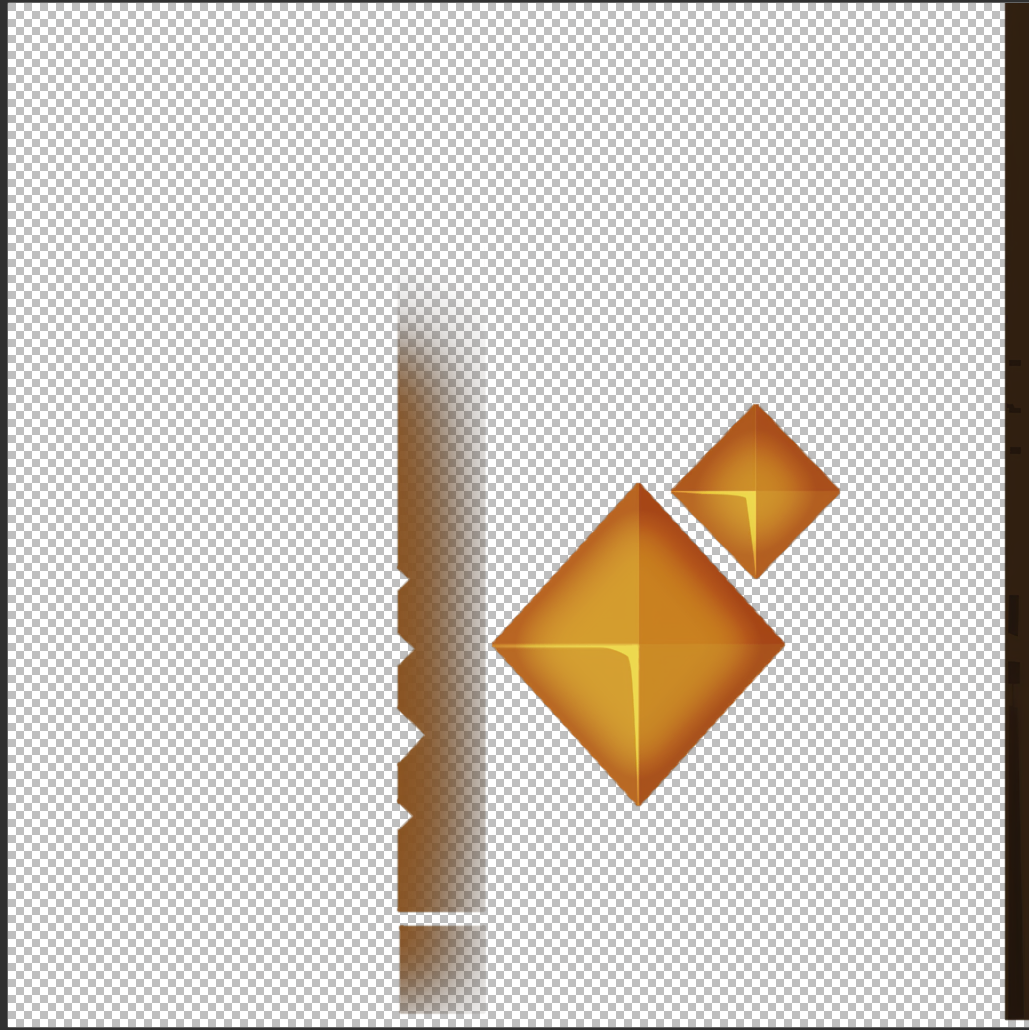
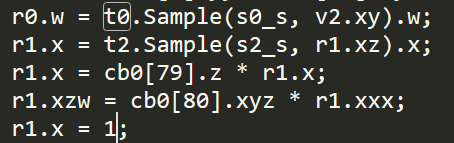
Hence, we are interested in any part of the code that involves the variable t0 which corresponds to the diffuse texture. Specifically, we are most interested in anything that involves the w component, since that is what represents the glowing portion.
t0is loaded in twice in the shader: once around line 100 into the variabler2:
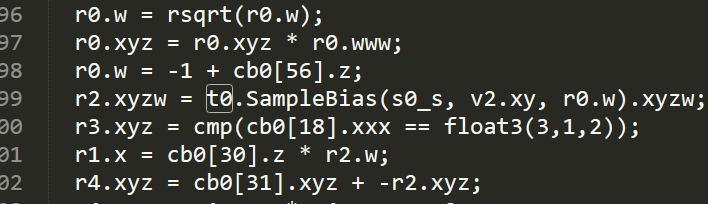
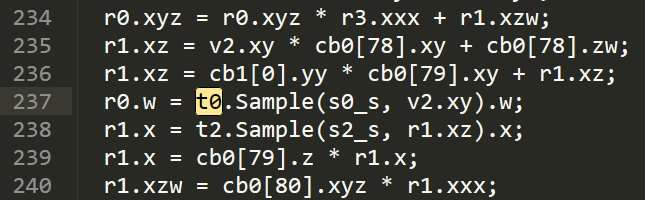
And once around line 235 into the variable r0:
There are ways to tell which is correct by reading the code, but experimenting with each will also work:
Setting r2.x as a constant in the first block:

Turns the pillar green, but leaves the geo effect normal:
So we should probably look near the second block instead. The color is most likely represented by a variable with 3 components (one for each color channel), and the nearest one to that block is the r1 that shows up 3 lines down:
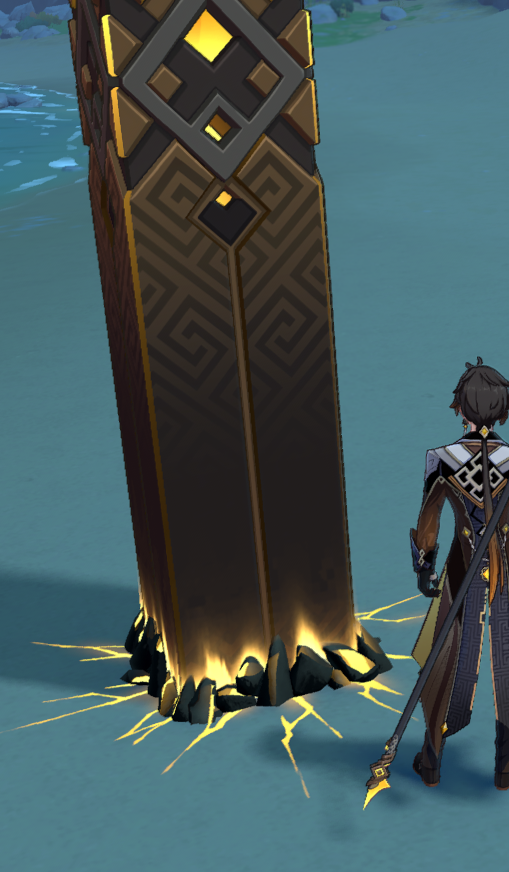
If we set r1.x to 1 here:
We get:
Success! This r1 value is what controls the RGB of the pillar glow (we set the red component to 0).
(Note: this does not mean that r1 is always responsible for the pillar glow color everywhere in the code, just that it holds the pillar glow at this specific point in time. Register values are reused by the shader when performing calculations, so the “meaning” of what each one represents can change from line to line unlike the inputs and outputs).
This same basic principle can be used in other situations to find what part of the shader controls what output – start with some component you know is tied to whatever you are looking for (such as a texture, or a specific vb value), then search the surrounding shader code and experiment to find it.
- One color is boring however – what if we could set the color to whatever we wanted? Actually, it is possible to pass custom values from the
.inifiles to the shader.
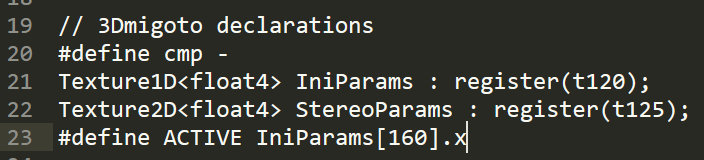
First, define the variables you want to use near the top of the file under 3dmigoto declarations (180 was chosen arbitrarily, though ideally you should pick numbers over 100 so they don’t accidentally interfere with the ones the game uses)
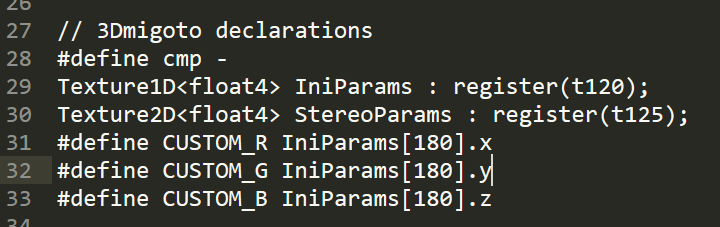
Next, we set the R, G and B below the t0 line we found in the previous part
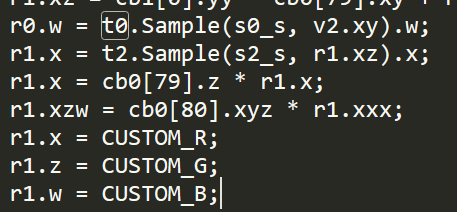
(NOTE: the r1 has an x,z and w component not an x,y, and z component. They still correspond to RGB though, just the letters are different)
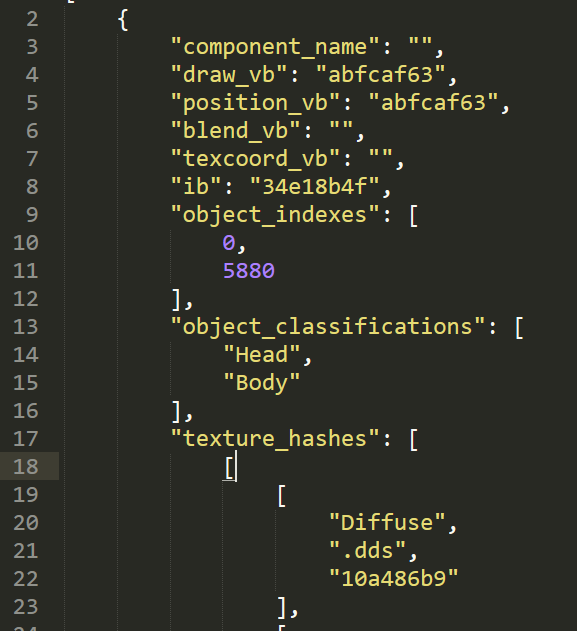
Finally, in the .ini we are going to set the three values whenever we see the IB for the pillar:
(You can find the pillar IB by using numpad 7/8 to cycle until you find the one that makes the pillar vanish, or by looking in hash.json):
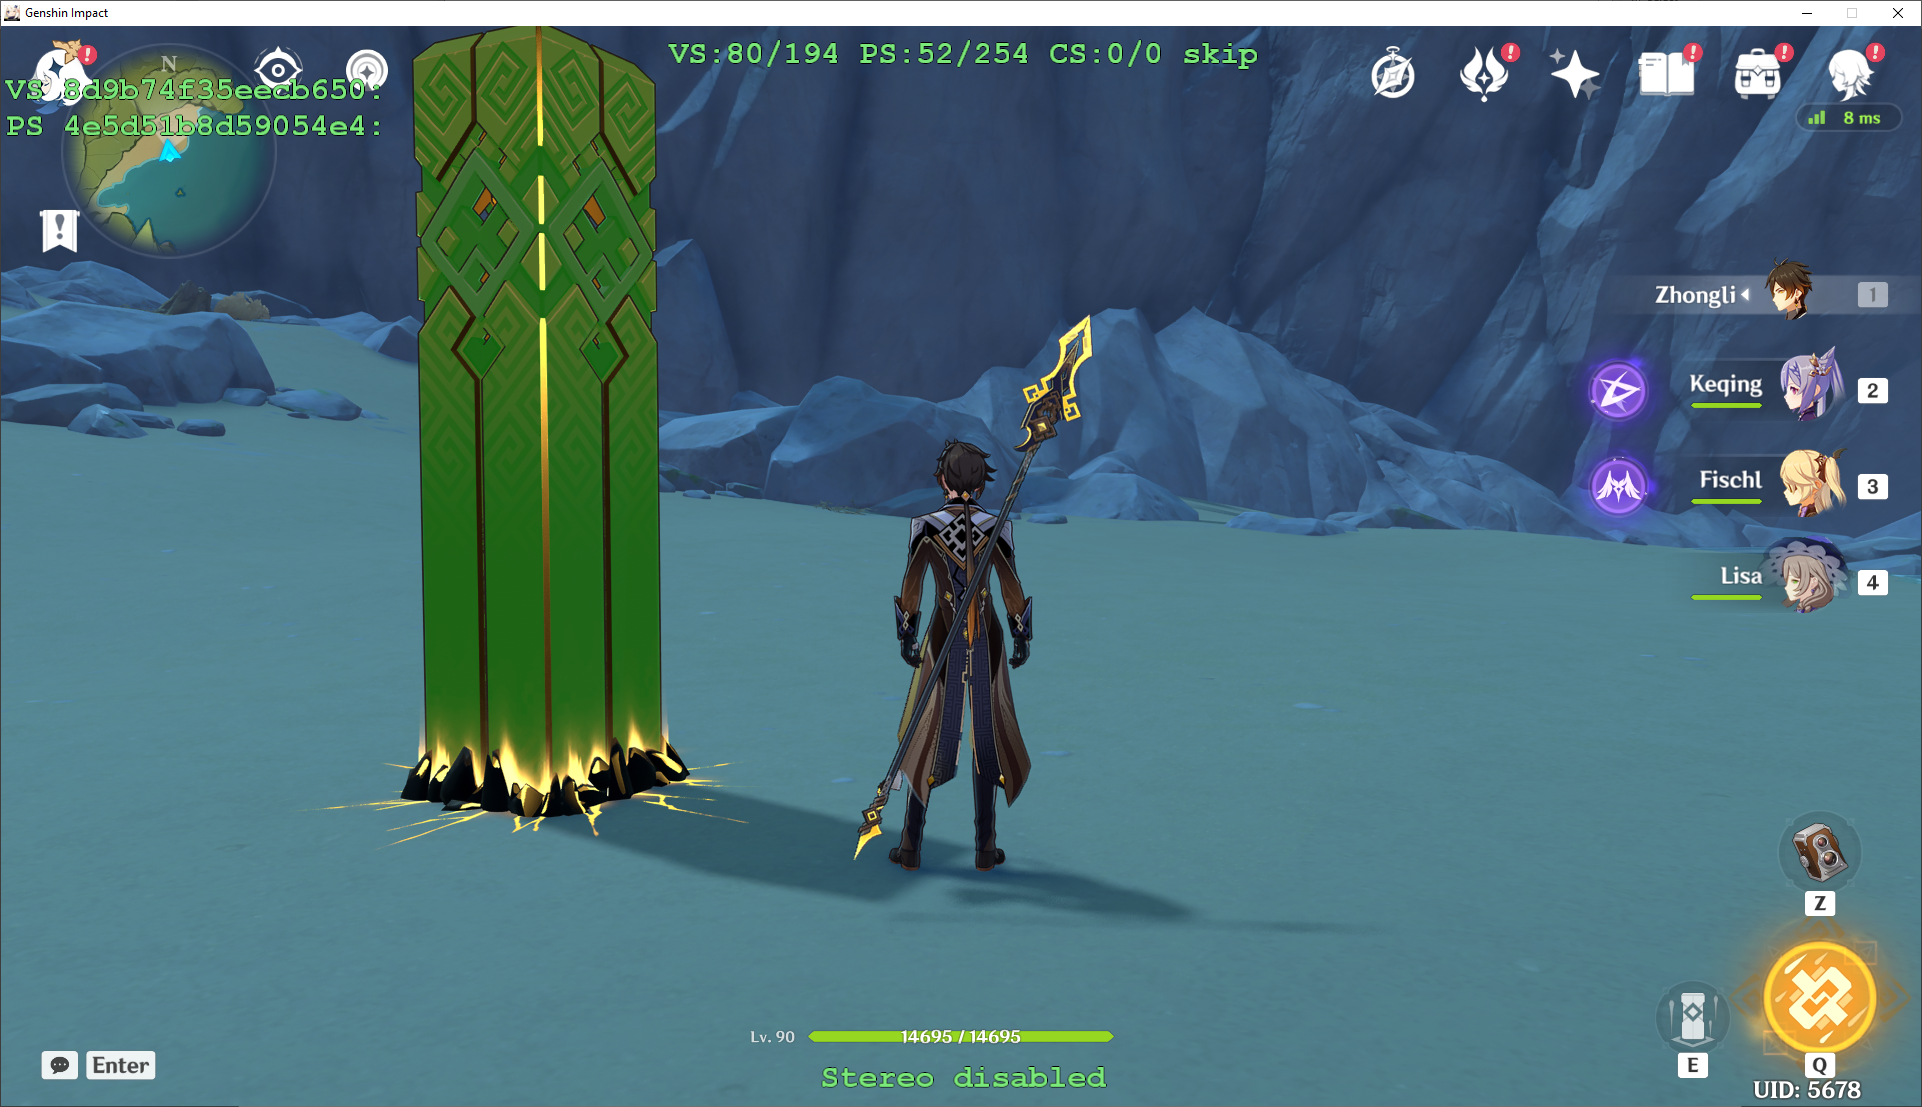
Success! We have set the lines to red:
And we can set them to other colors just by changing the .ini values; this will set them to purple:
However, note that this isn’t perfect – we have lost some of the animated effects in exchange for custom colors. I will go over ways to implement animations in the final section of this tutorial.
- We can still do more with this. One color is great, but what if we could have it automatically cycle between them? 3dmigoto has a special variable called
timewhich represents the number of seconds that have passed since the game has started. We can use this to cycle between colors automatically over time:
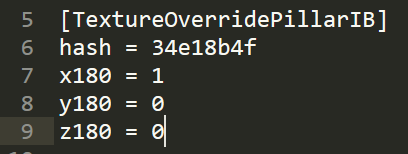
[TextureOverridePillarIB]
hash = 34e18b4f
if time % 3 <= 1
 x180 = 1
 y180 = 0
 z180 = 0
else if time % 3 <= 2
 x180 = 0
 y180 = 1
 z180 = 0
else
 x180 = 0
 y180 = 0
 z180 = 1
endif
What this does is take the current time and puts it into 1 of 3 buckets, then sets the pillar to red, green or blue depending on the current time (cycling every 3 seconds). By changing the numbers you can set it to cycle faster or slower, or add/remove colors, etc.
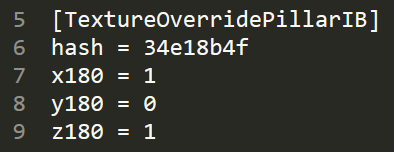
- Finally, similar to before we can load the shader in the
.iniinstead of putting it in shaderfixes:
[TextureOverridePillarIB]
hash = 34e18b4f
run = CustomShaderPillarColor

[CustomShaderPillarColor]
if time % 3 <= 1
 x180 = 1
 y180 = 0
 z180 = 0
else if time % 3 <= 2
 x180 = 0
 y180 = 1
 z180 = 0
else
 x180 = 0
 y180 = 0
 z180 = 1
endif
ps = 4c99fec14dca7797-ps_replace.txt
handling = skip
drawindexed = auto
This will mostly work, but there is an glitch in the compilation here that will cause the pillar to leave a residue for ~1 second after disappearing:
It is also possible to restrict this shader specifically to when Zhongli is on-field, though in this case I don’t know of any other object that shares this shader so it isn’t as important as it was for Diluc’s flames.
Animated Effects
In this final section, I will demonstrate how we can use the principles from the previous two sections to create simple animated effects – I will be going through the process of creating the animated lines in cyber bodysuit raiden (https://gamebanana.com/mods/420434). This section is advanced – I will be assuming you understand the previous two sections, know how to make mods, as well as have some basic programming knowledge.
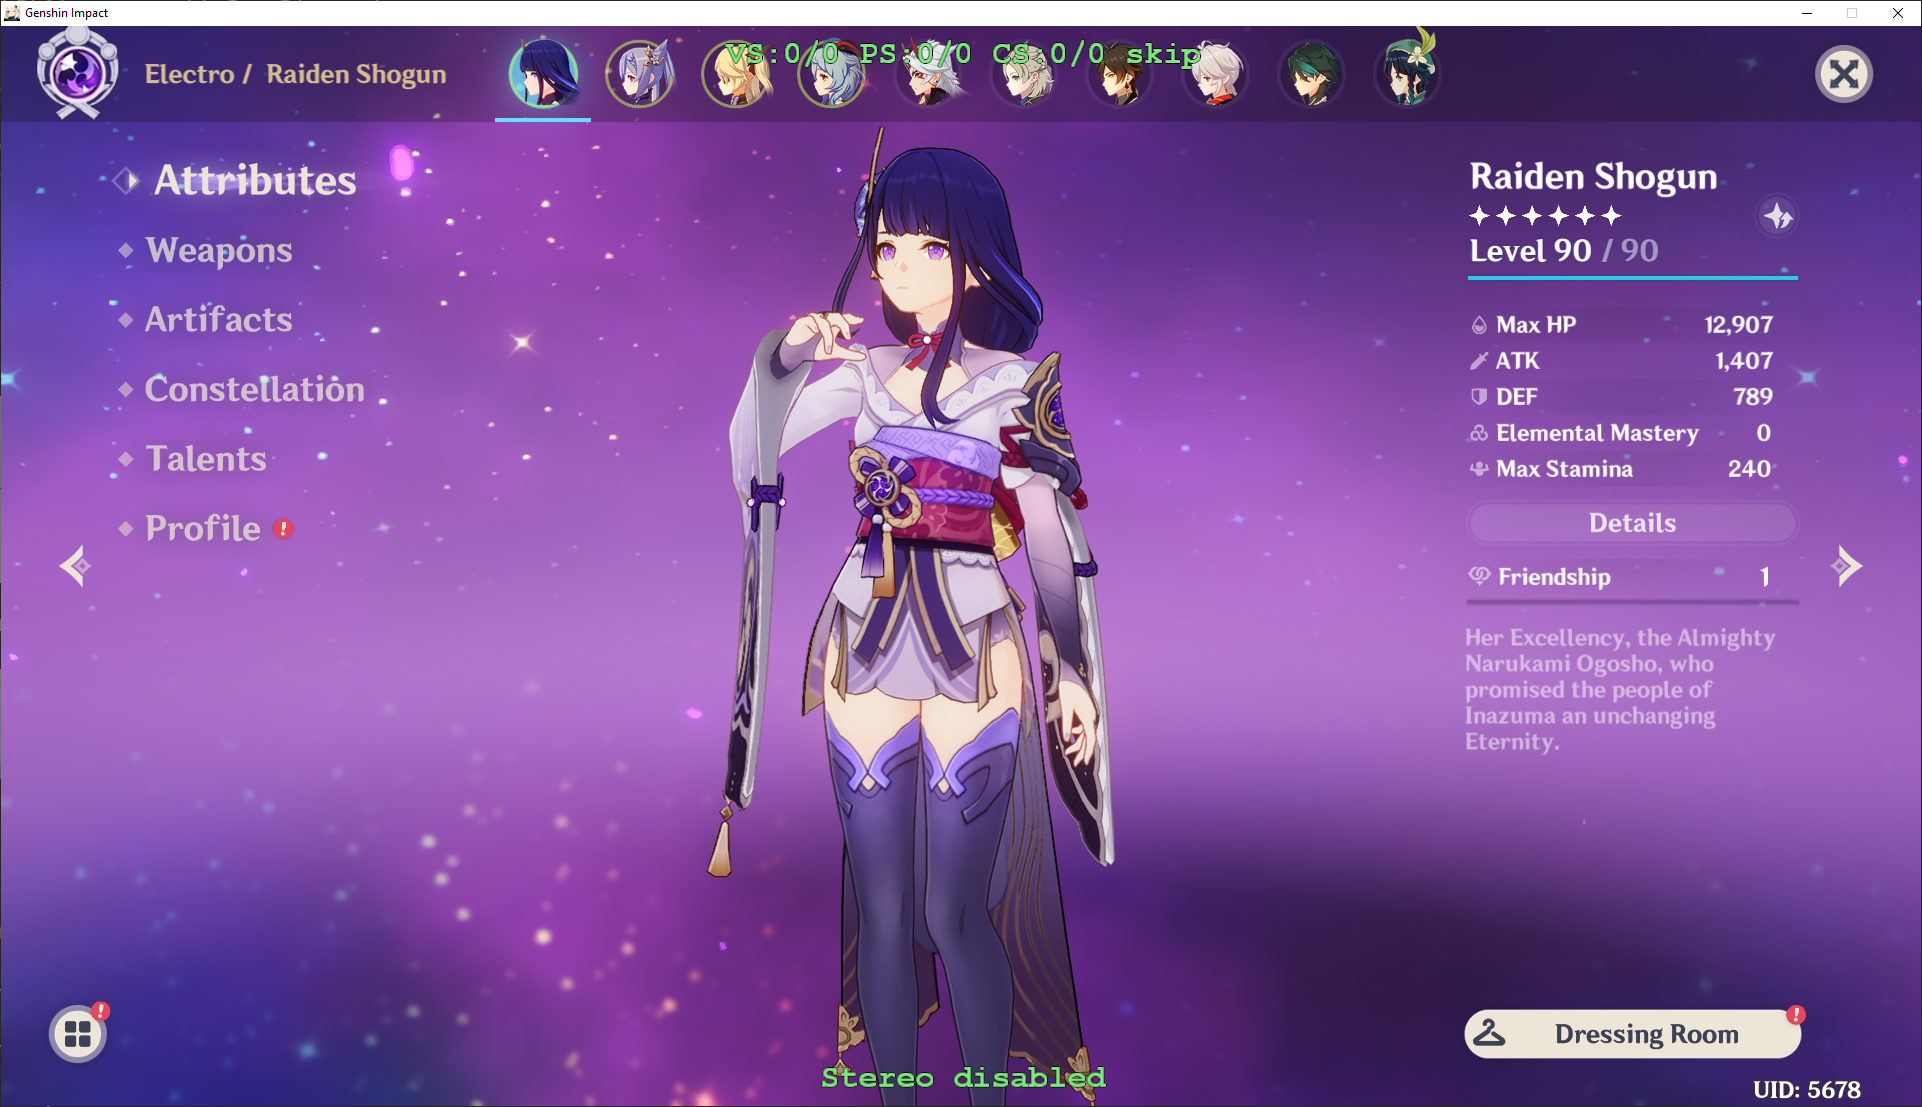
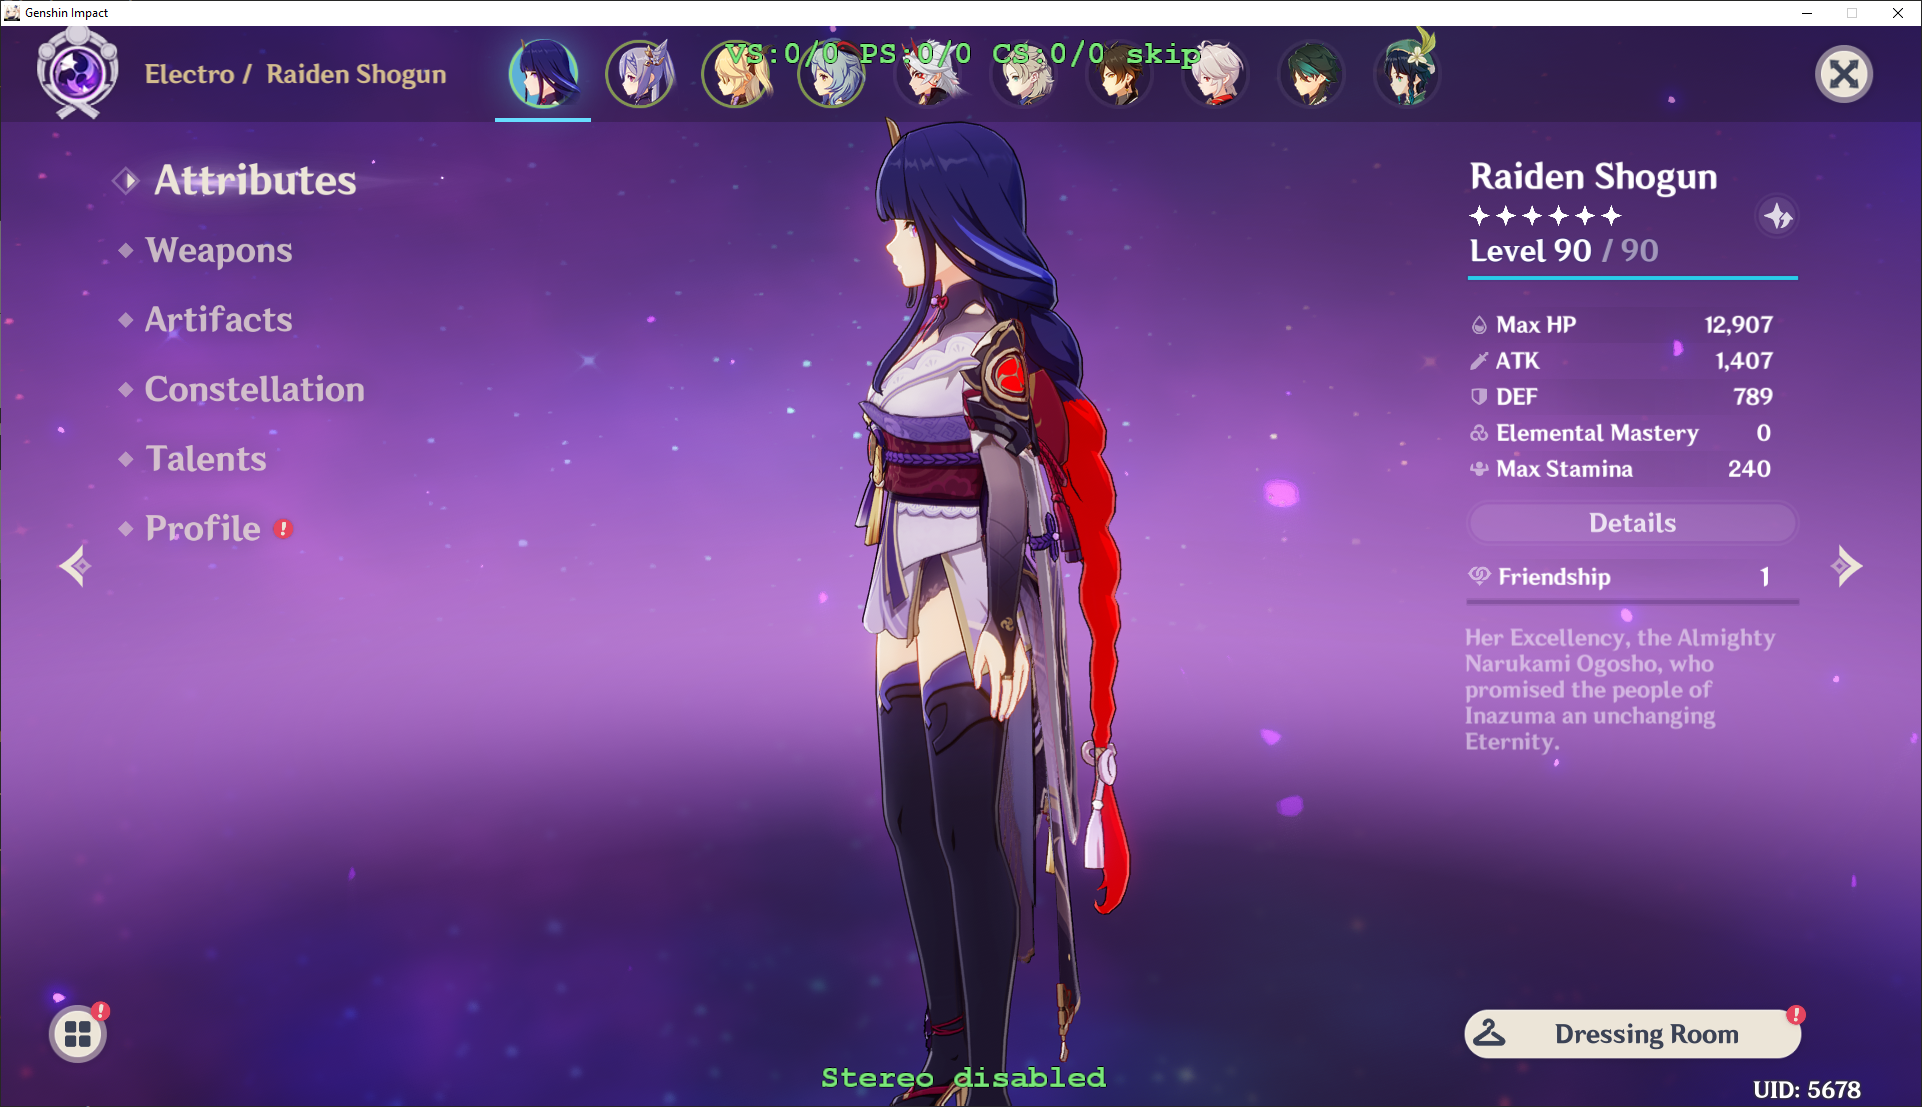
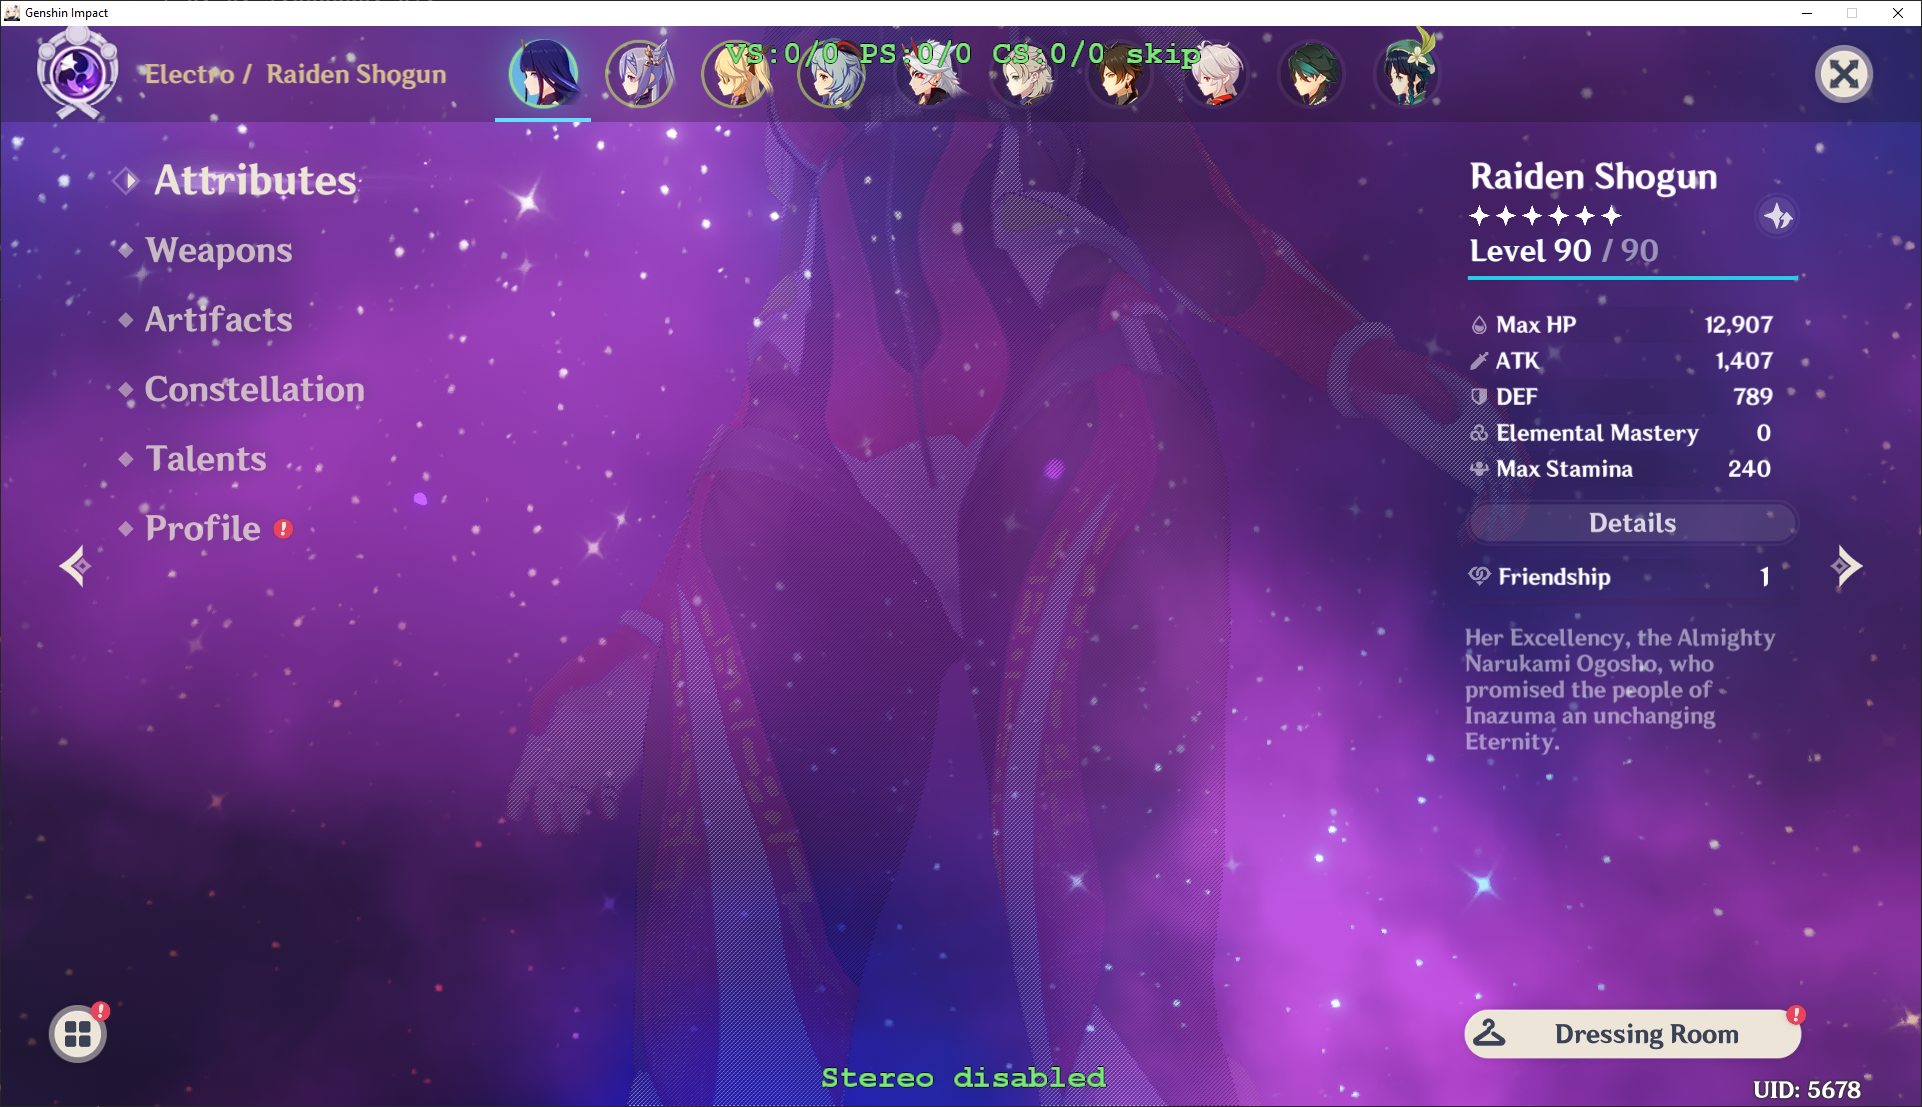
- To start, we find the shader that controls drawing the textures on Raiden Shogun:

Raiden actually uses at least two – one for the body object and one for the dress object – but we are interested in the body object since that is the one that has the emission effect we need (found through trial and error previously)
The hash is 7d2763cf91813333, and we dump it to ShaderFixes.
- Now, we look for the part of the shader responsible for emission. The emission is above the alpha layer on the diffuse texture which is in slot 0, so we are looking for things related to
t0.w. There is only one relevant line in the shader:
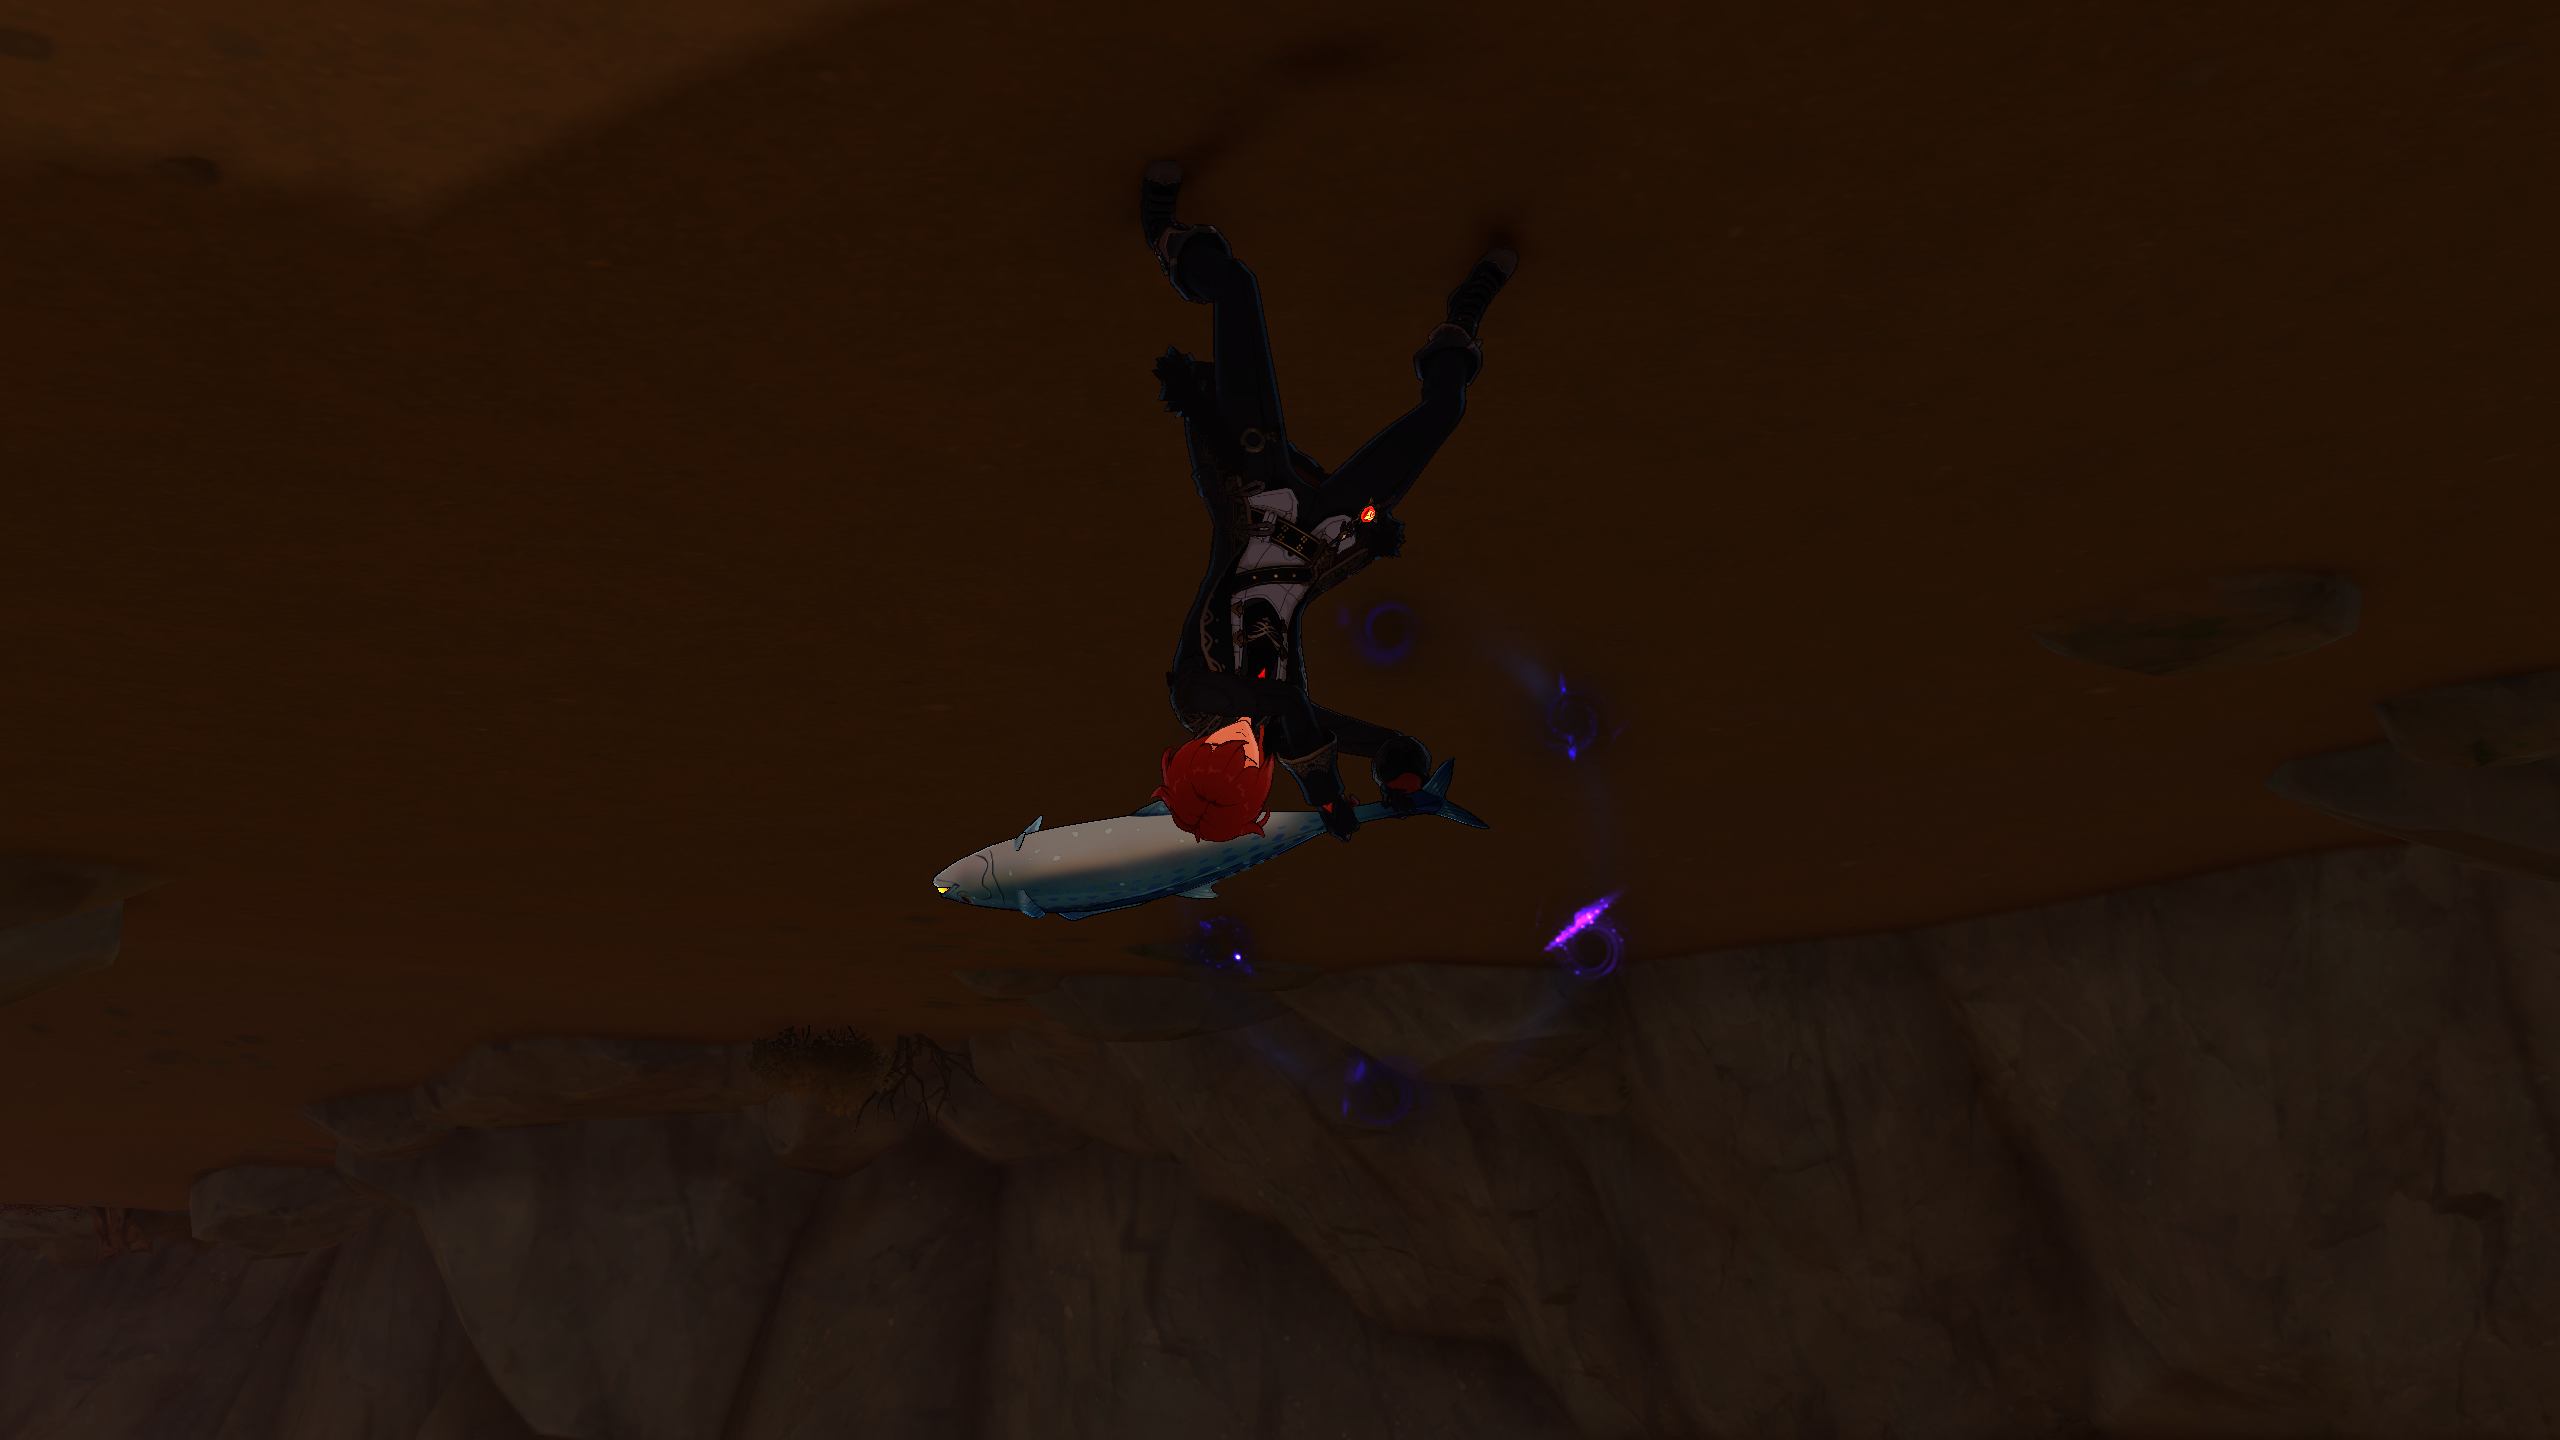
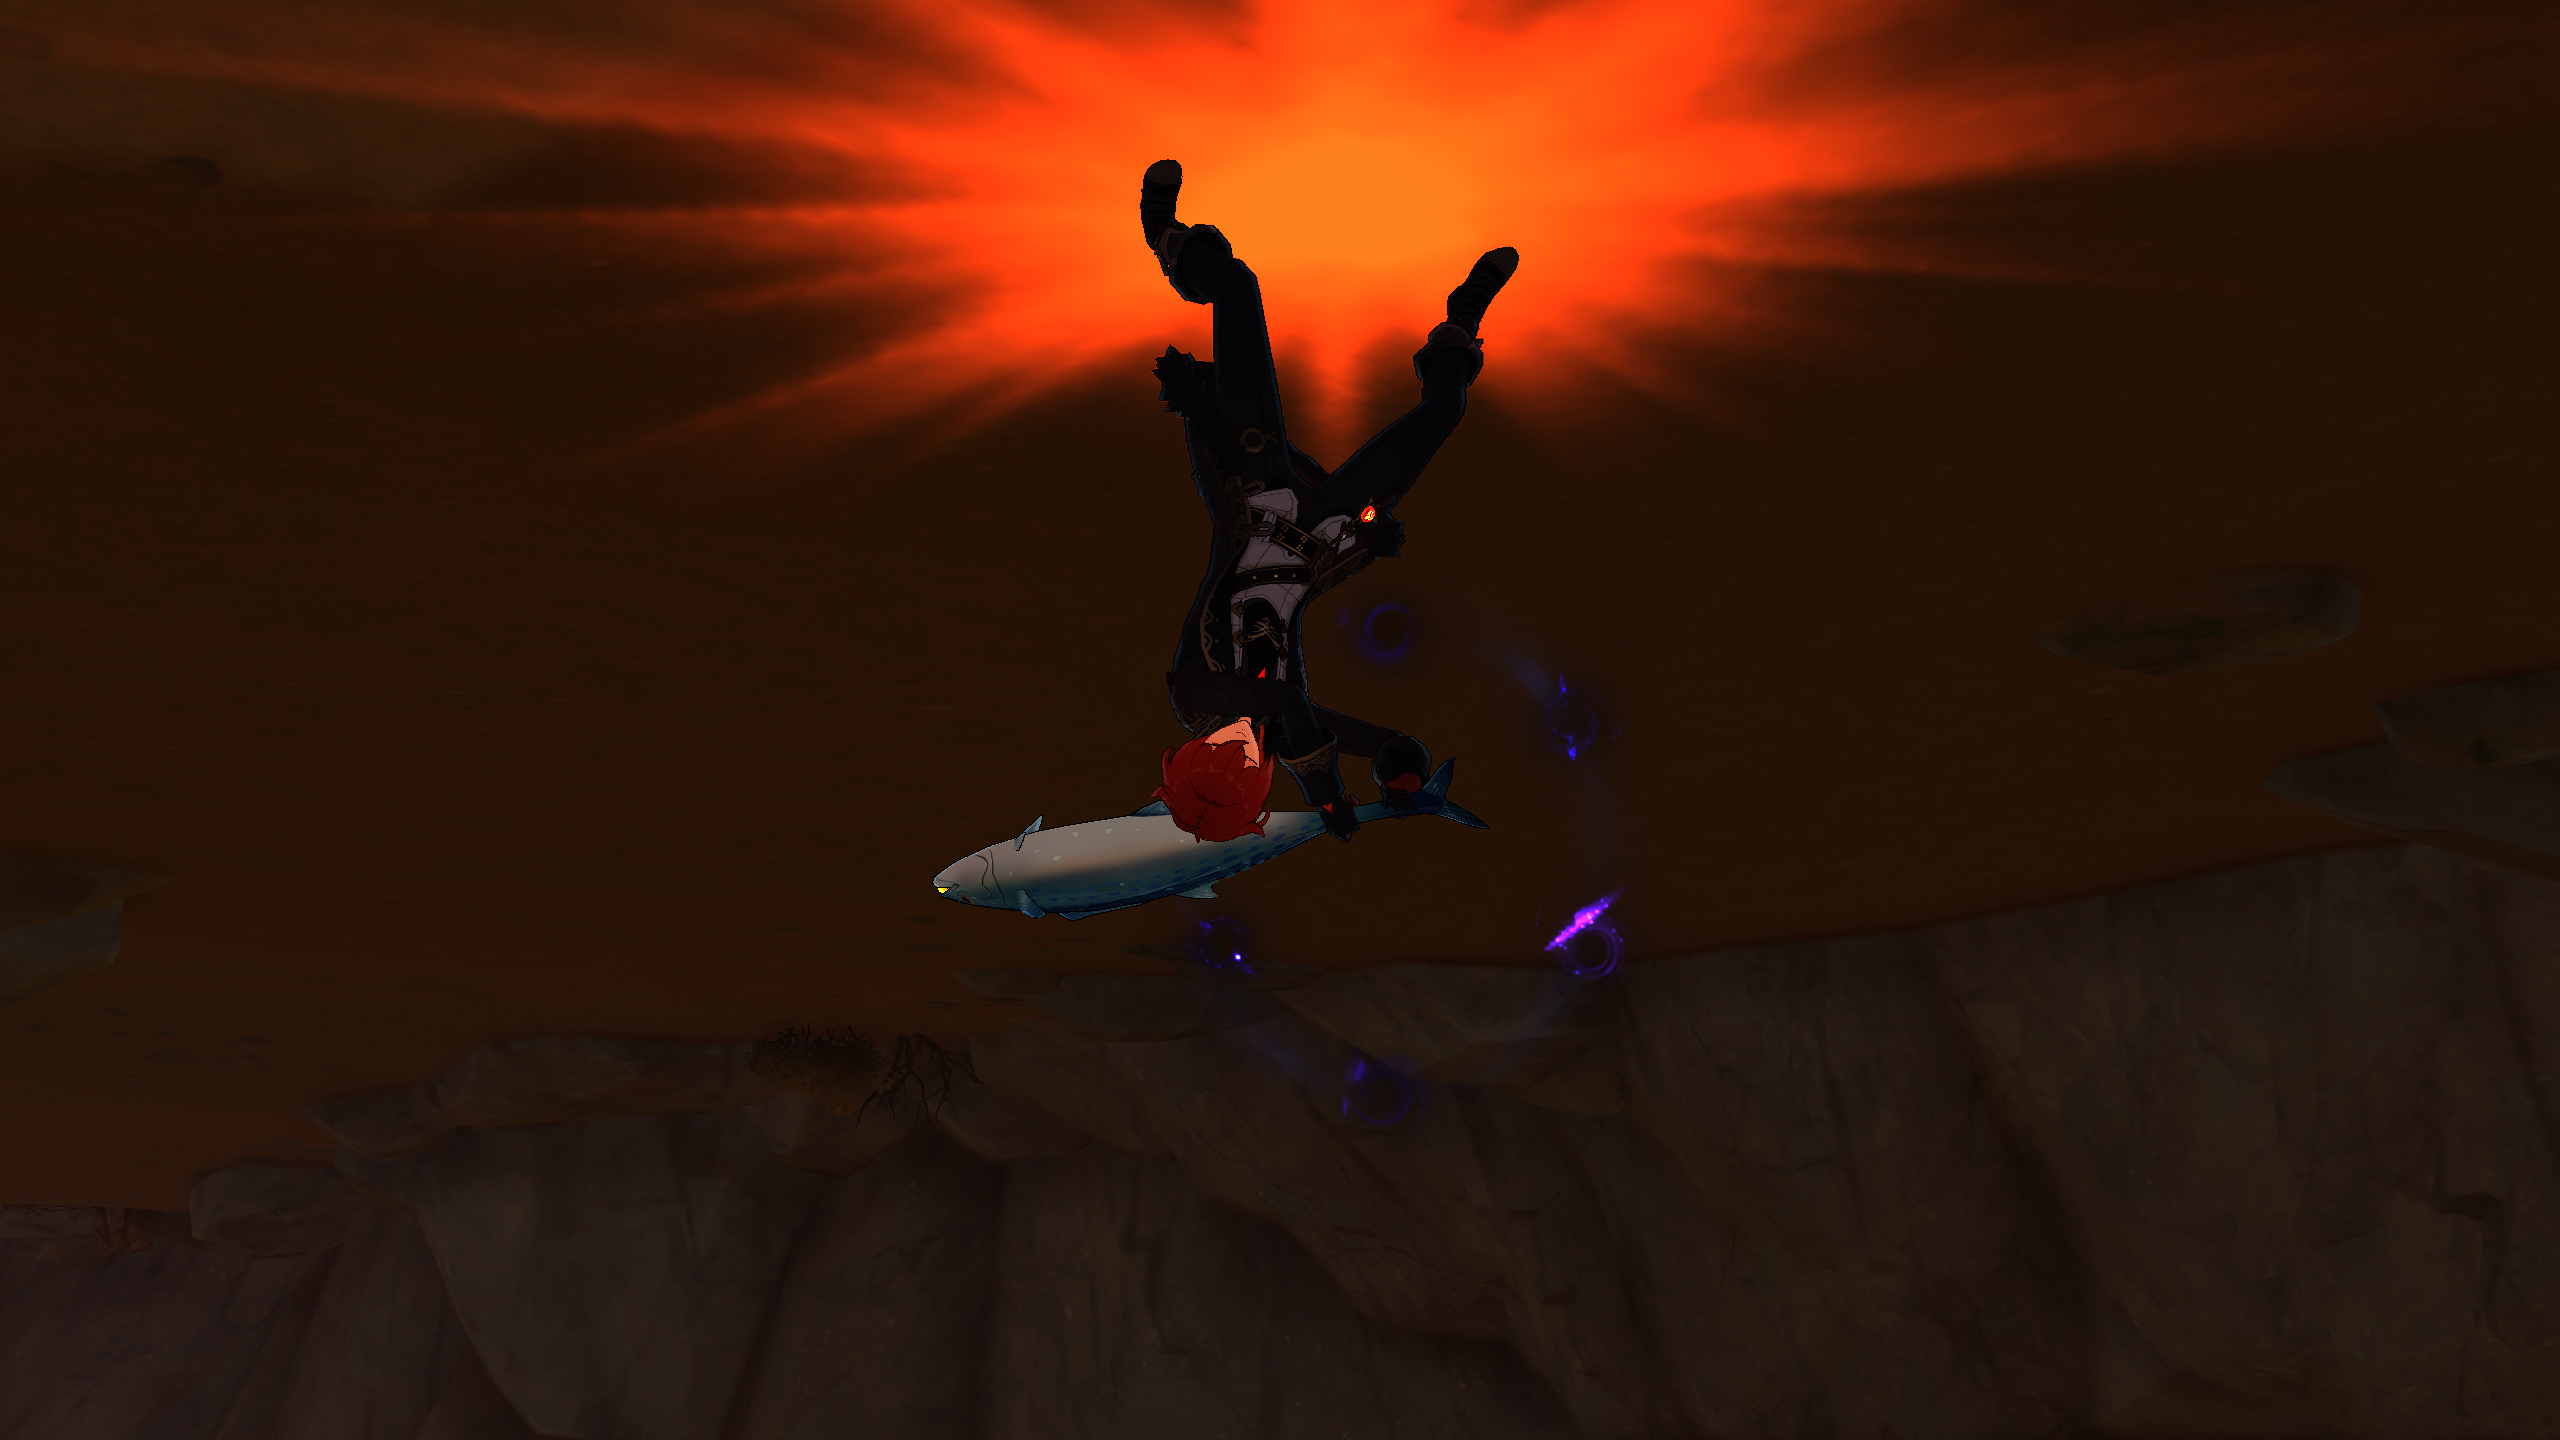
And testing it, we find it is responsible for the glow:

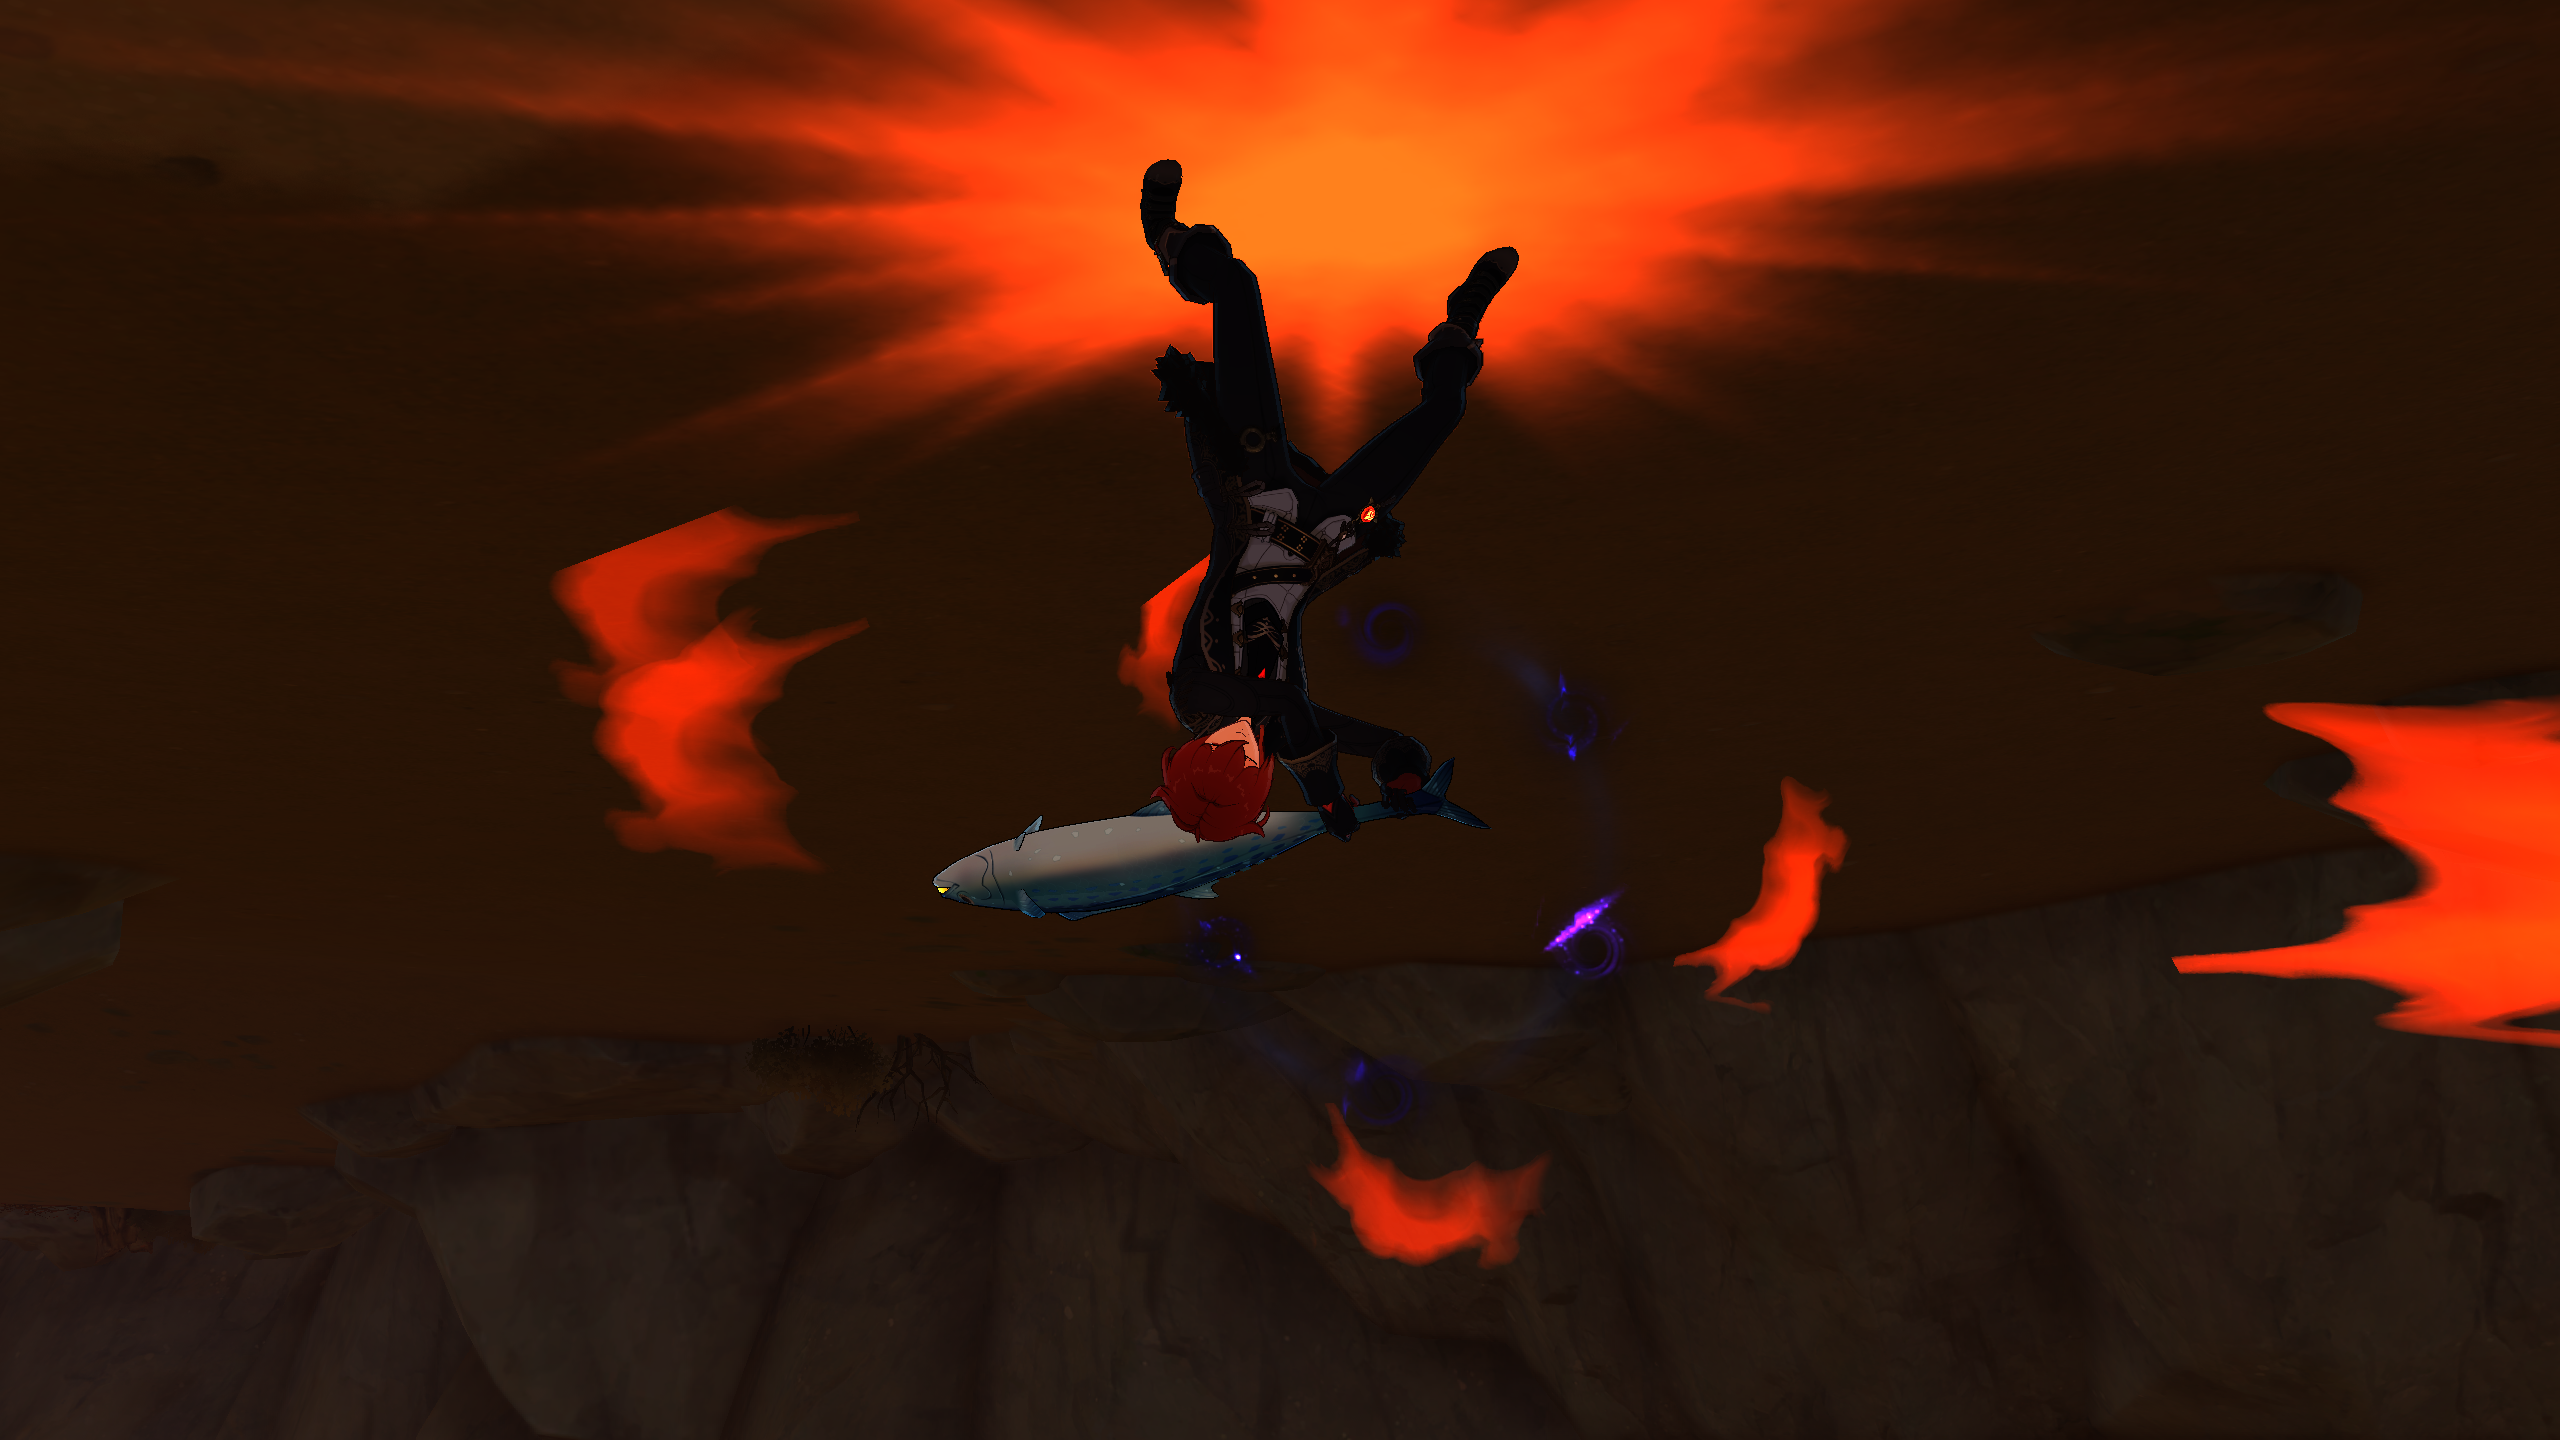
And we can modify the glowing portions of her texture only by adding a conditional that only triggers on pixels that have an alpha value greater than some arbitrary number:

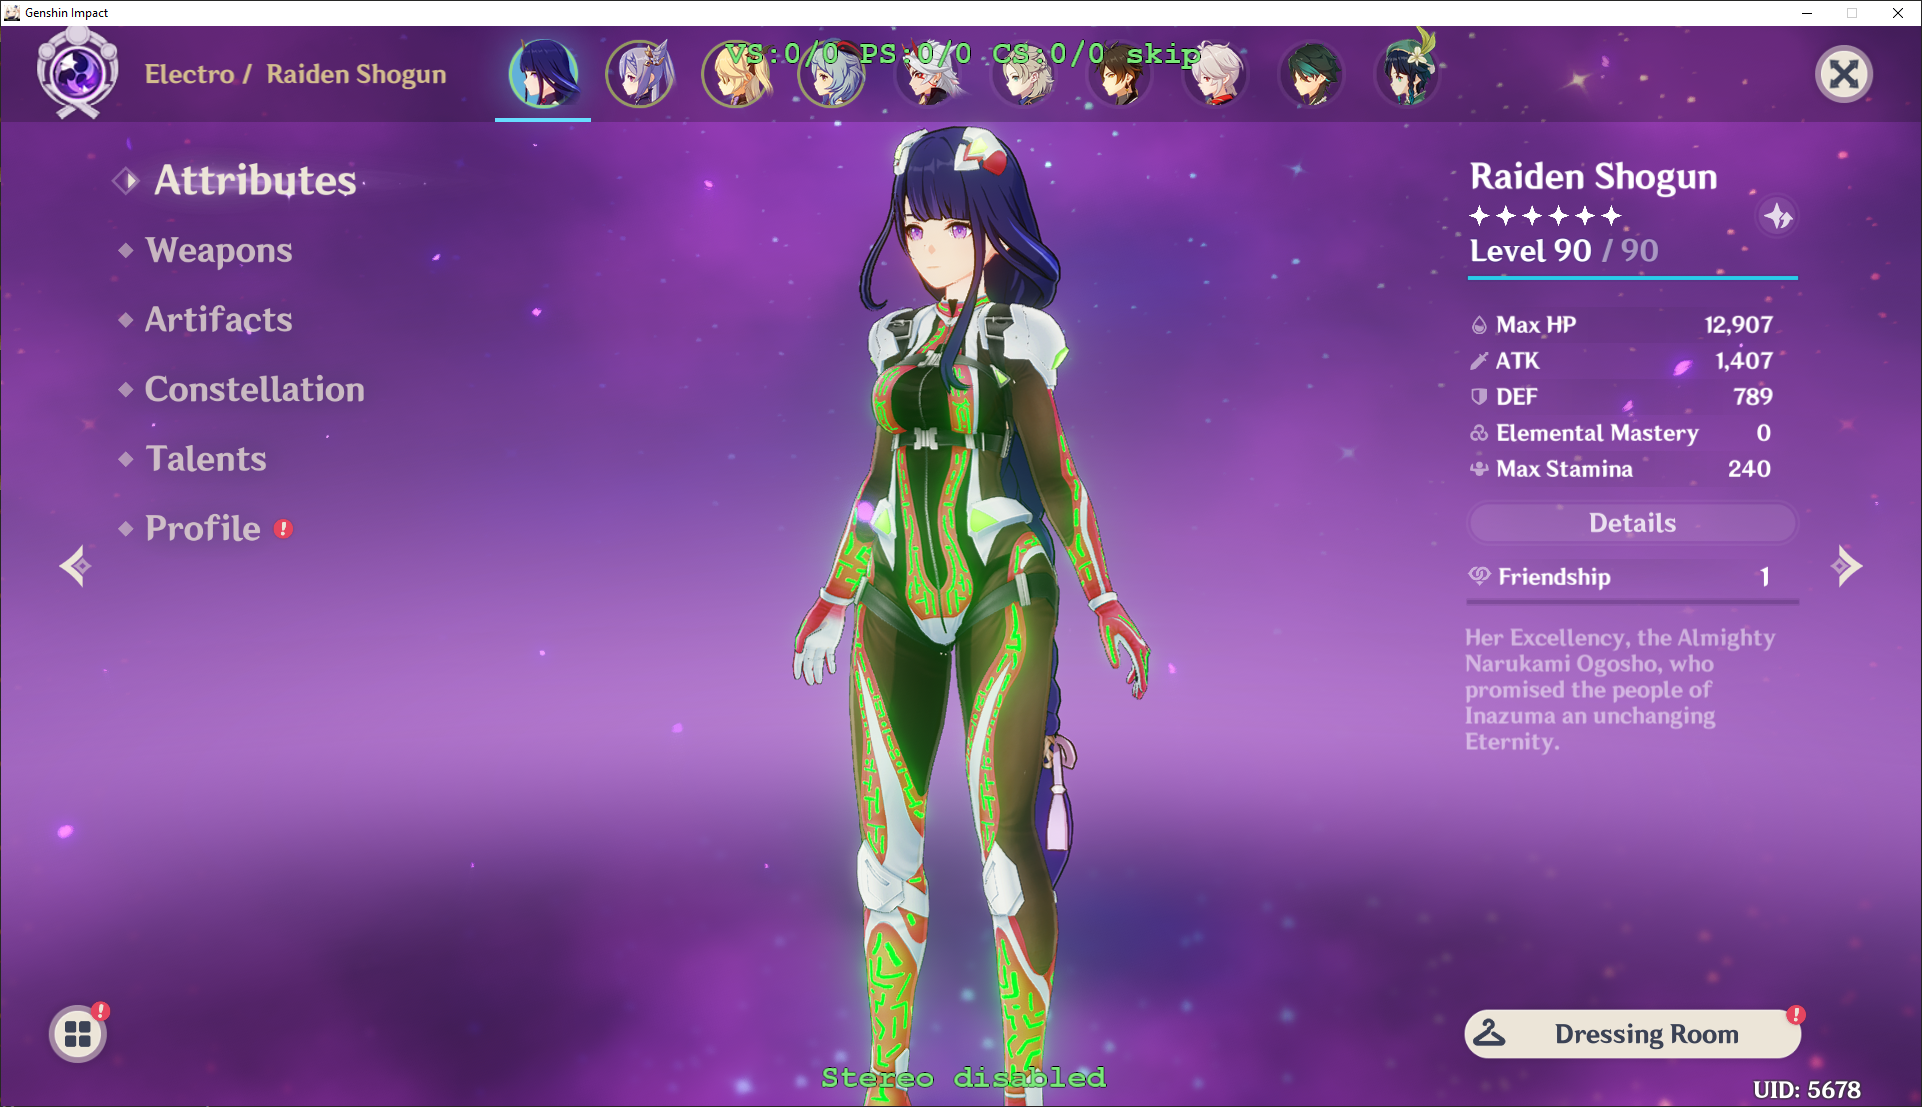
- Now, I am going to demonstrate the process of adding lines to my cyber bodysuit raiden mod:
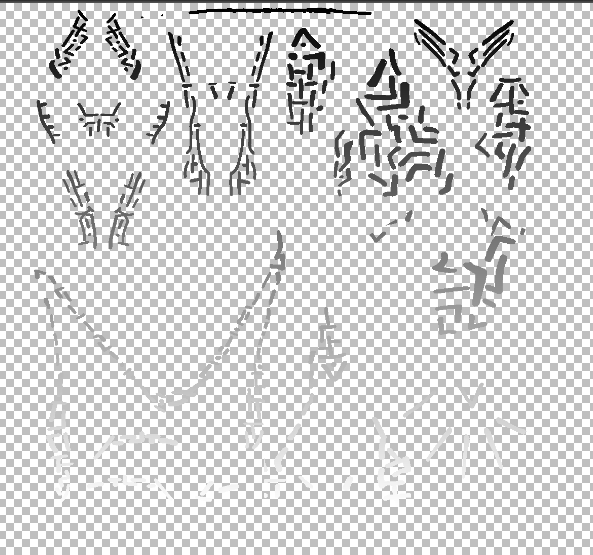
First, I draw the lines:
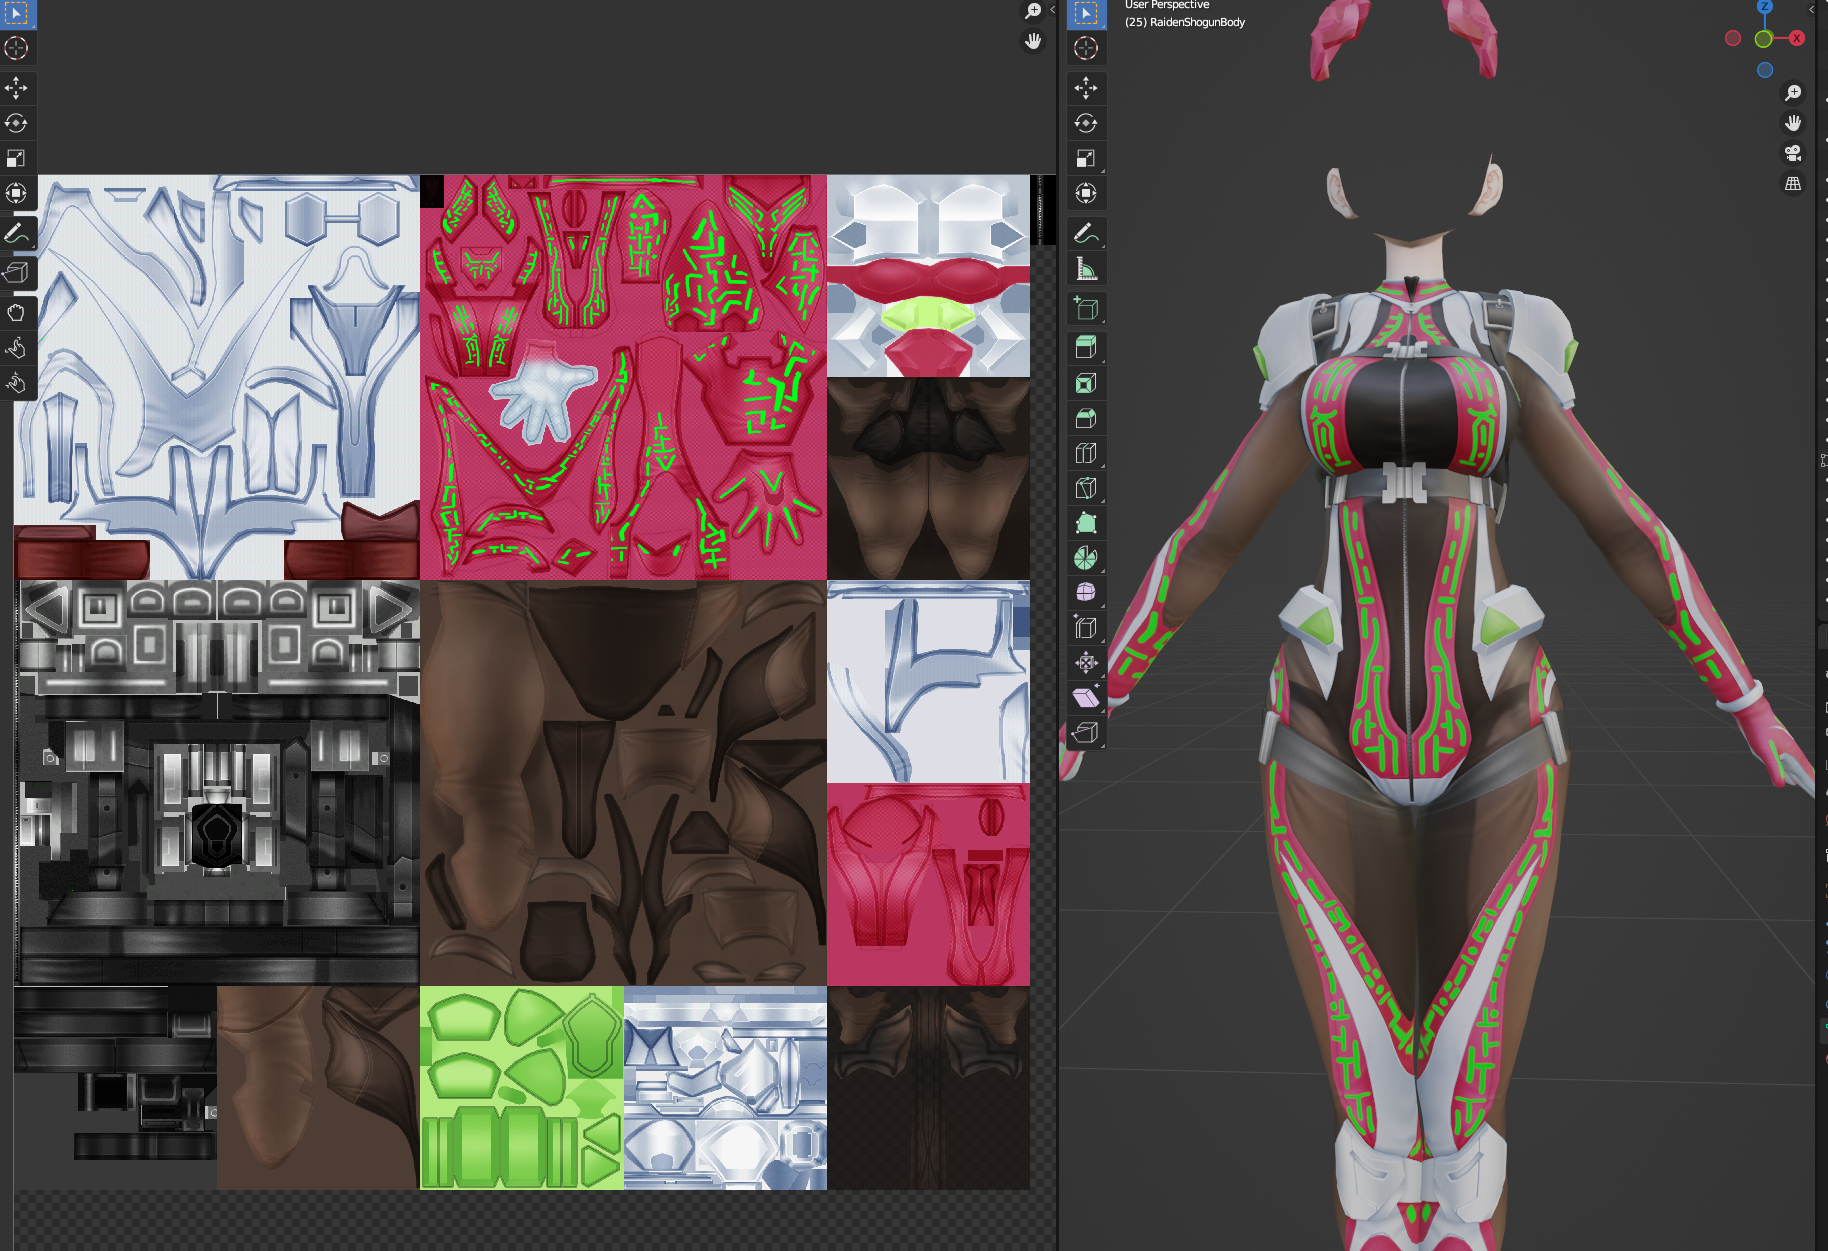
I did this through the Blender texture painting tab, but you could also paint directly on to the texture using paint.net/photoshop. Note that the final output has to be BC7 SRGB dds for the diffuse texture. Also, don’t be like me – paint these on a separate layer so you can easily separate them out later ;-;.
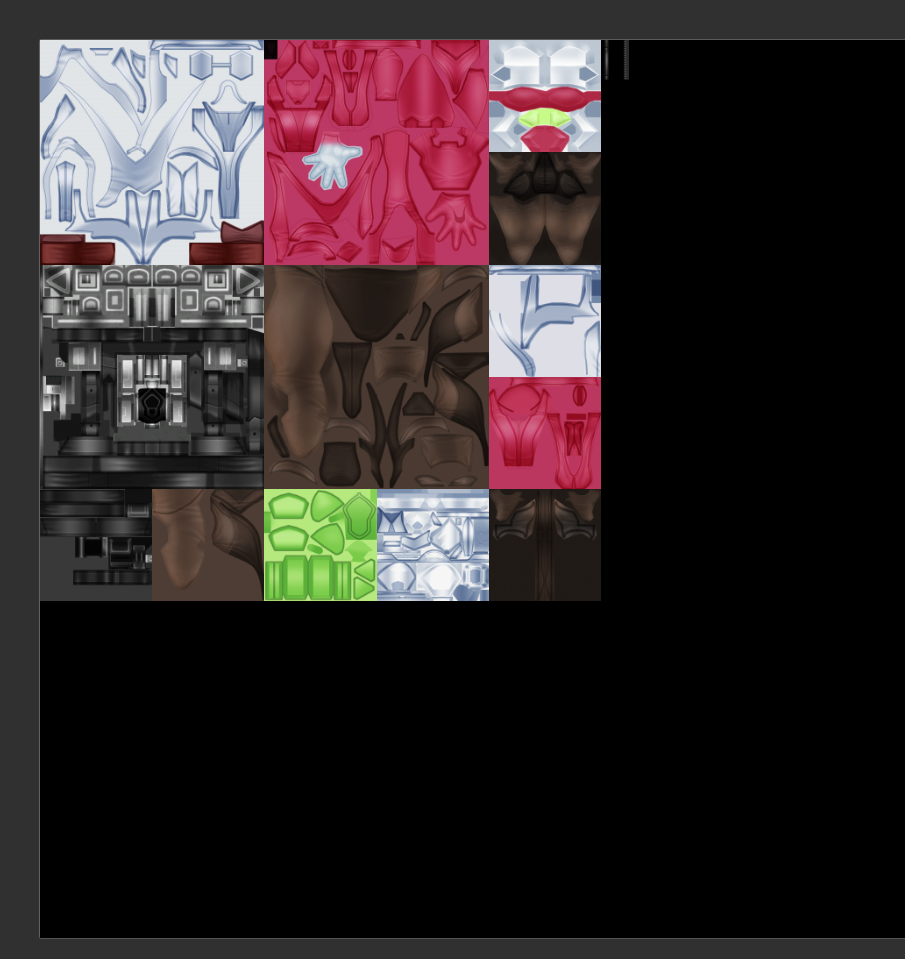
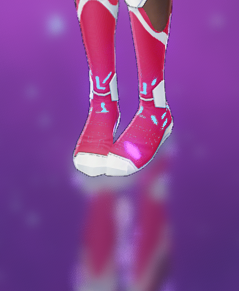
- The final texture looks like this after moving the lines above the alpha layer (note: it is wide because I merged a few models together and put their textures side-by-side):
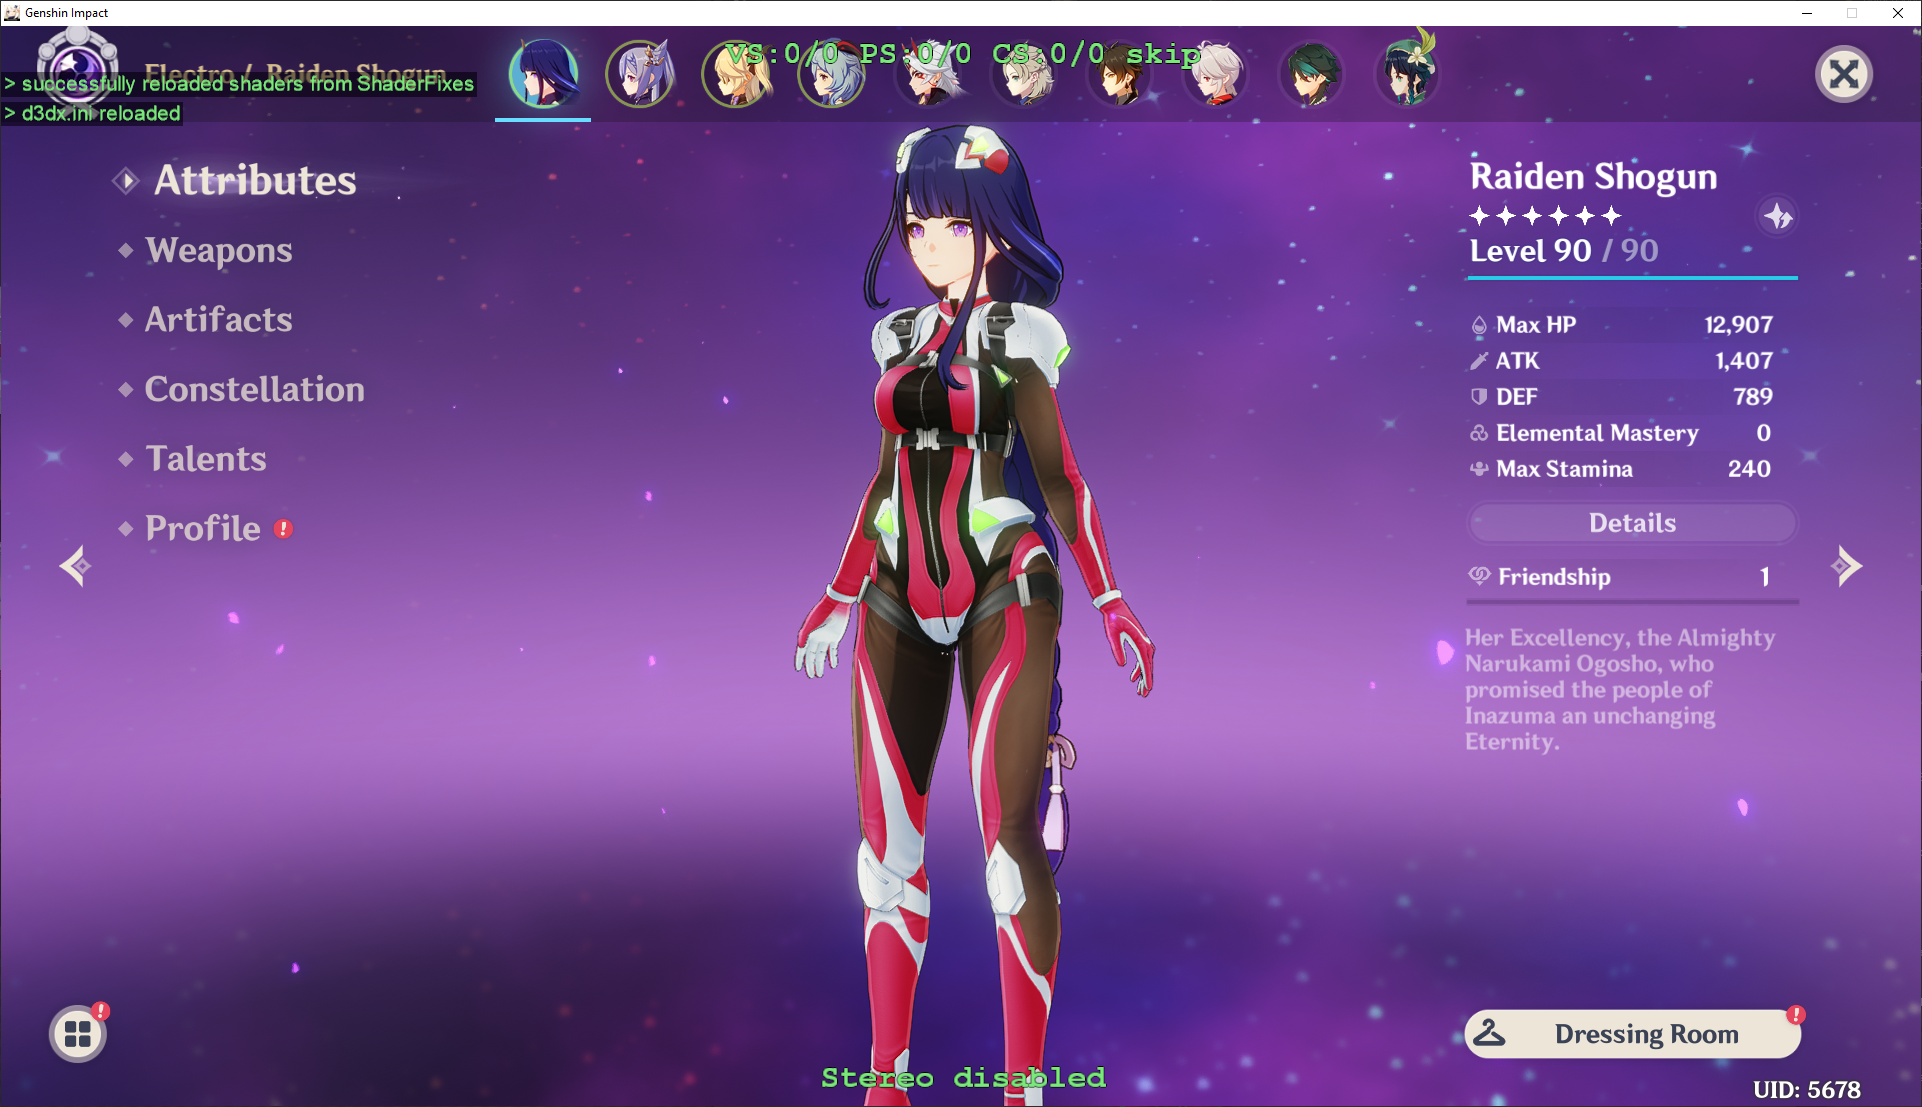
Which gives us glowing lines in-game
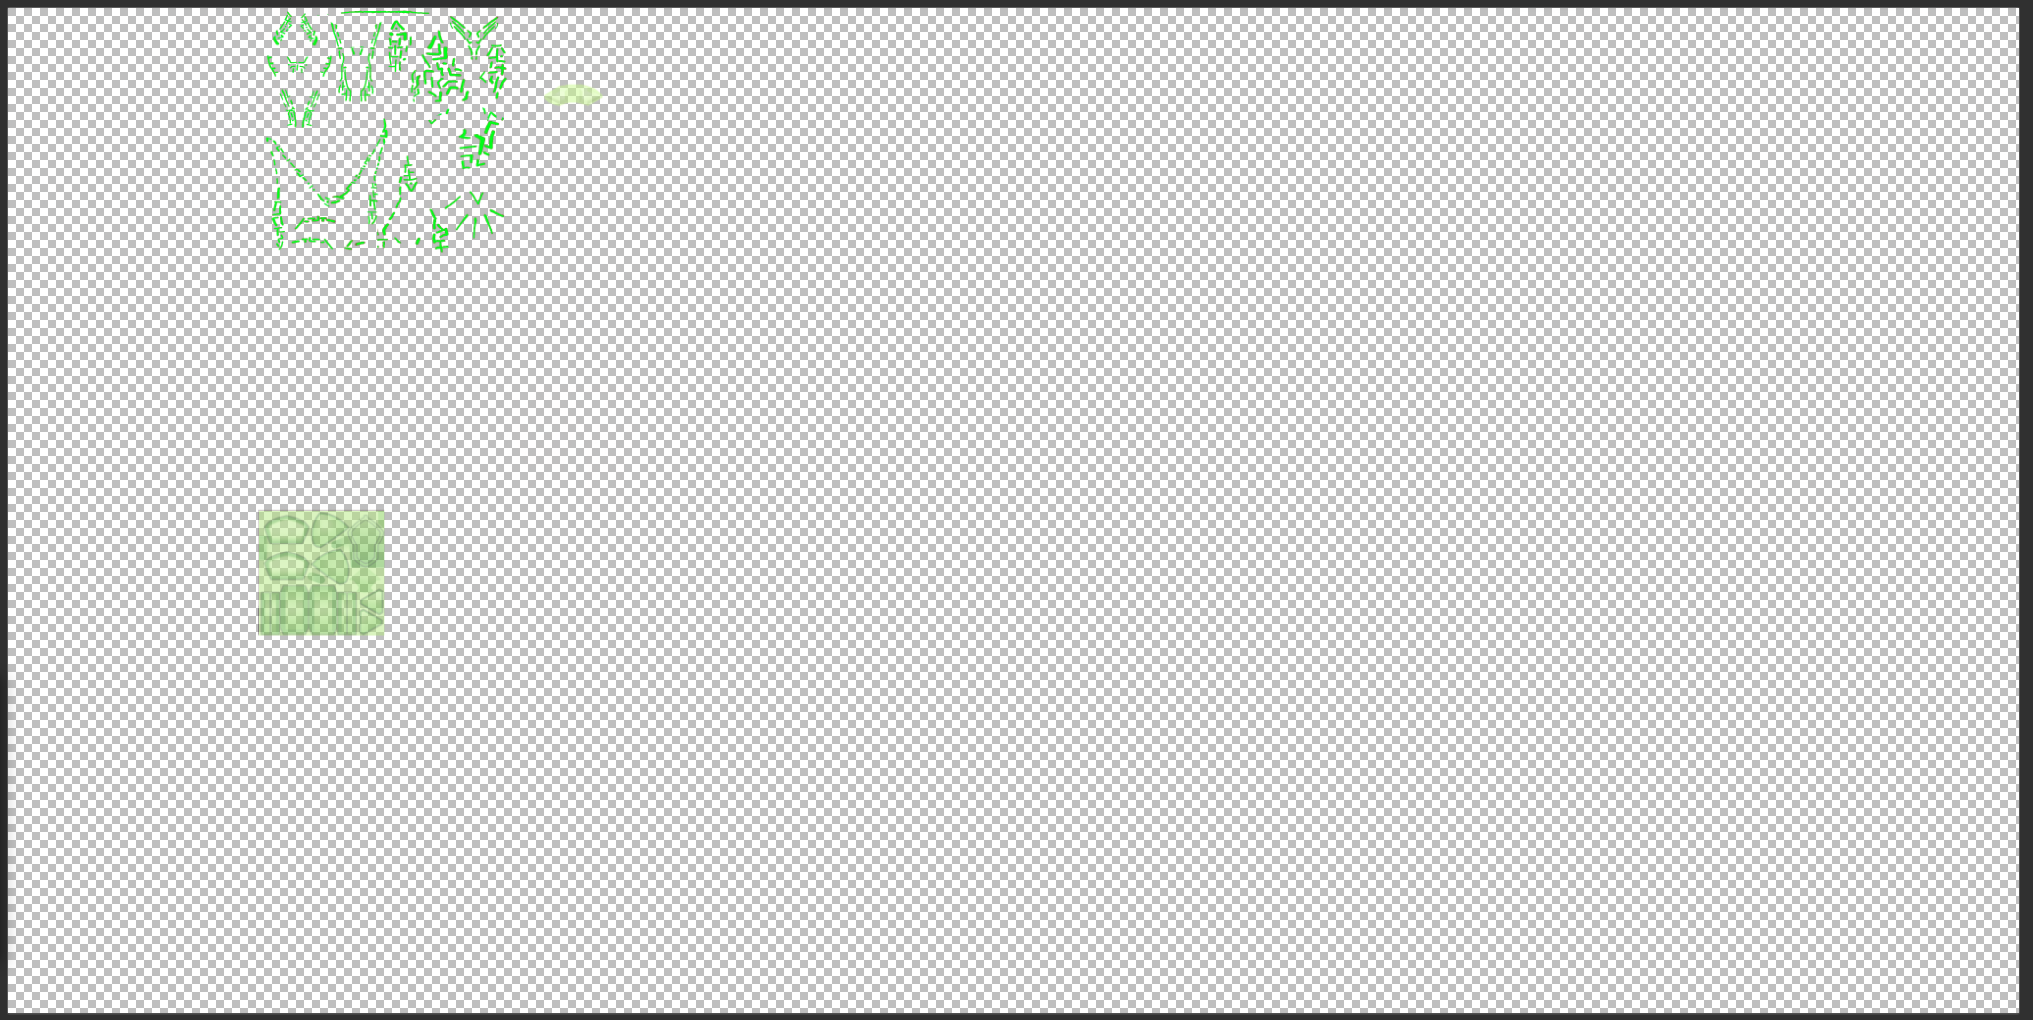
- Now, time to implement some basic animations. I separate out the lines from the diffuse texture into another empty texture which I am going to call the “control” texture:
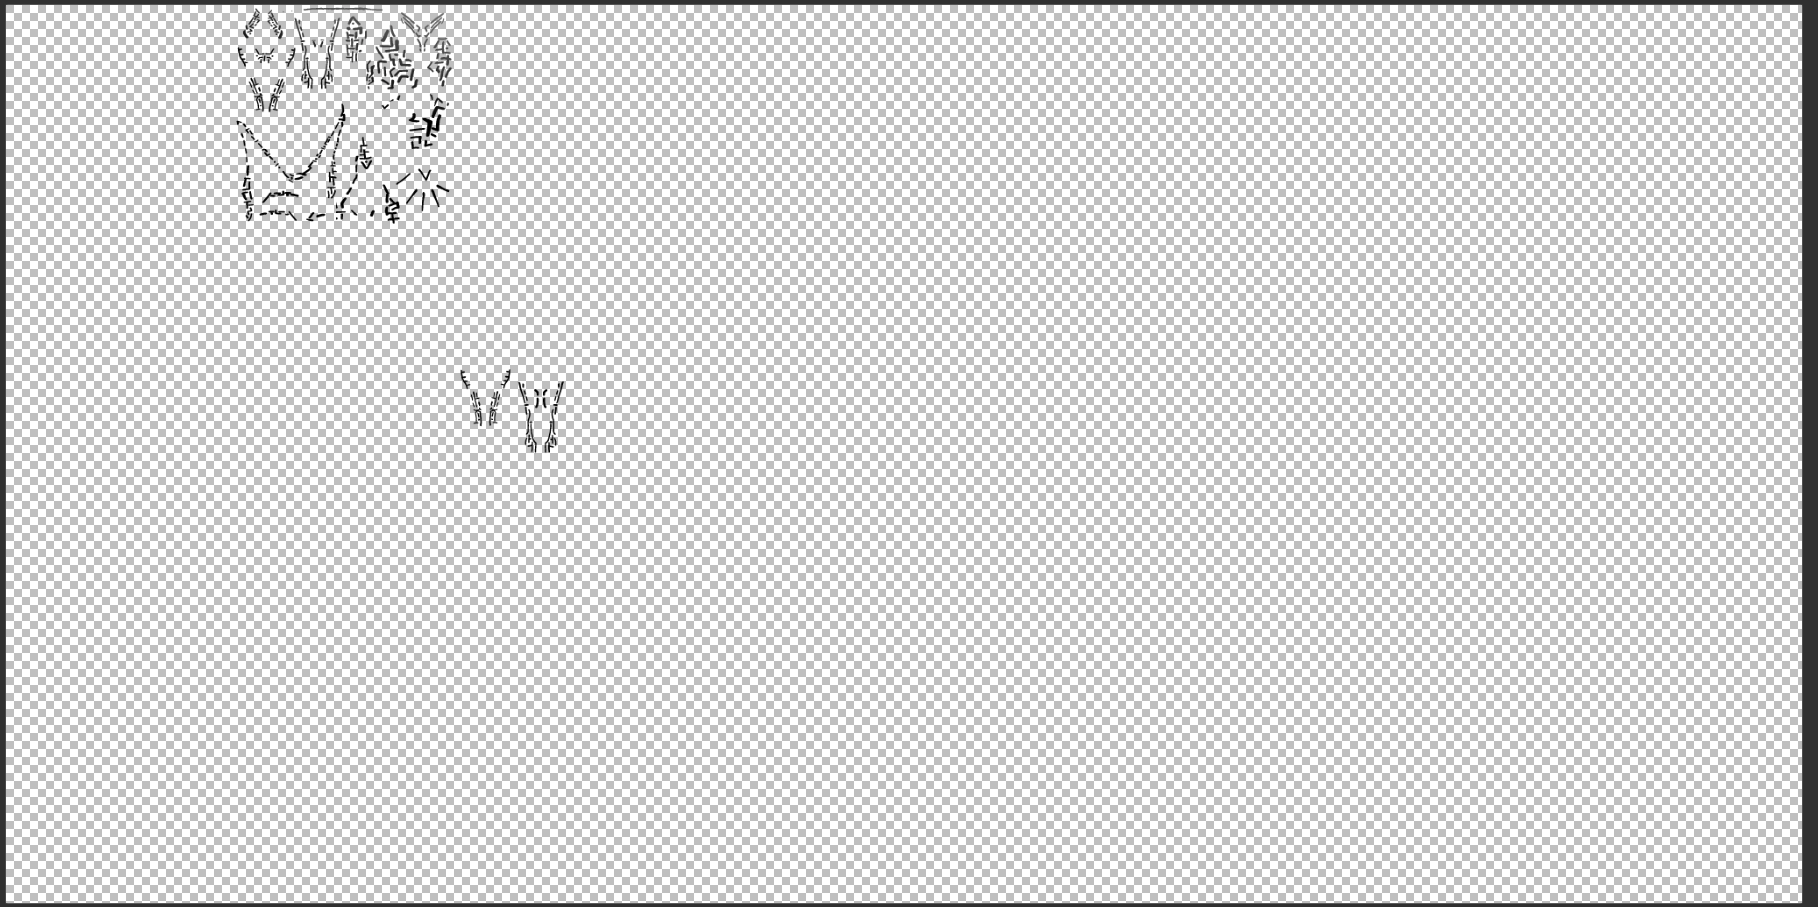
This texture will essentially be what we are going to use to tell the shader which parts of the texture will have animated effects (since all four channels of the diffuse/lightmap are already in-use). The type for this texture should be BC7 Linear, since we want the color values to be evenly spaced.
I have also recolored it to black for simplicity – we won’t be using specific colors in this example to keep things simpler, so we set all the color channels equal; if you wanted, you could use each color channel to control different things. Make sure the color is greater than 0 though, since we want to be able to differentiate it from the background without relying on the alpha channel.
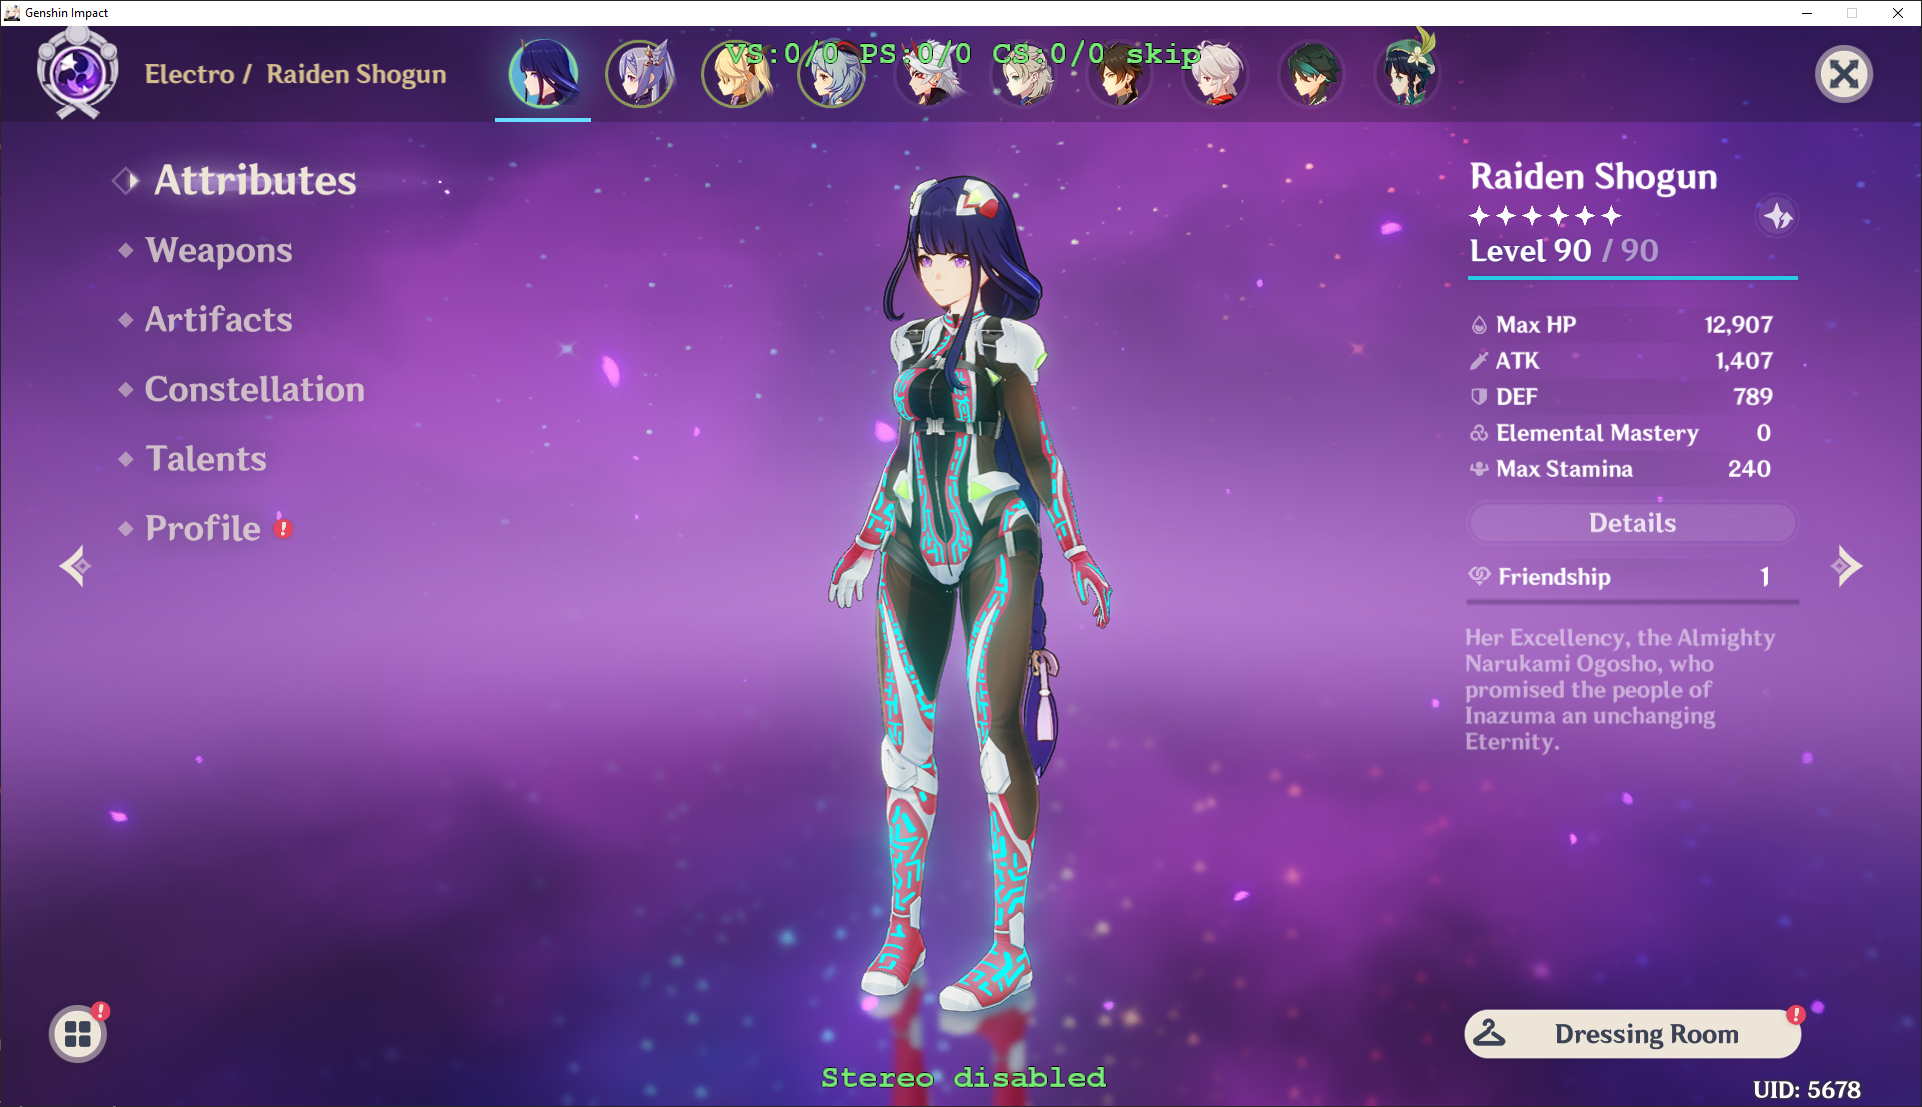
Note that I have removed the lines from the original diffuse texture now, so we are back to vanilla bodysuit:
- Next, we add a section into the
BodyOverridein the.iniof the mod to pass the new texture to the shader:
[TextureOverrideRaidenShogunBody]
hash = 428c56cd
match_first_index = 17769
ib = ResourceRaidenShogunBodyIBZipped
ps-t0 = ResourceRaidenShogunBodyDiffuseRed
ps-t1 = ResourceRaidenShogunBodyLightMap
ps-t26 = ResourceRaidenShogunBodyControl

[ResourceRaidenShogunBodyControl]
filename = RaidenShogunBodyControl.dds
I chose to load it into slot 26 arbitrarily – I don’t recommend going lower than 20, since I’ve seen a few cases where they go up that high (vast majority of things use <10, and it’s rare that anything above 5 is important).
- We also need to add the variable in to the shader near the top:
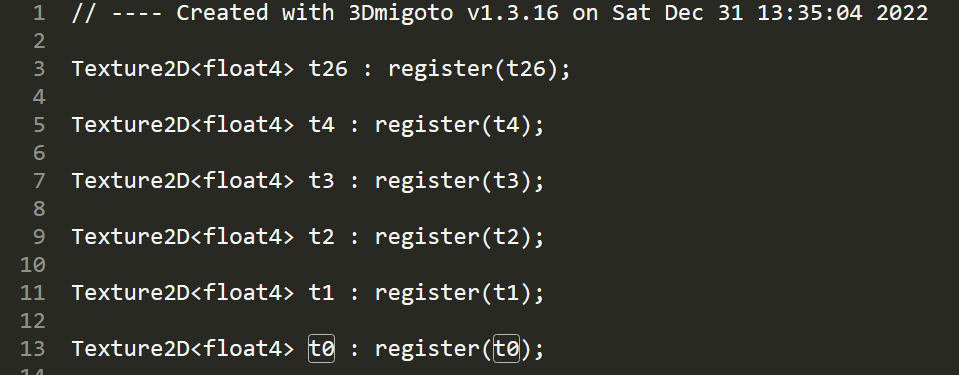
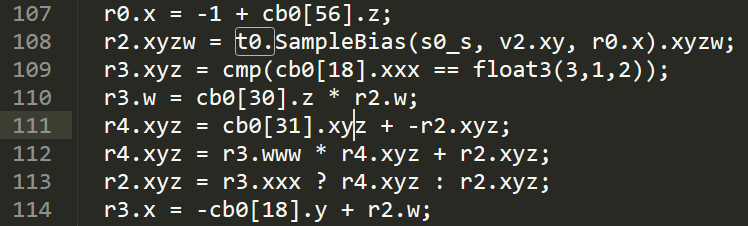
We can now load this texture in a similar way to how we load the other textures:
r2.xyzw = t26.SampleBias(s0_s, v2.xy, r0.x).xyzw;
(If you are wondering how we got this line, it was from looking at how the t0 and t1 textures are loaded in and mimicking the format. I chose r2 since I know it will be replaced by whatever we load in from the diffuse, so it won’t end up breaking any other lines of code – another option would be to create an additional register variable).
- Now, we can add a conditional that only triggers on pixels of the control texture that have a red channel value greater than 0. When we see that, we set the pixel color to green; otherwise, we simply load the pixel value from the original diffuse texture:
r2.xyzw = t26.SampleBias(s0_s, v2.xy, r0.x).xyzw;
if (r2.x > 0){
r2.xyz = float3(0,1,0);
r2.w = 0.6;
}
else{
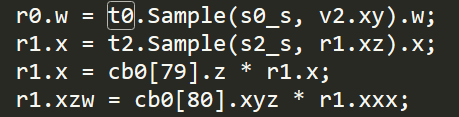
r2.xyzw = t0.SampleBias(s0_s, v2.xy, r0.x).xyzw;
}(Note: I’m being a bit lazy setting the values here since they should be normalized but it won’t make too much of a difference).
Which leads us back to our original starting point:
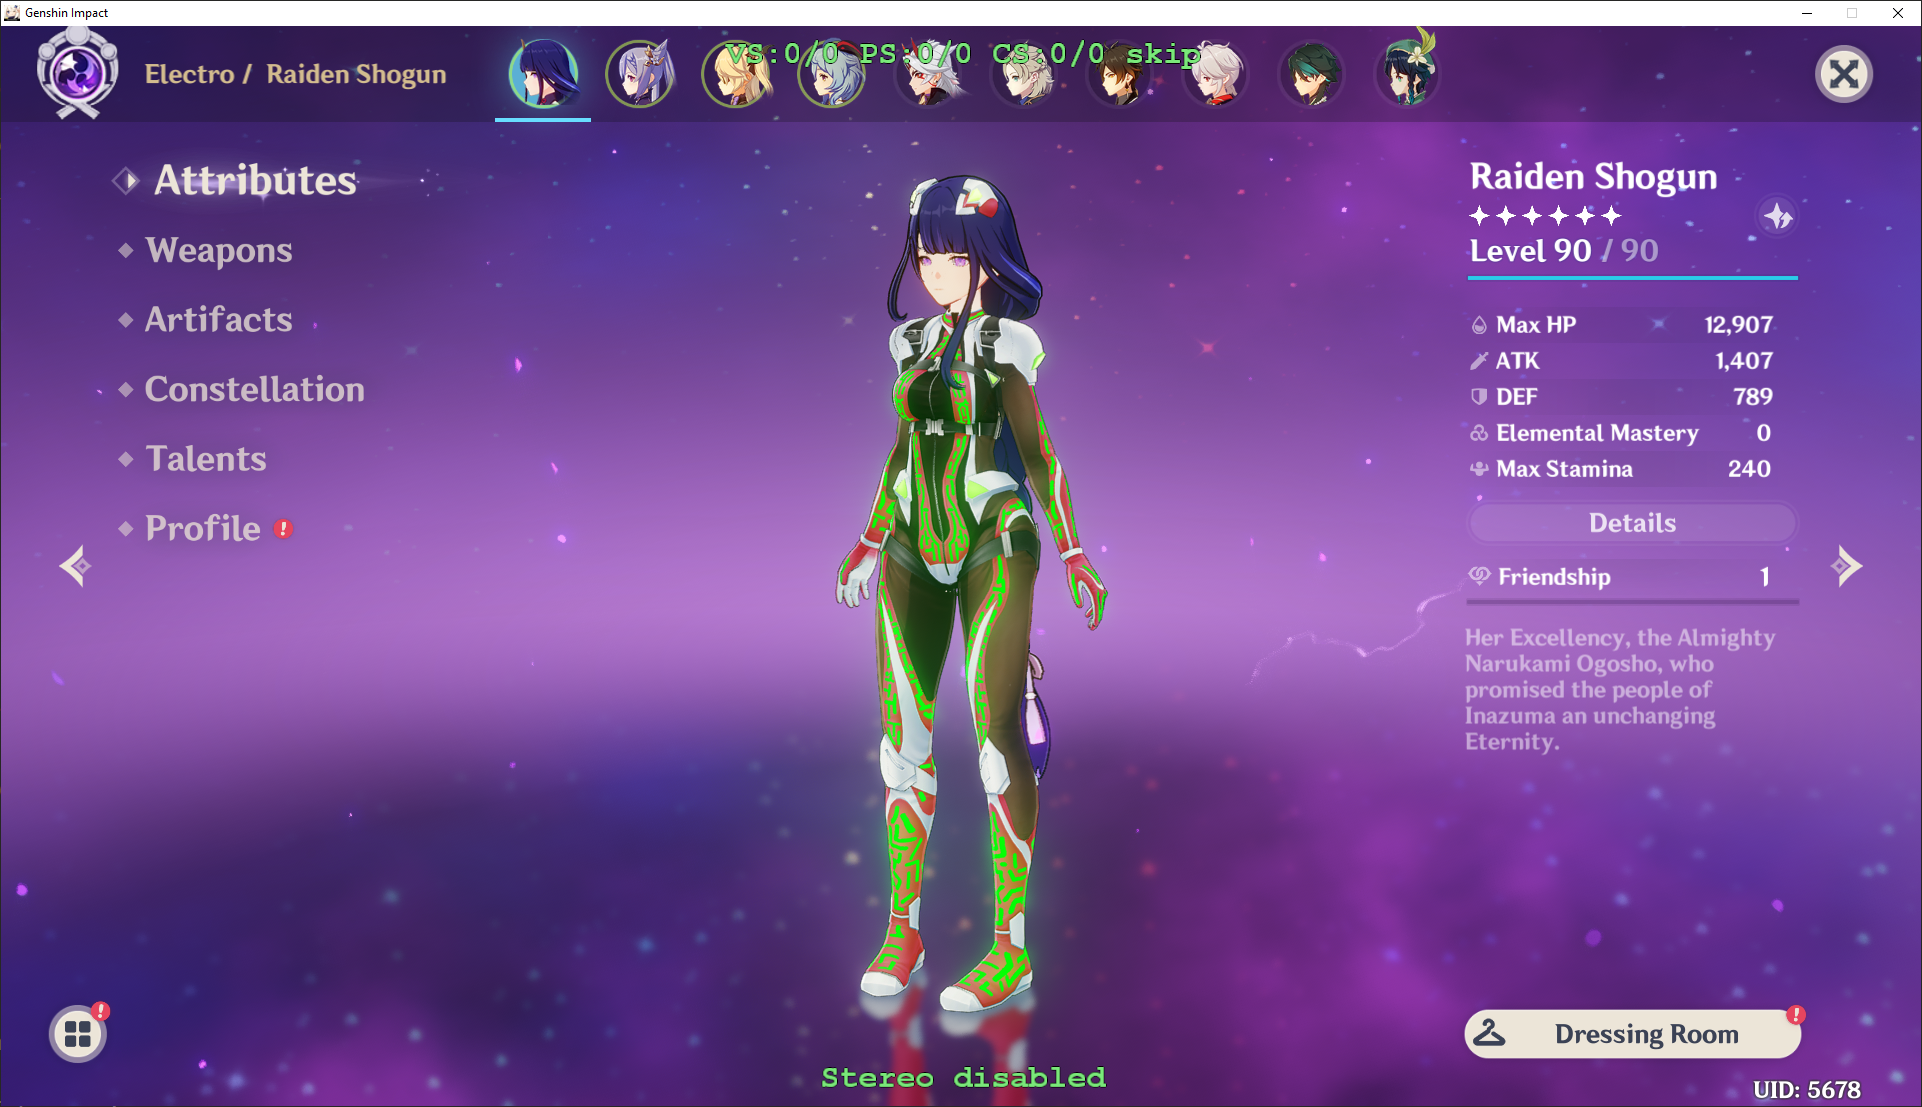
However, there is now one key difference – the line colors and locations are being fully controlled through the control texture and shader calculations, and not being read from the original texture.
This lets us easily change the color just by changing the value of r2.xyz = float3(R,G,B);

Or even set them in the .ini like we did in the previous section. We can even make them cycle between colors using this as well!
- Now that the lines are being controlled through the shader and control texture, we have a lot more flexibility in what we can do. Let’s start by animating them. Instead of using a constant black across all the control texture lines, I am going to use a gradient from black to white:
Now, the value of r2.x will linearly increase from 0 to 1 as you travel down the lines (this is why we saved as BC7 linear – otherwise, the values would be skewed leading to issues). We can then pass the time variable from the .ini into the shader:
[TextureOverrideRaidenShogunBody]
hash = 428c56cd
match_first_index = 17769
ib = ResourceRaidenShogunBodyIBZipped
ps-t0 = ResourceRaidenShogunBodyDiffuseRed
ps-t1 = ResourceRaidenShogunBodyLightMap
ps-t26 = ResourceRaidenShogunBodyControl
x180 = time
Define a new variable in the shader:
#define TIME IniParams[180].x
Now, we can compare the value of r2.x to TIME to figure out what part of the model we want to draw. r2.x is in the range 0 to 1, so we need to shift the TIME into this range as well – we can divide TIME into repeating buckets using the modulo operator, then divide by the max value to put into the range 0 to 1. So the equation would be TIME%2/2 to have it cycle between 0 and 1 every two seconds.
if (r2.x > TIME%2/2){
    r2.xyz = float3(0,1,0);
    r2.w = 0.6;
  }
  else{
    r2.xyzw = t0.SampleBias(s0_s, v2.xy, r0.x).xyzw;
  }
Result:
Alternatively, to change the direction we can use 1- TIME%2/2 instead:
  if (r2.x > 1-TIME%2/2){
    r2.xyz = float3(0,1,0);
    r2.w = 0.6;
  }
  else{
    r2.xyzw = t0.SampleBias(s0_s, v2.xy, r0.x).xyzw;
}- The result of this isn’t bad, but it isn’t quite what I was looking for – I don’t like how the lines gradually appear/disappear, and I was hoping for a more “matrix-like” effect where the line travels along the body.
Instead of using a single condition, we can define a range where the lines will appear. This will only allow values that are at most 0.2 away of TIME%2/2:
  r2.xyzw = t26.SampleBias(s0_s, v2.xy, r0.x).xyzw;
  if (r2.x > TIME%2/2 && r2.x < TIME%2/2+0.2){
    r2.xyz = float3(0,1,0);
    r2.w = 0.6;
  }
  else{
    r2.xyzw = t0.SampleBias(s0_s, v2.xy, r0.x).xyzw;
}Much better, but it moves a bit fast. Also, the lines still appear all at once at the start of the cycle, making the starting and stopping points obvious. The final equation I settled on was:
  if (r2.x > 0 && (TIME % 3)/2.5 > r2.x && (TIME % 3)/2.5-0.2 < r2.x){
    r2.xyz = float3(0,1,0);
    r2.w = 0.6;
  }
  else{
    r2.xyzw = t0.SampleBias(s0_s, v2.xy, r0.x).xyzw;
}This loops every 3 seconds, and we actually put the time into the range 0 to 1.2 instead of 0 to 1 by dividing by 2.5 instead of 3 – the extra 0.2 side lets the lines gradually appear and disappear at the end of the cycle.
- Now, lets add some more cool effects. We are just using a constant color green, but we don’t have to – we can use math to make the colors cycle. Explaining how this works is beyond the scope of this tutorial, but basically we are using out of sync sine waves to travel around the color wheel. For more details, look here: https://krazydad.com/tutorials/makecolors.php
if (r2.x > 0 && (TIME % 3)/2.5 > r2.x && (TIME % 3)/2.5-0.2 < r2.x){
    r2.xyz = float3((sin(TIME)+1)/2, (sin(TIME+2)+1)/2, (sin(TIME+4)+1)/2);
    r2.w = 0.6;
  }
  else{
    r2.xyzw = t0.SampleBias(s0_s, v2.xy, r0.x).xyzw;
}- At this point, I have mostly finished explaining how to create the effect. The actual cyber Raiden mod also has some additional toggles to turn the effects on and off, to limit them to while Raiden is on-screen and to let the user choose custom colors but all of those have already been covered in previous sections.
The only additional thing I would note is that you aren’t just limited to using colors with this technique – instead of setting r2 to be a constant color, you could instead use this to pick and choose between different textures. You can also use the separate channels on the control texture for different effects, or use different variables for toggles – the possibilities are limitless! (not really, but you can still do a lot!)
- While we are mostly done, I will point out some issues:
- The lines don’t appear for ~1-2 seconds after character swap. This is because characters actually use a different shader when they are loading into the game for a few seconds – you can hunt down this shader and replace it as well to remove this issue
- Reflections don’t have the lines. This is also because the reflections use a different shader, and can be fixed by also hunting down and replacing the shader.
- The transparency filter is applied. While this isn’t an error, it means that someone using the remove transparency filter mod will have that one overwritten for Raiden. If you want to fix this, do a dif on the shader file with the one from remove transparency filter to see what the differences are and apply them to your file
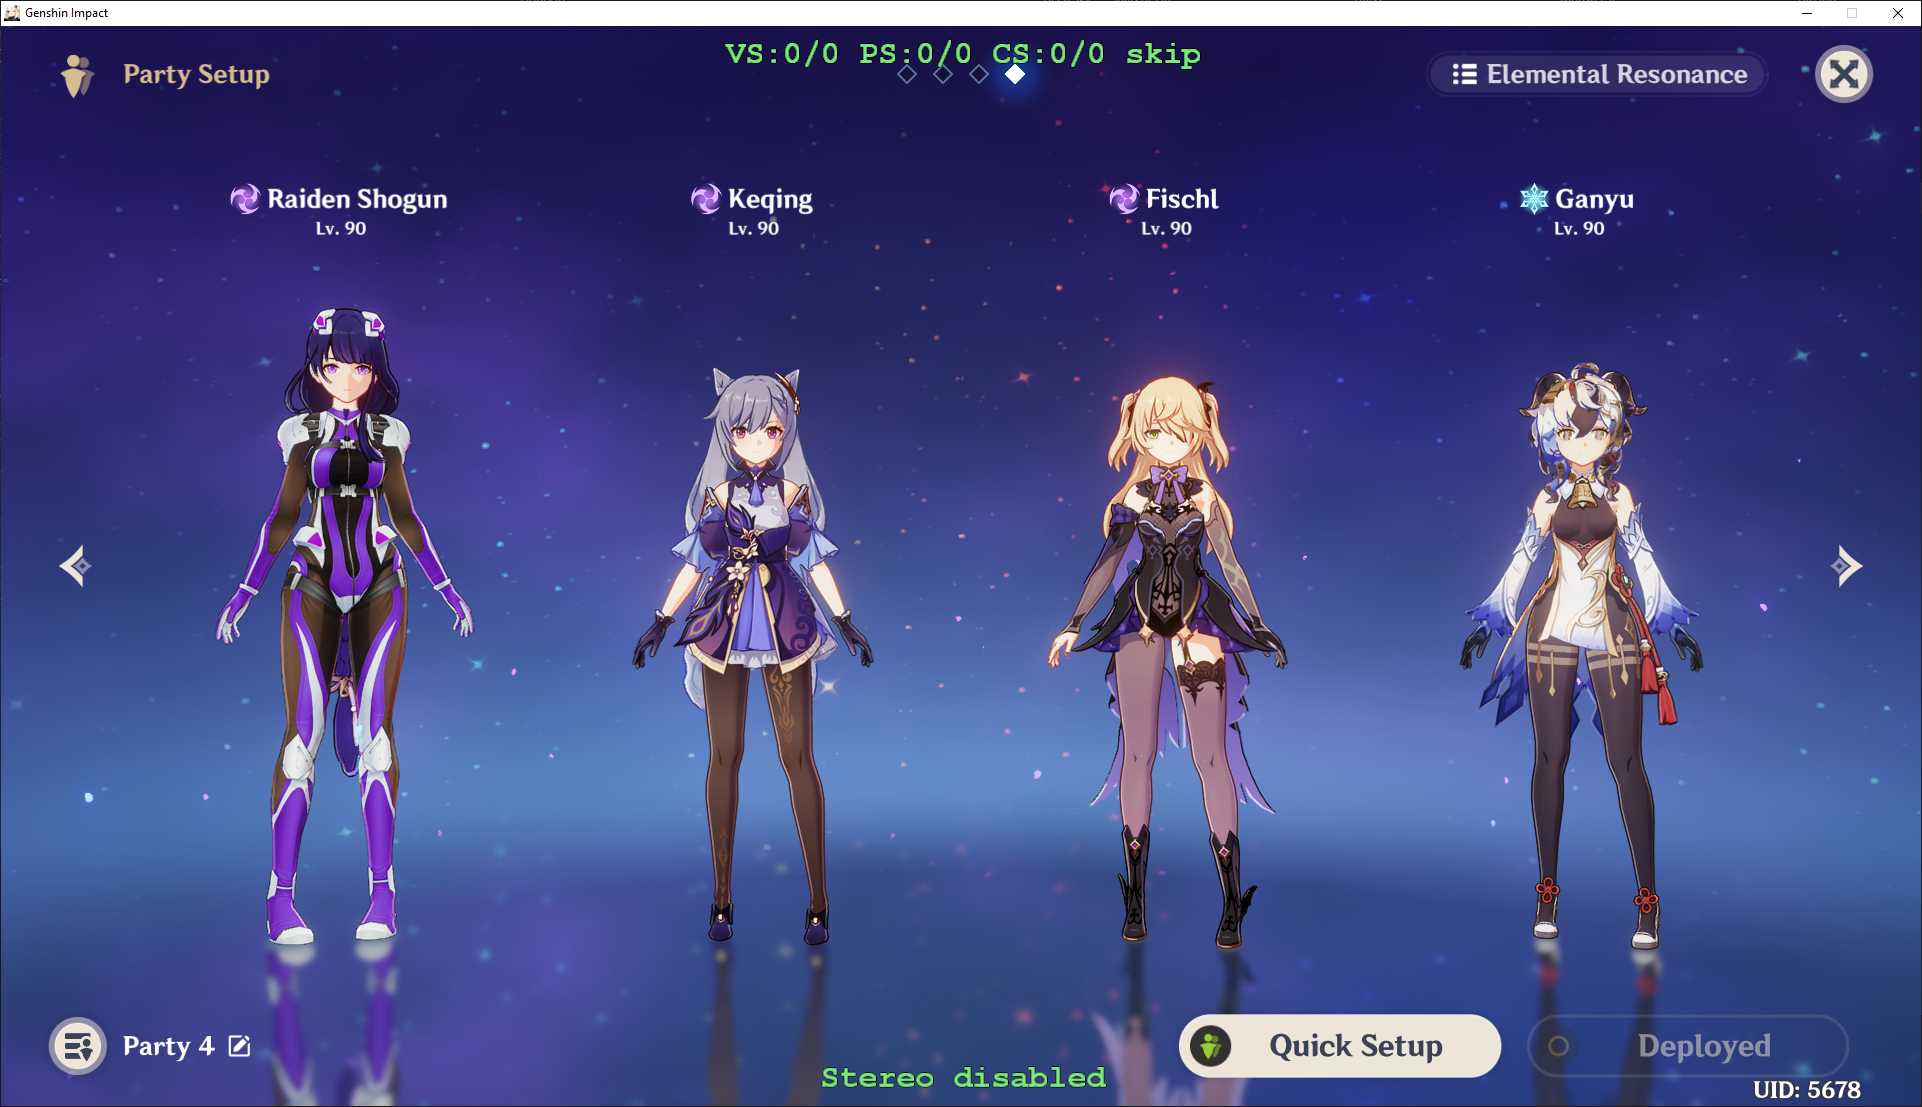
- Some characters break while Raiden is on screen for a moment when using the party menu. I don’t actually know why this happens – the part that breaks doesn’t even use the same shader and I couldn’t seem to isolate the issue. If anyone knows, please send me a message
The rainbow color effect is cool but isn’t 100% mathematically sound – the diffuse texture uses an
SRGBcolor space not alinearone, which means you would need an additional step to convert the colors (you can see that the lines don’t ever turn fully red/green/blue as you would expect). See something like https://lettier.github.io/3d-game-shaders-for-beginners/gamma-correction.html for detailsShaders can change hashes between versions, and tend to do so more commonly than character hashes so you may need to update effect mods more often than character ones.
If you have reached this point, congratulations! You know the majority of the basics of how shaders can be used to change effects or even make custom ones. Thank you for reading, and I look forward to seeing what you create!